Step 5: Add the wings
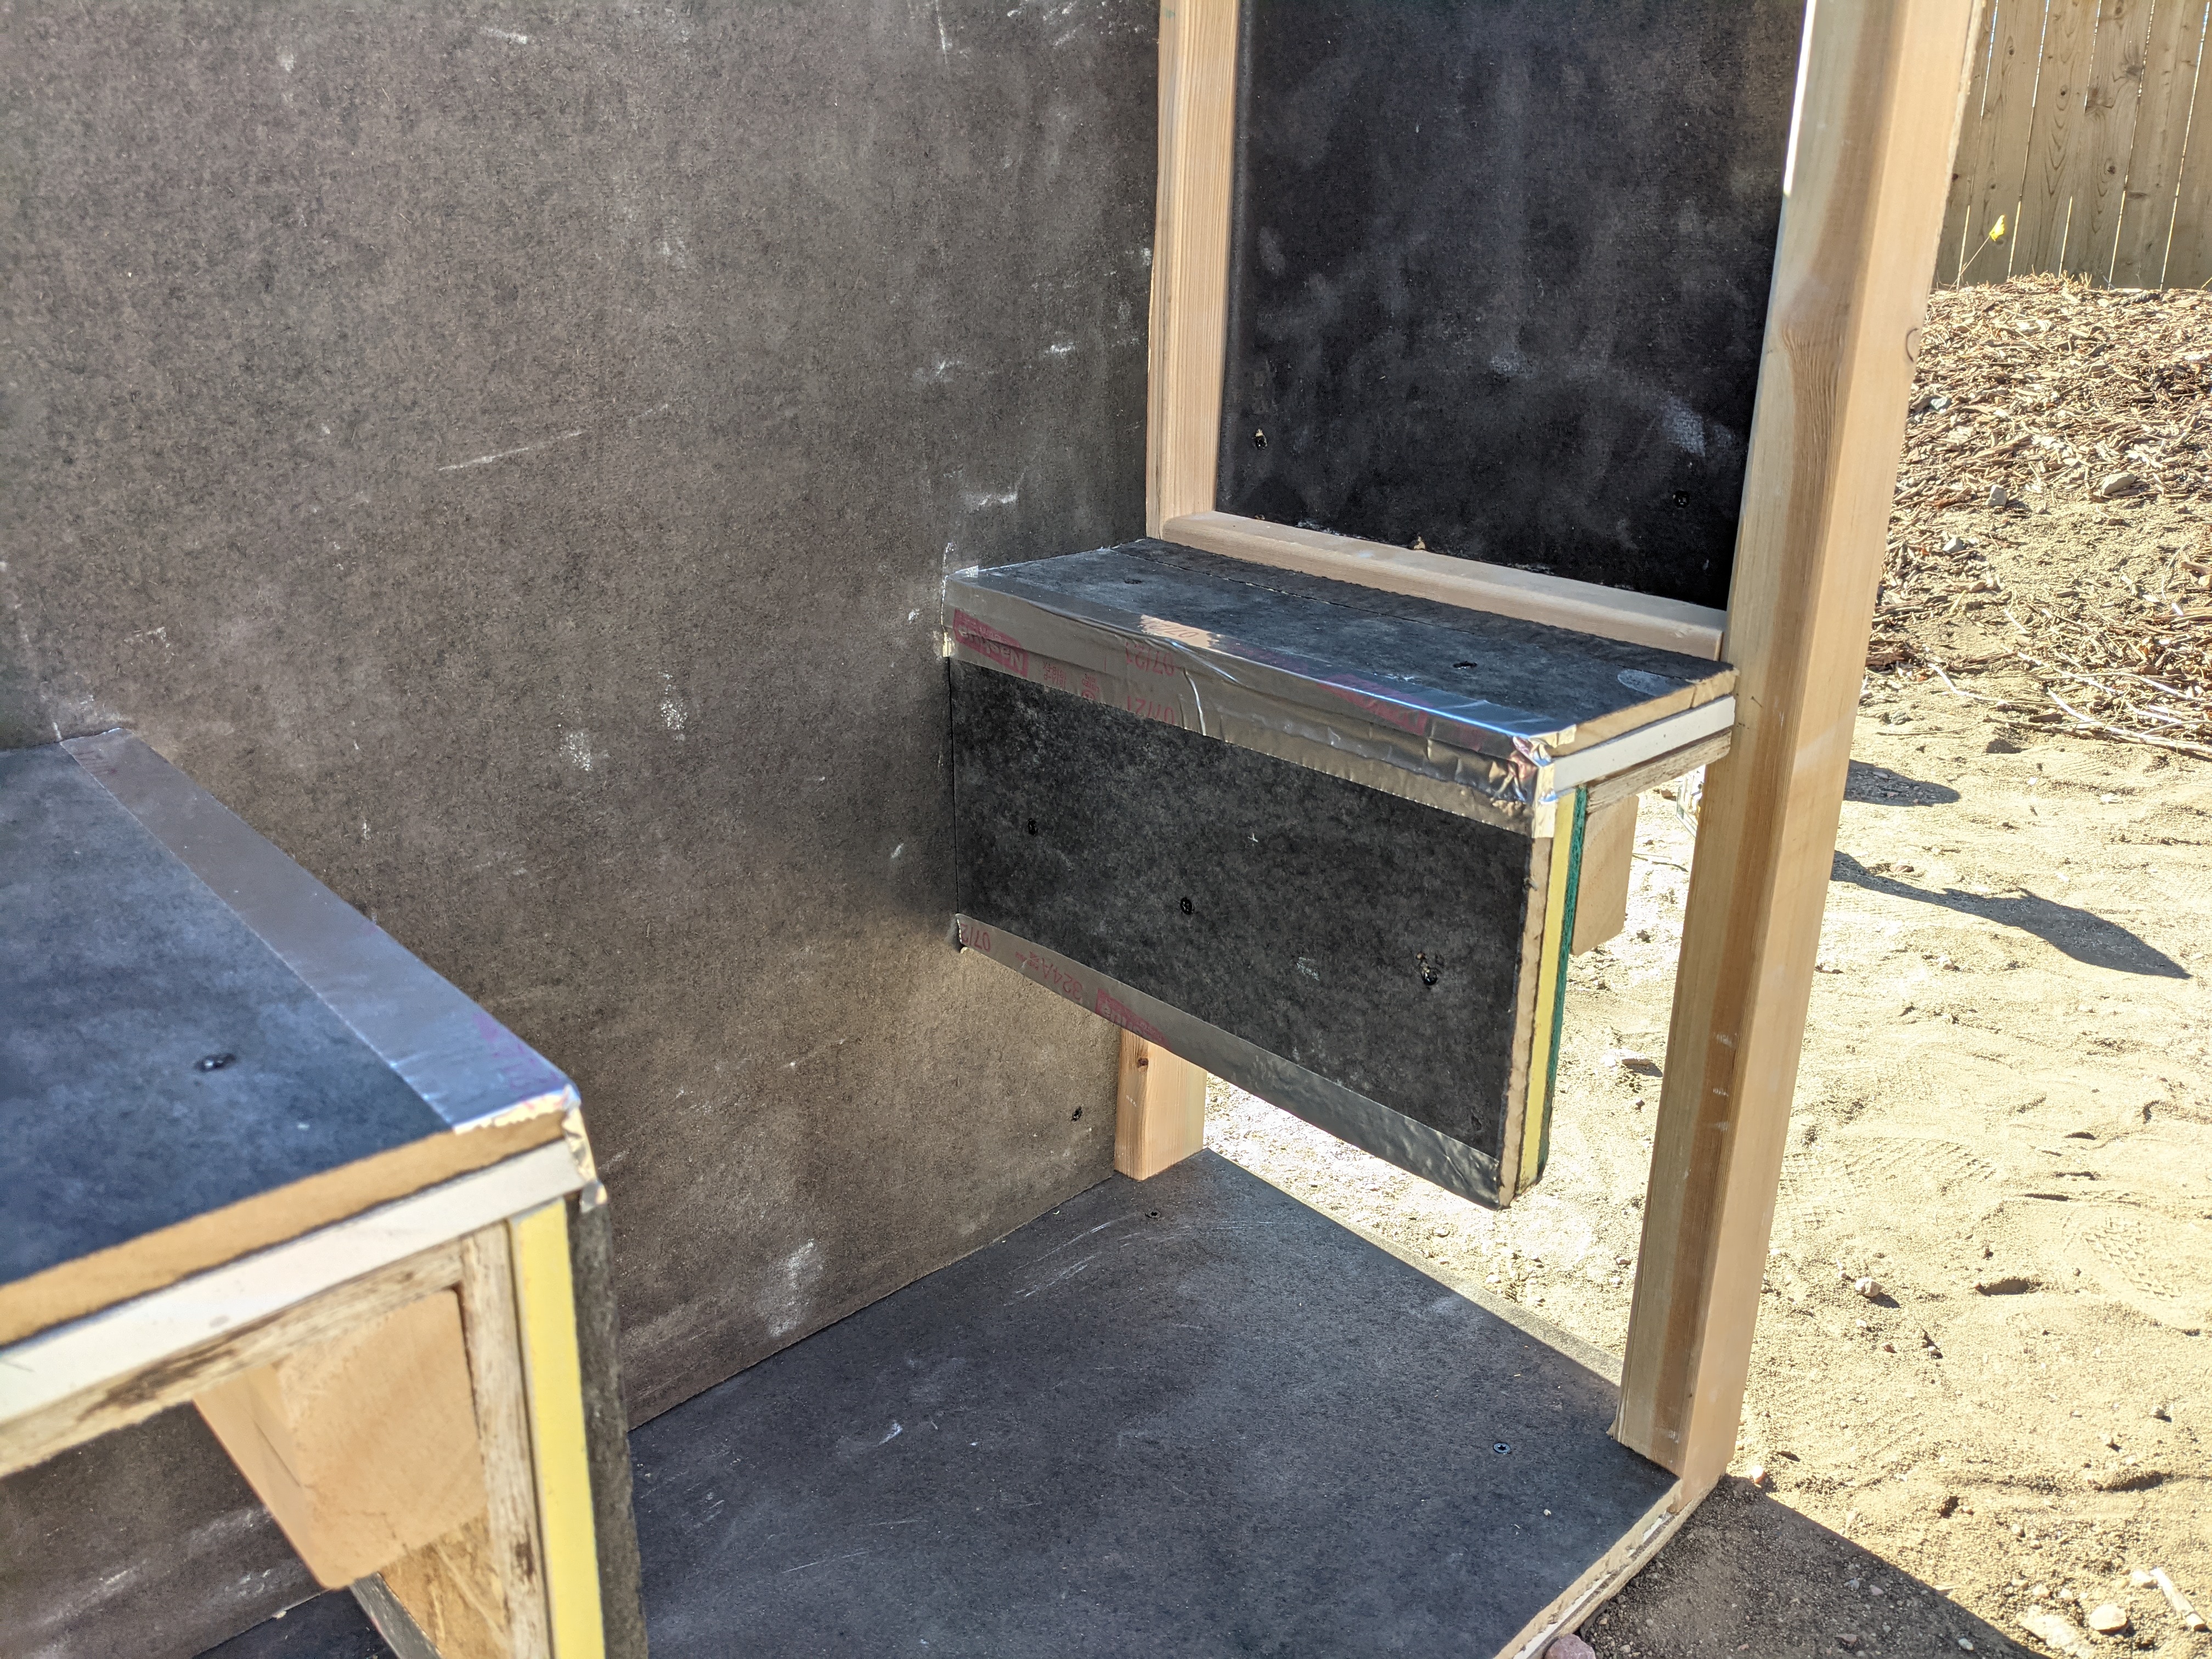
Next, measure and cut a piece of lumber to fit in between the corner posts on either end, at the bottom of the (D) pieces. In this example, these pieces of lumber were 13" in length. Align these pieces so the bottom of the lumber is even with the bottom of the OSB (D) pieces. Then you can use a long screw to fasten it into place from the covered 32" x 32" (A) side as well as take a short screw and fasten it from the 16" x 16" OSB (D) end piece, the other side of the piece of lumber will be fastened once the final piece of OSB (A) is in place on the currently open side.
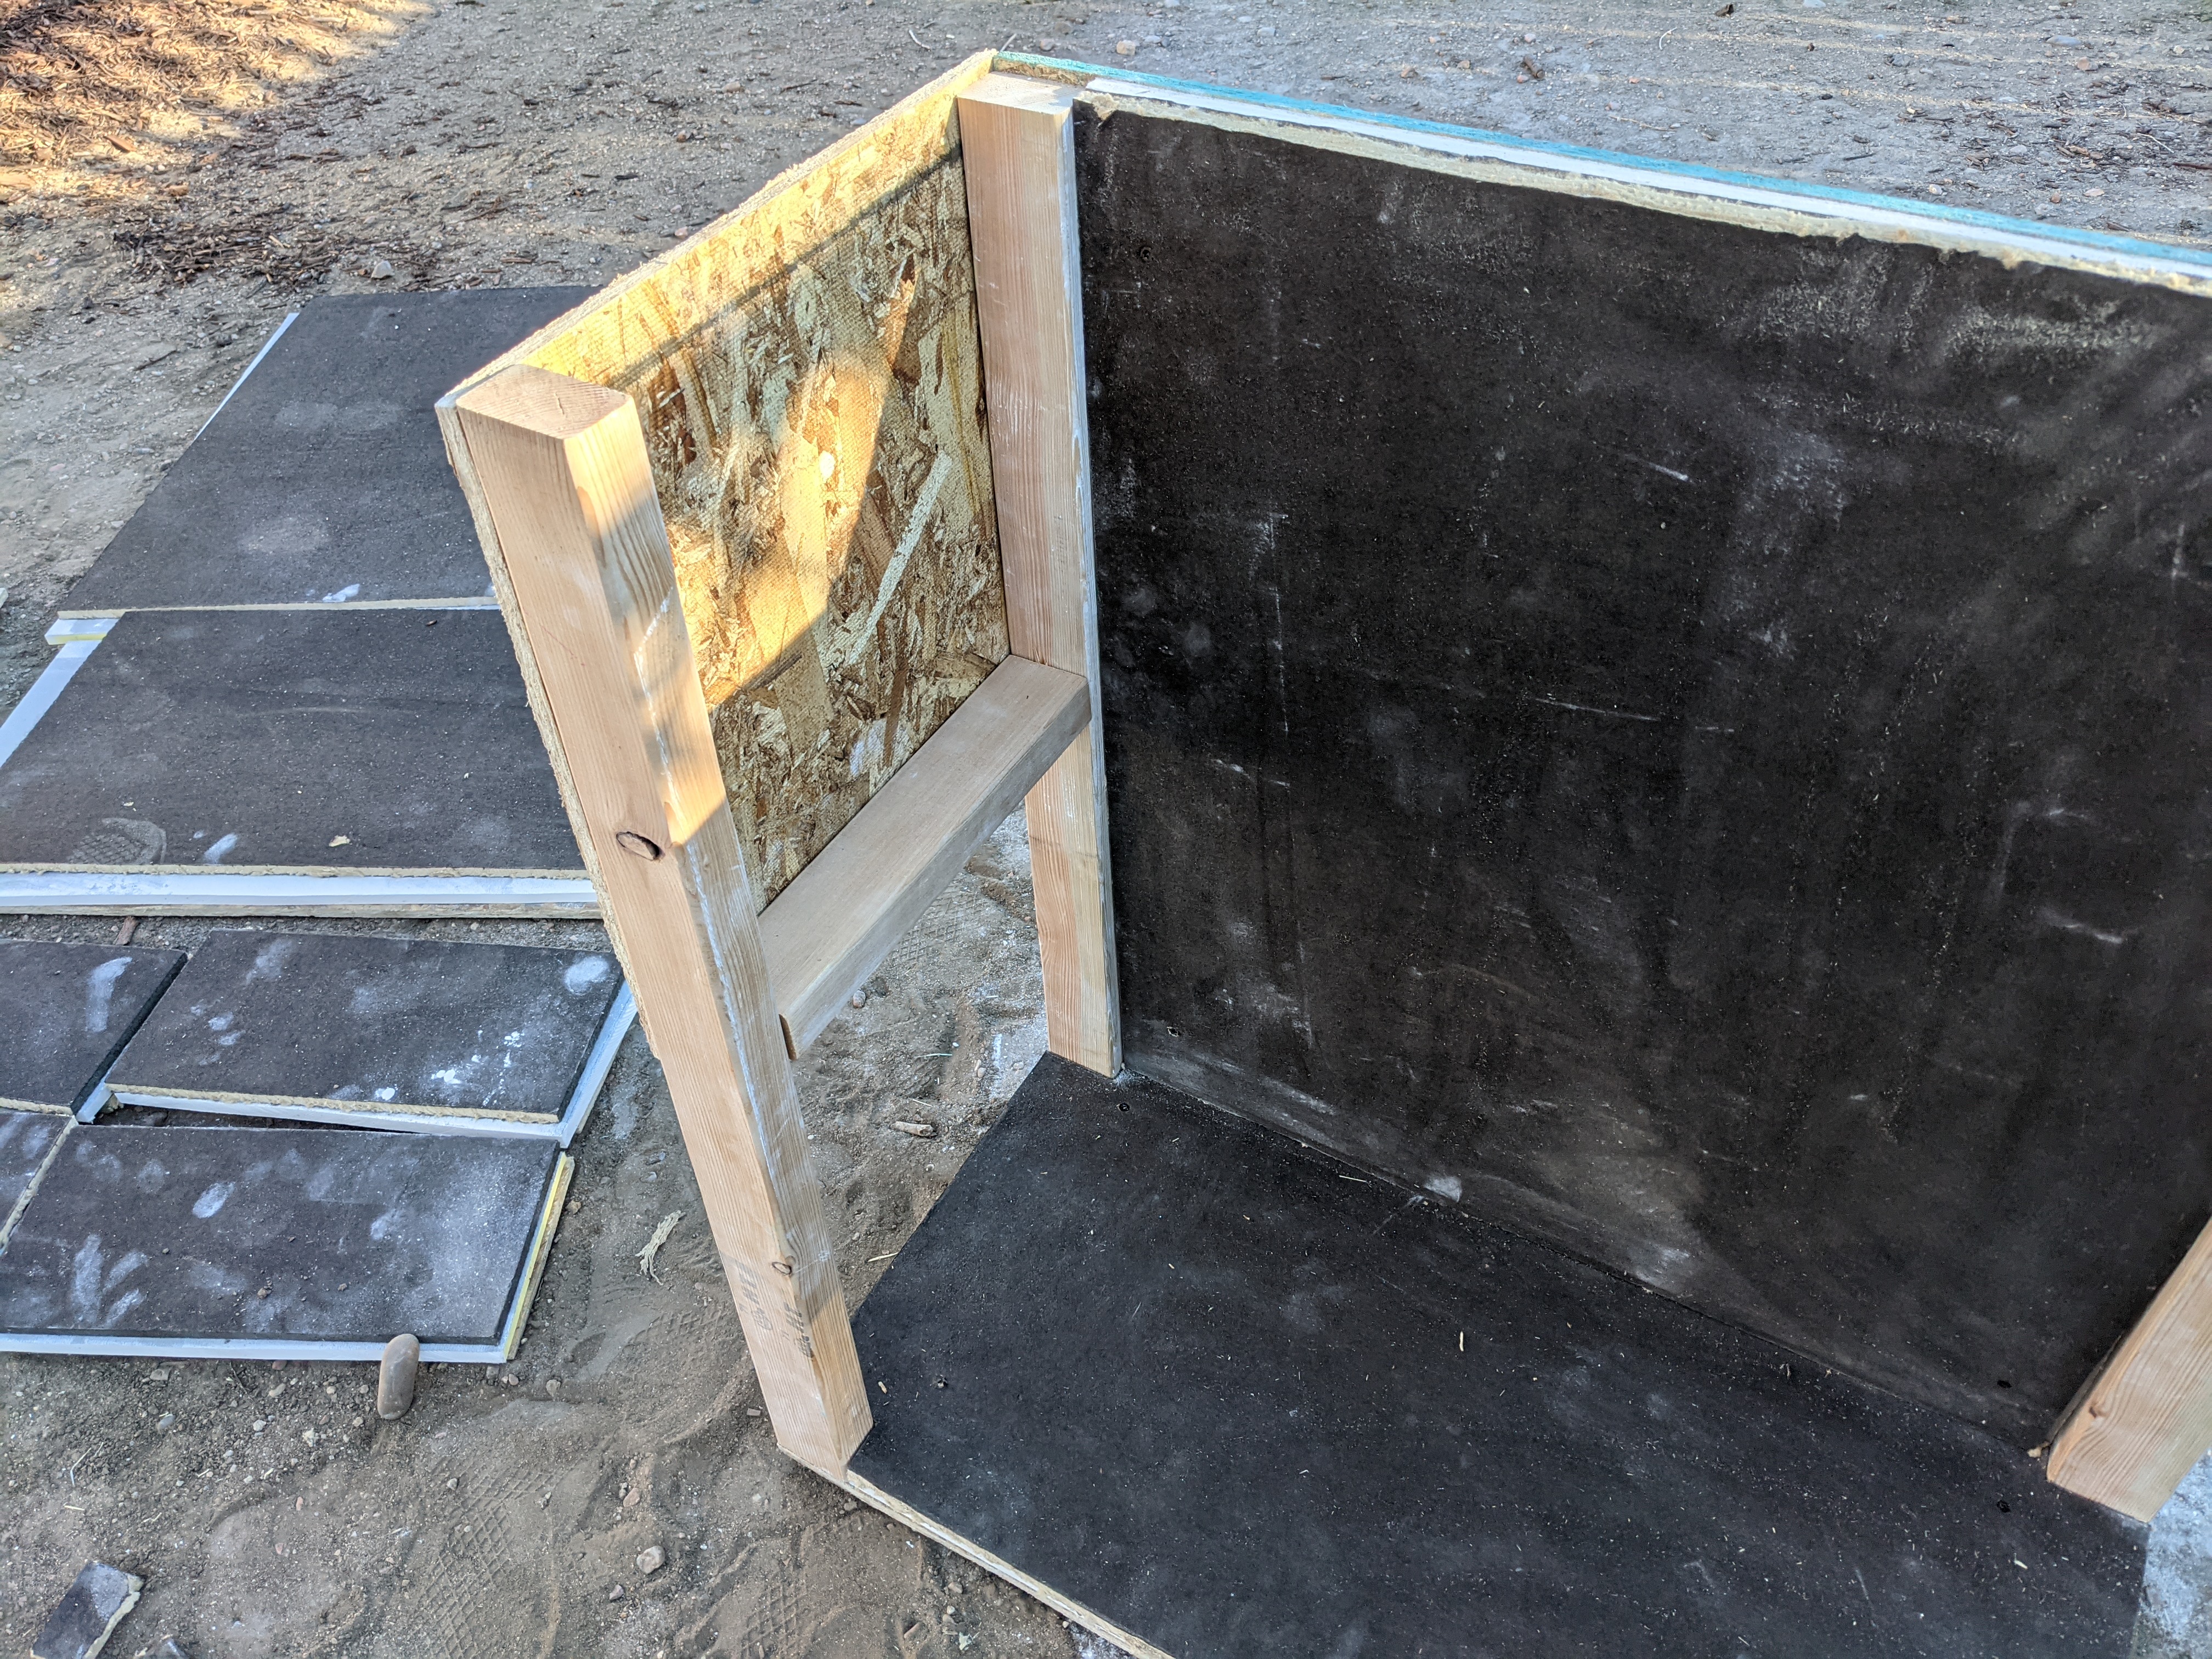
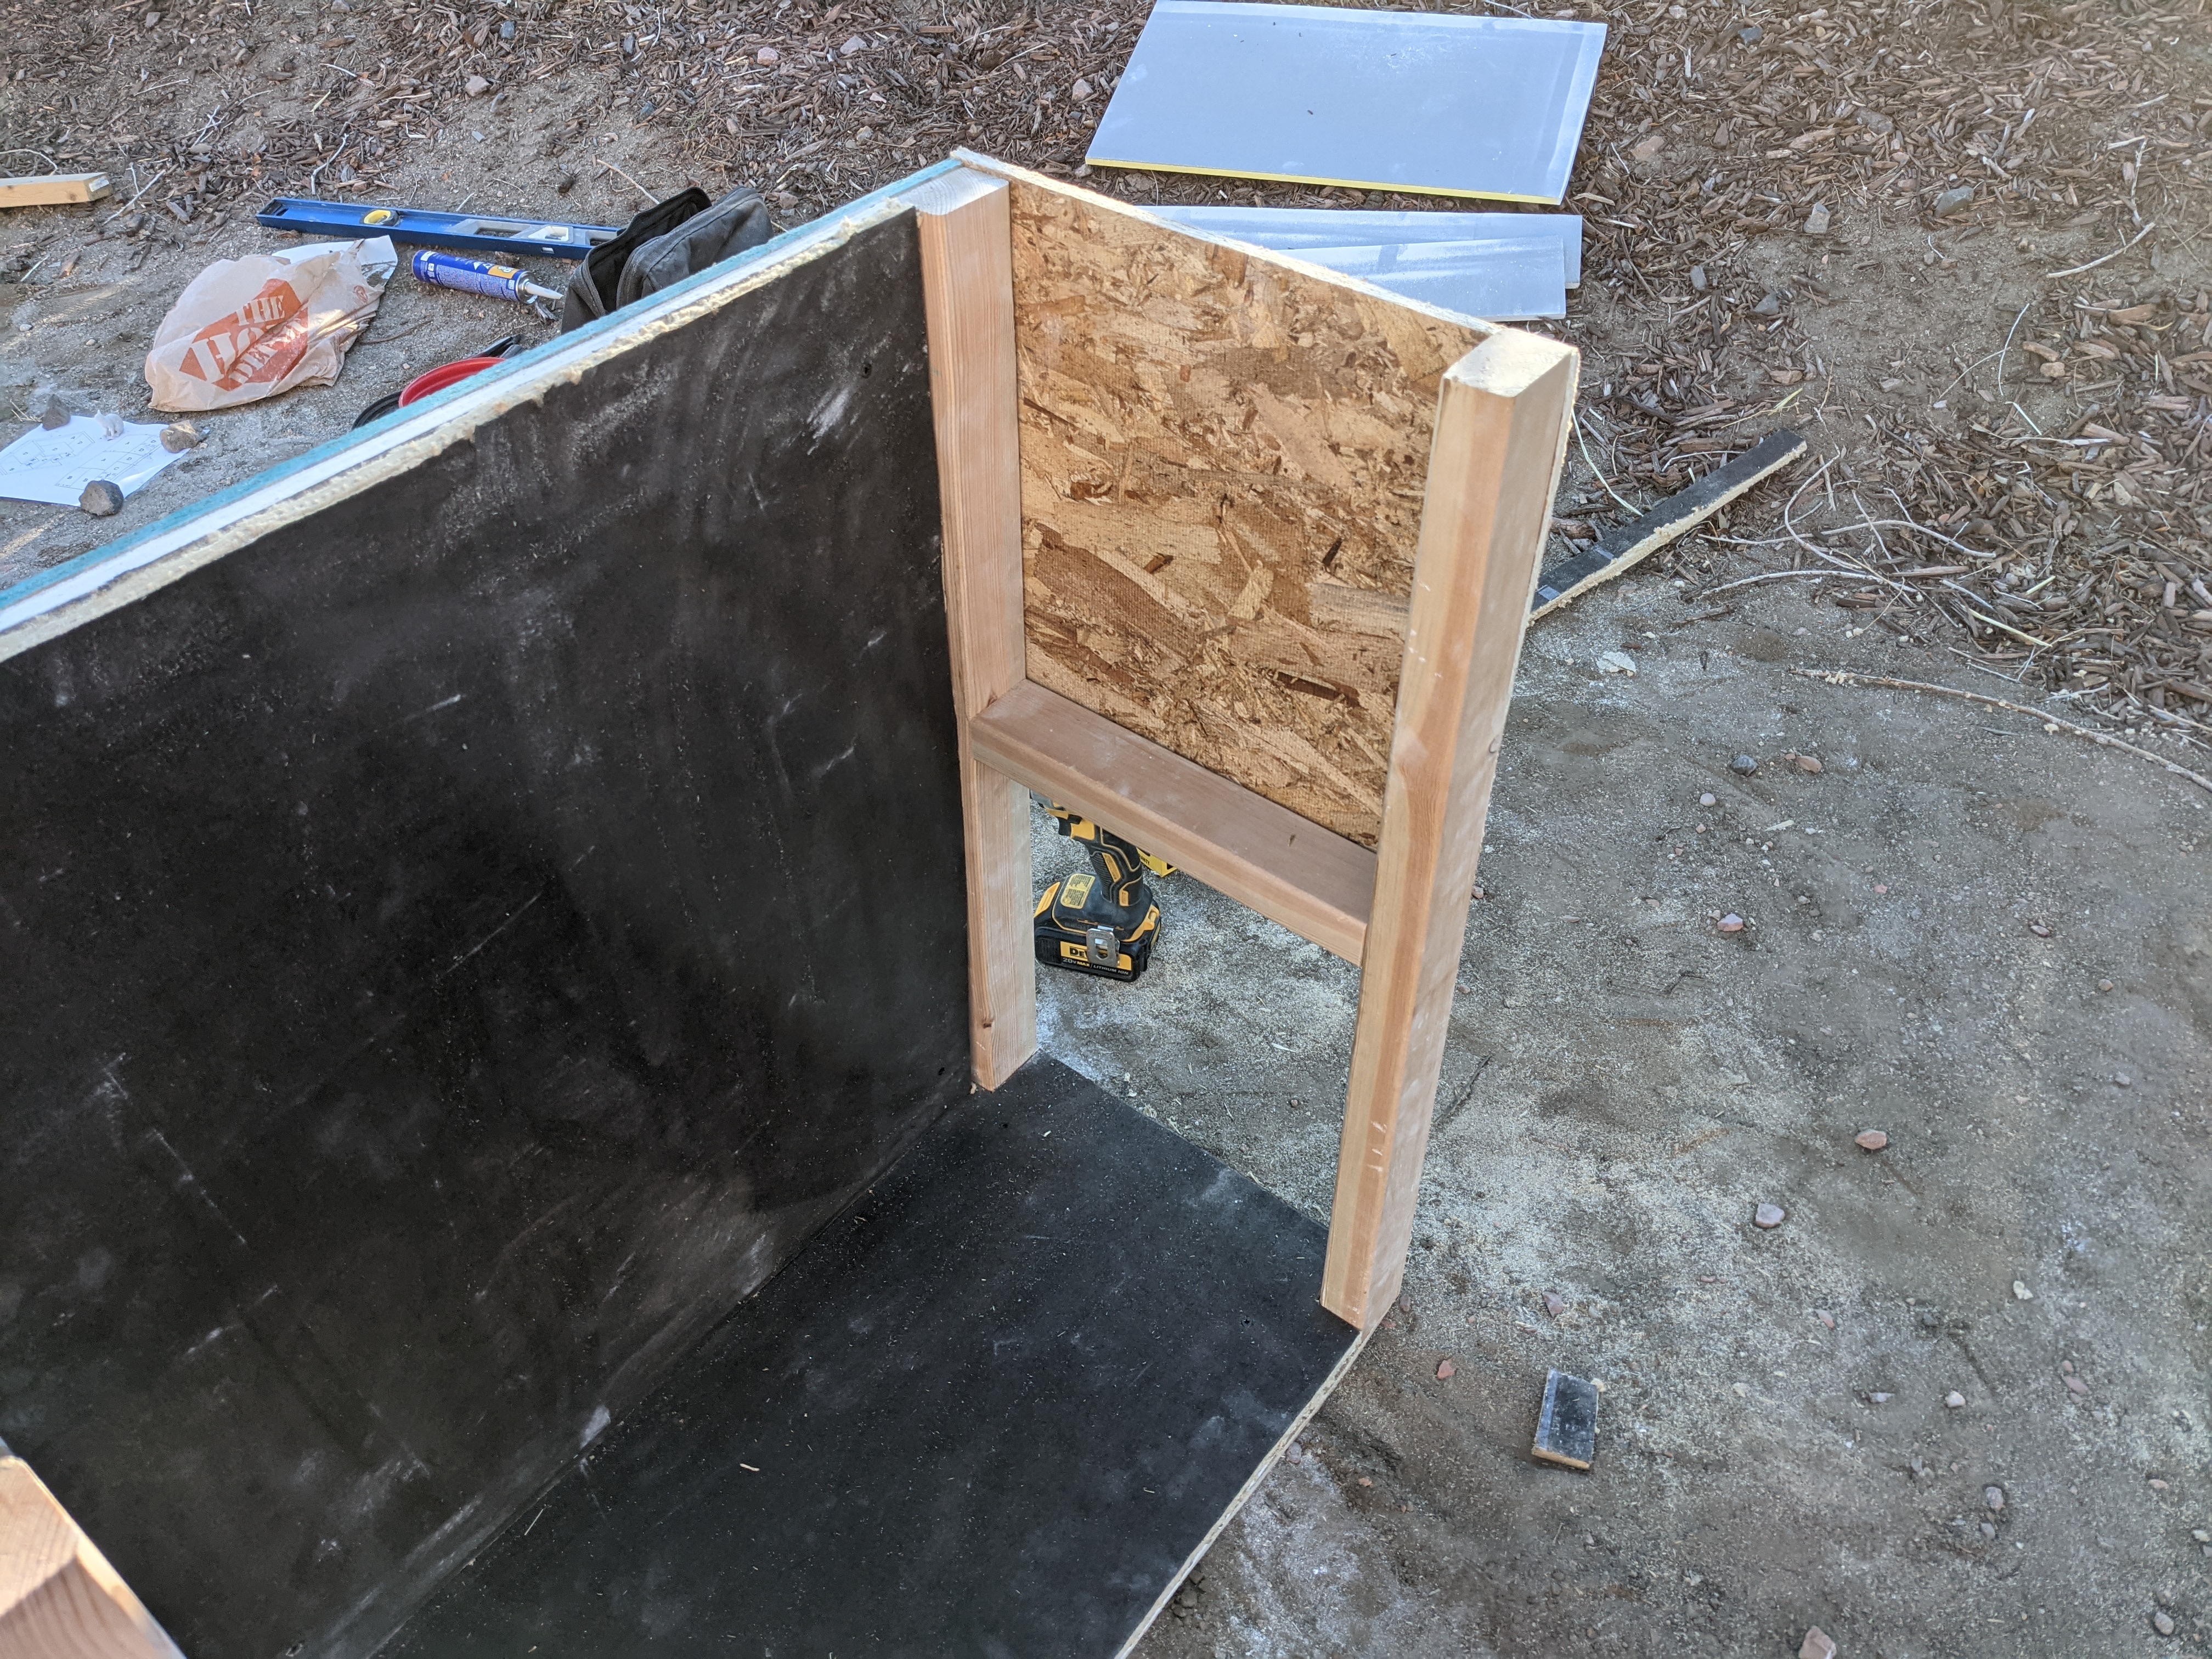
Next, take two of the 7" x 16" (E) pieces and cut them to the final interior dimension width. In this case it was 13-1/2" after the 1/2" of OSB from the first side is subtracted, as well as subtracting the layers of Dense Shield and asphalt board from both sides. Keep in mind, these dimensions are going to change based on the materials you select, so make sure you measure twice and cut once. You will also need to notch out the corners of the (E) pieces to fit around the corner posts. Fasten the (E) pieces to the bottom of the piece of lumber you attached in the last step. The edge of the (E) piece should be even with the edge of the (D) piece.
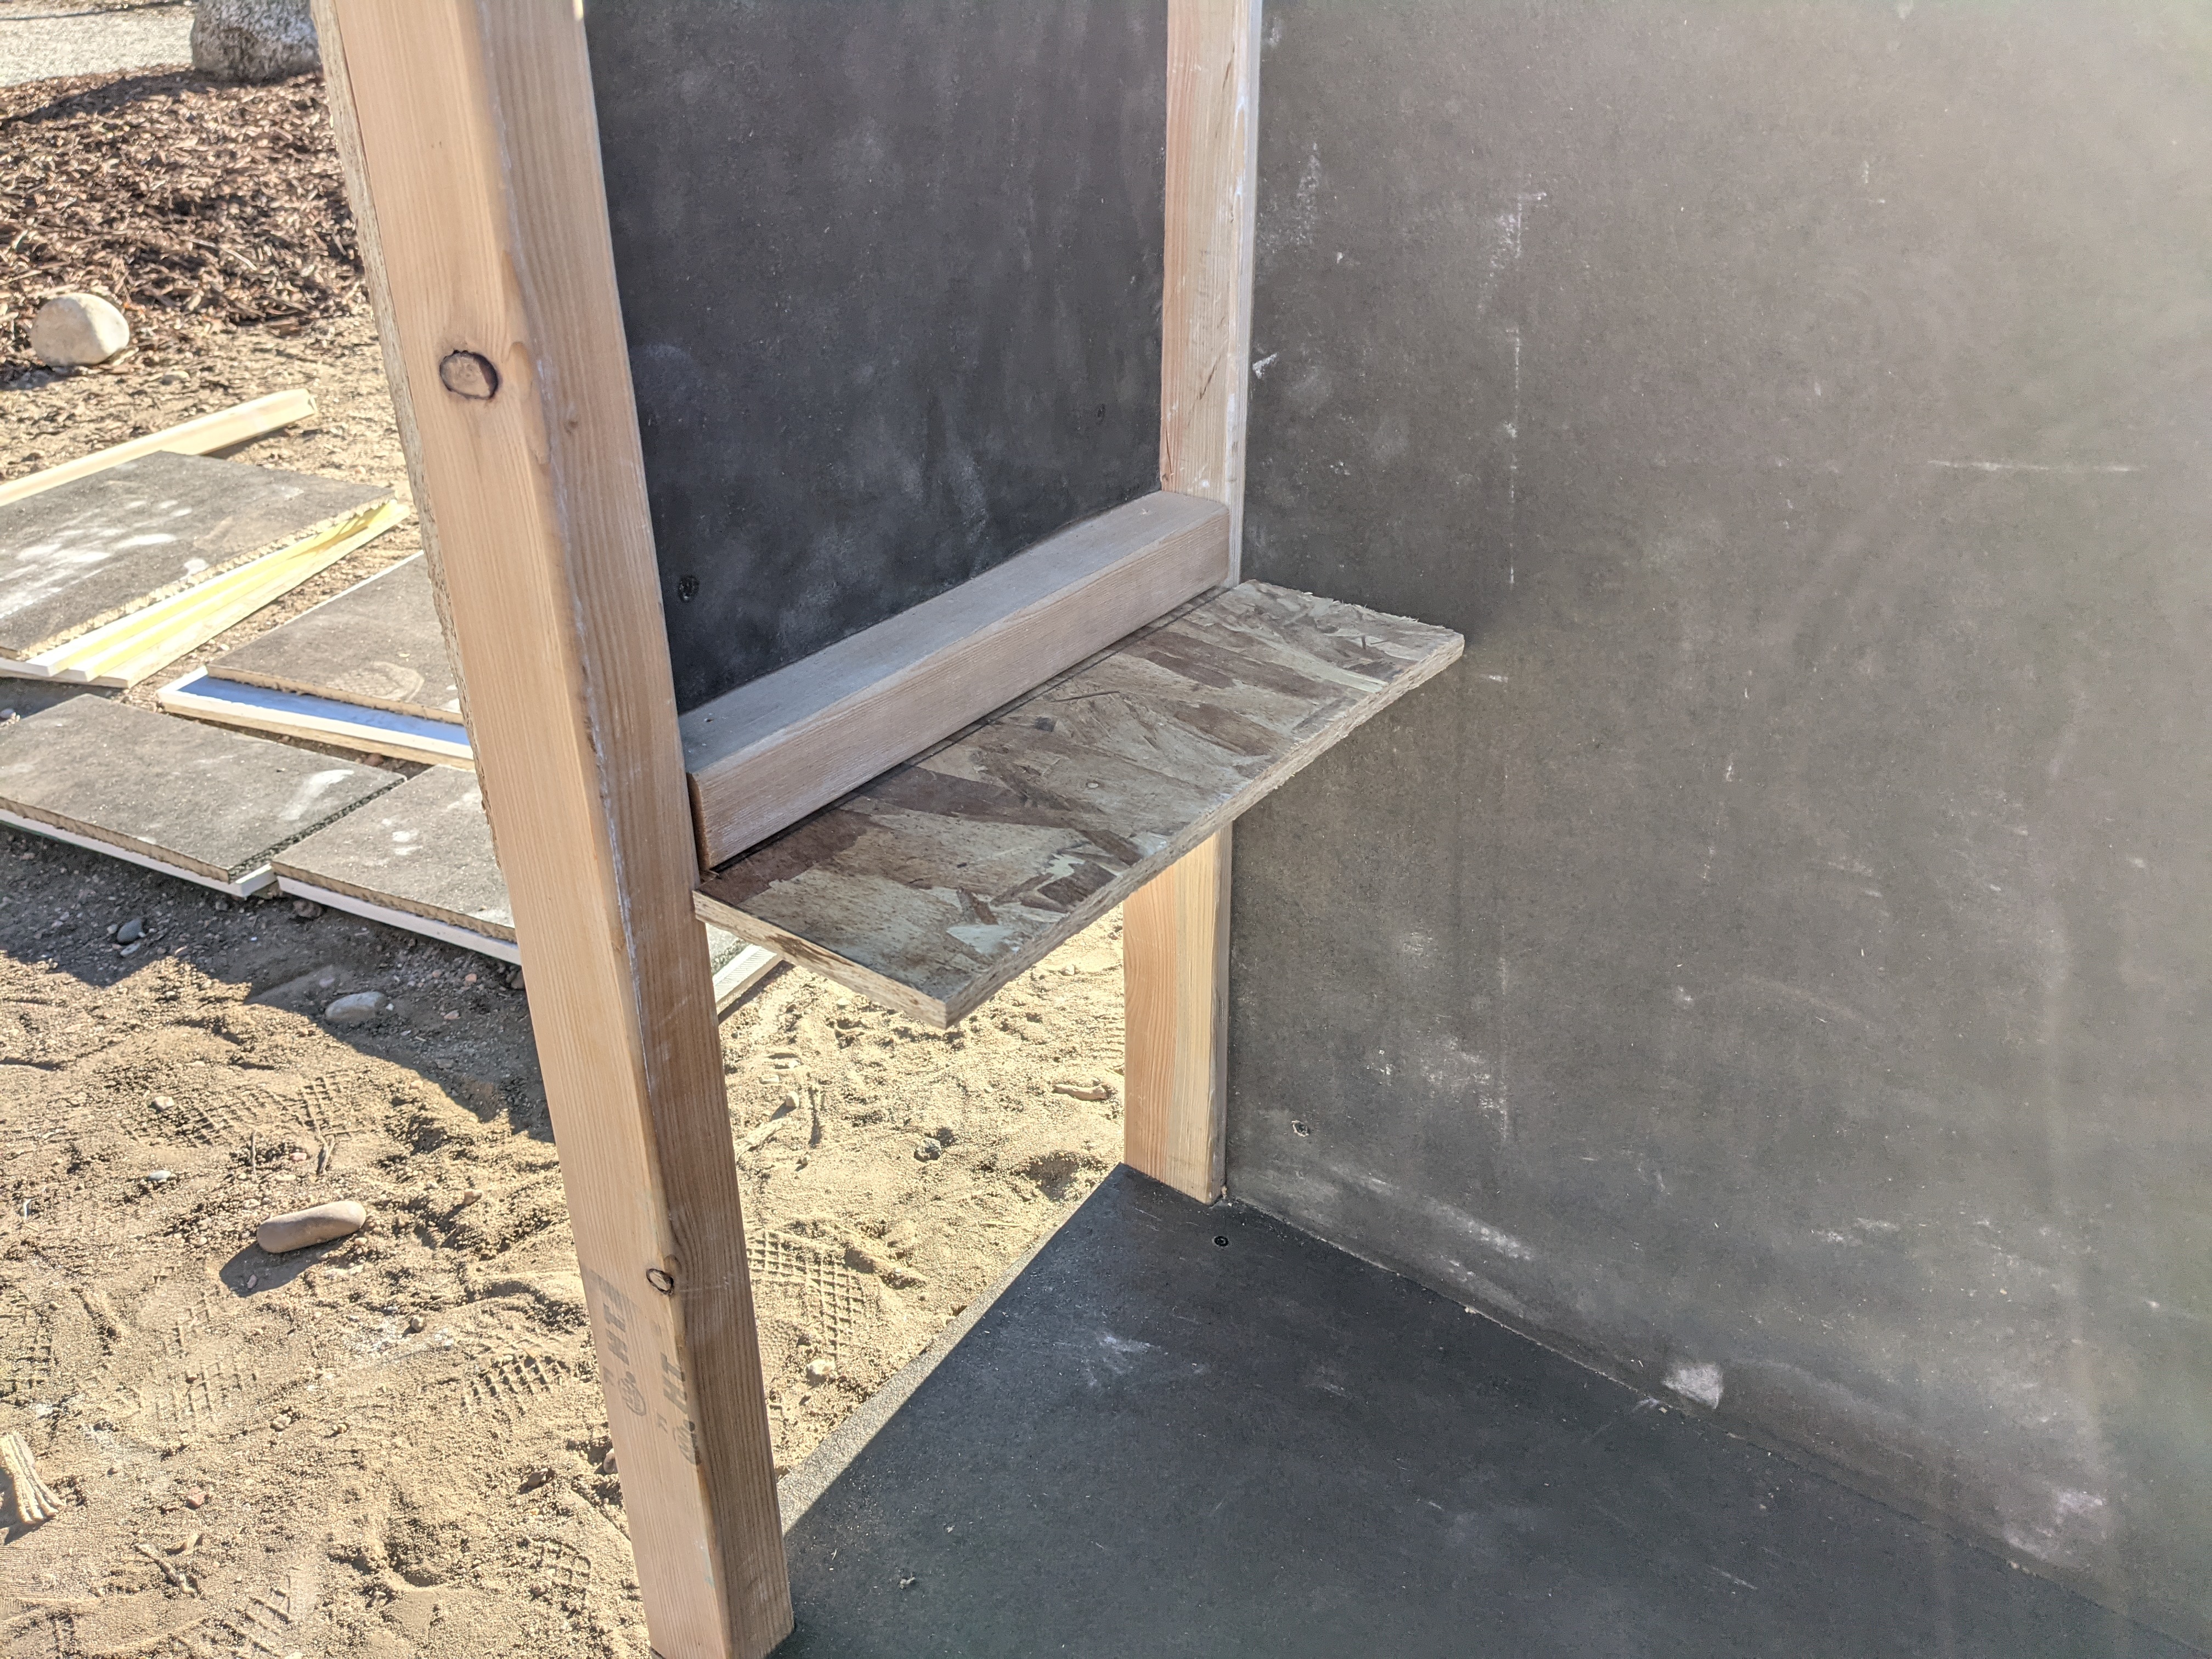
Next, cut two more pieces of lumber to the same length as the final interior dimension, 13-1/2" in this case. Then fasten these pieces of lumber to the bottom of the (E) pieces. The edge of the lumber should be even with the edge of the (E) piece.
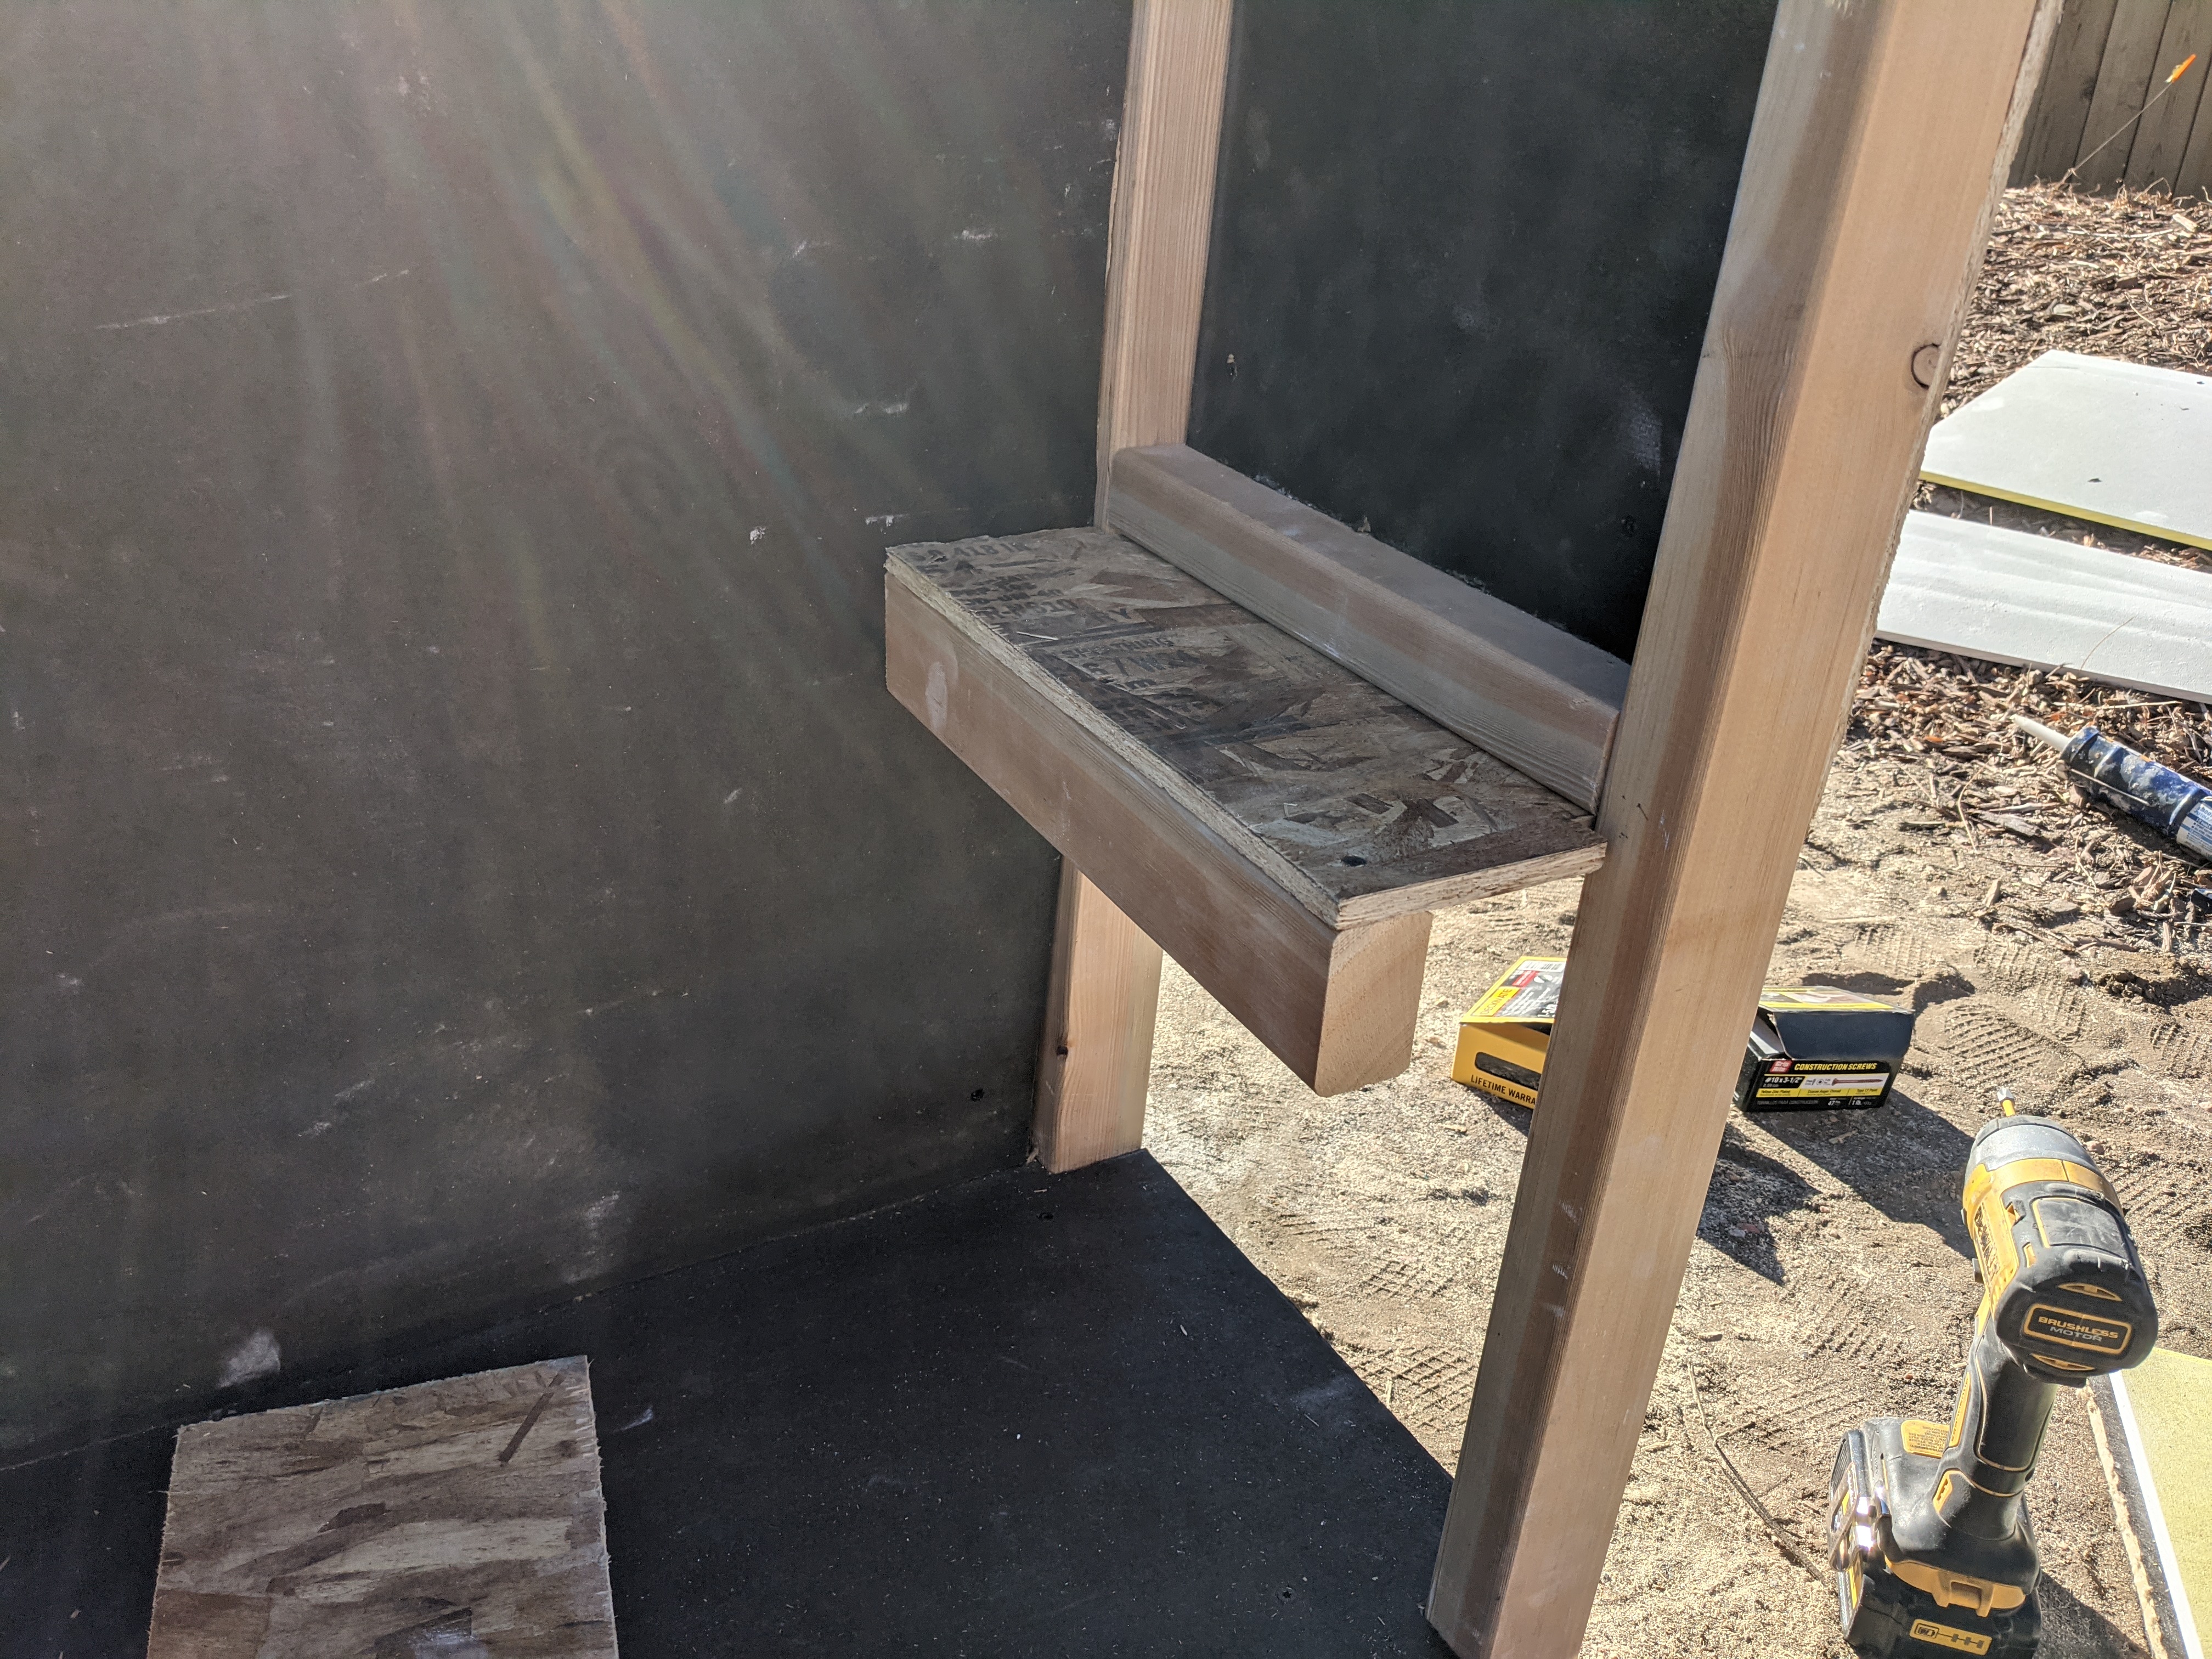
Next, take the other two (E) pieces and attach them to the face of the piece of lumber you fastened in the last step.
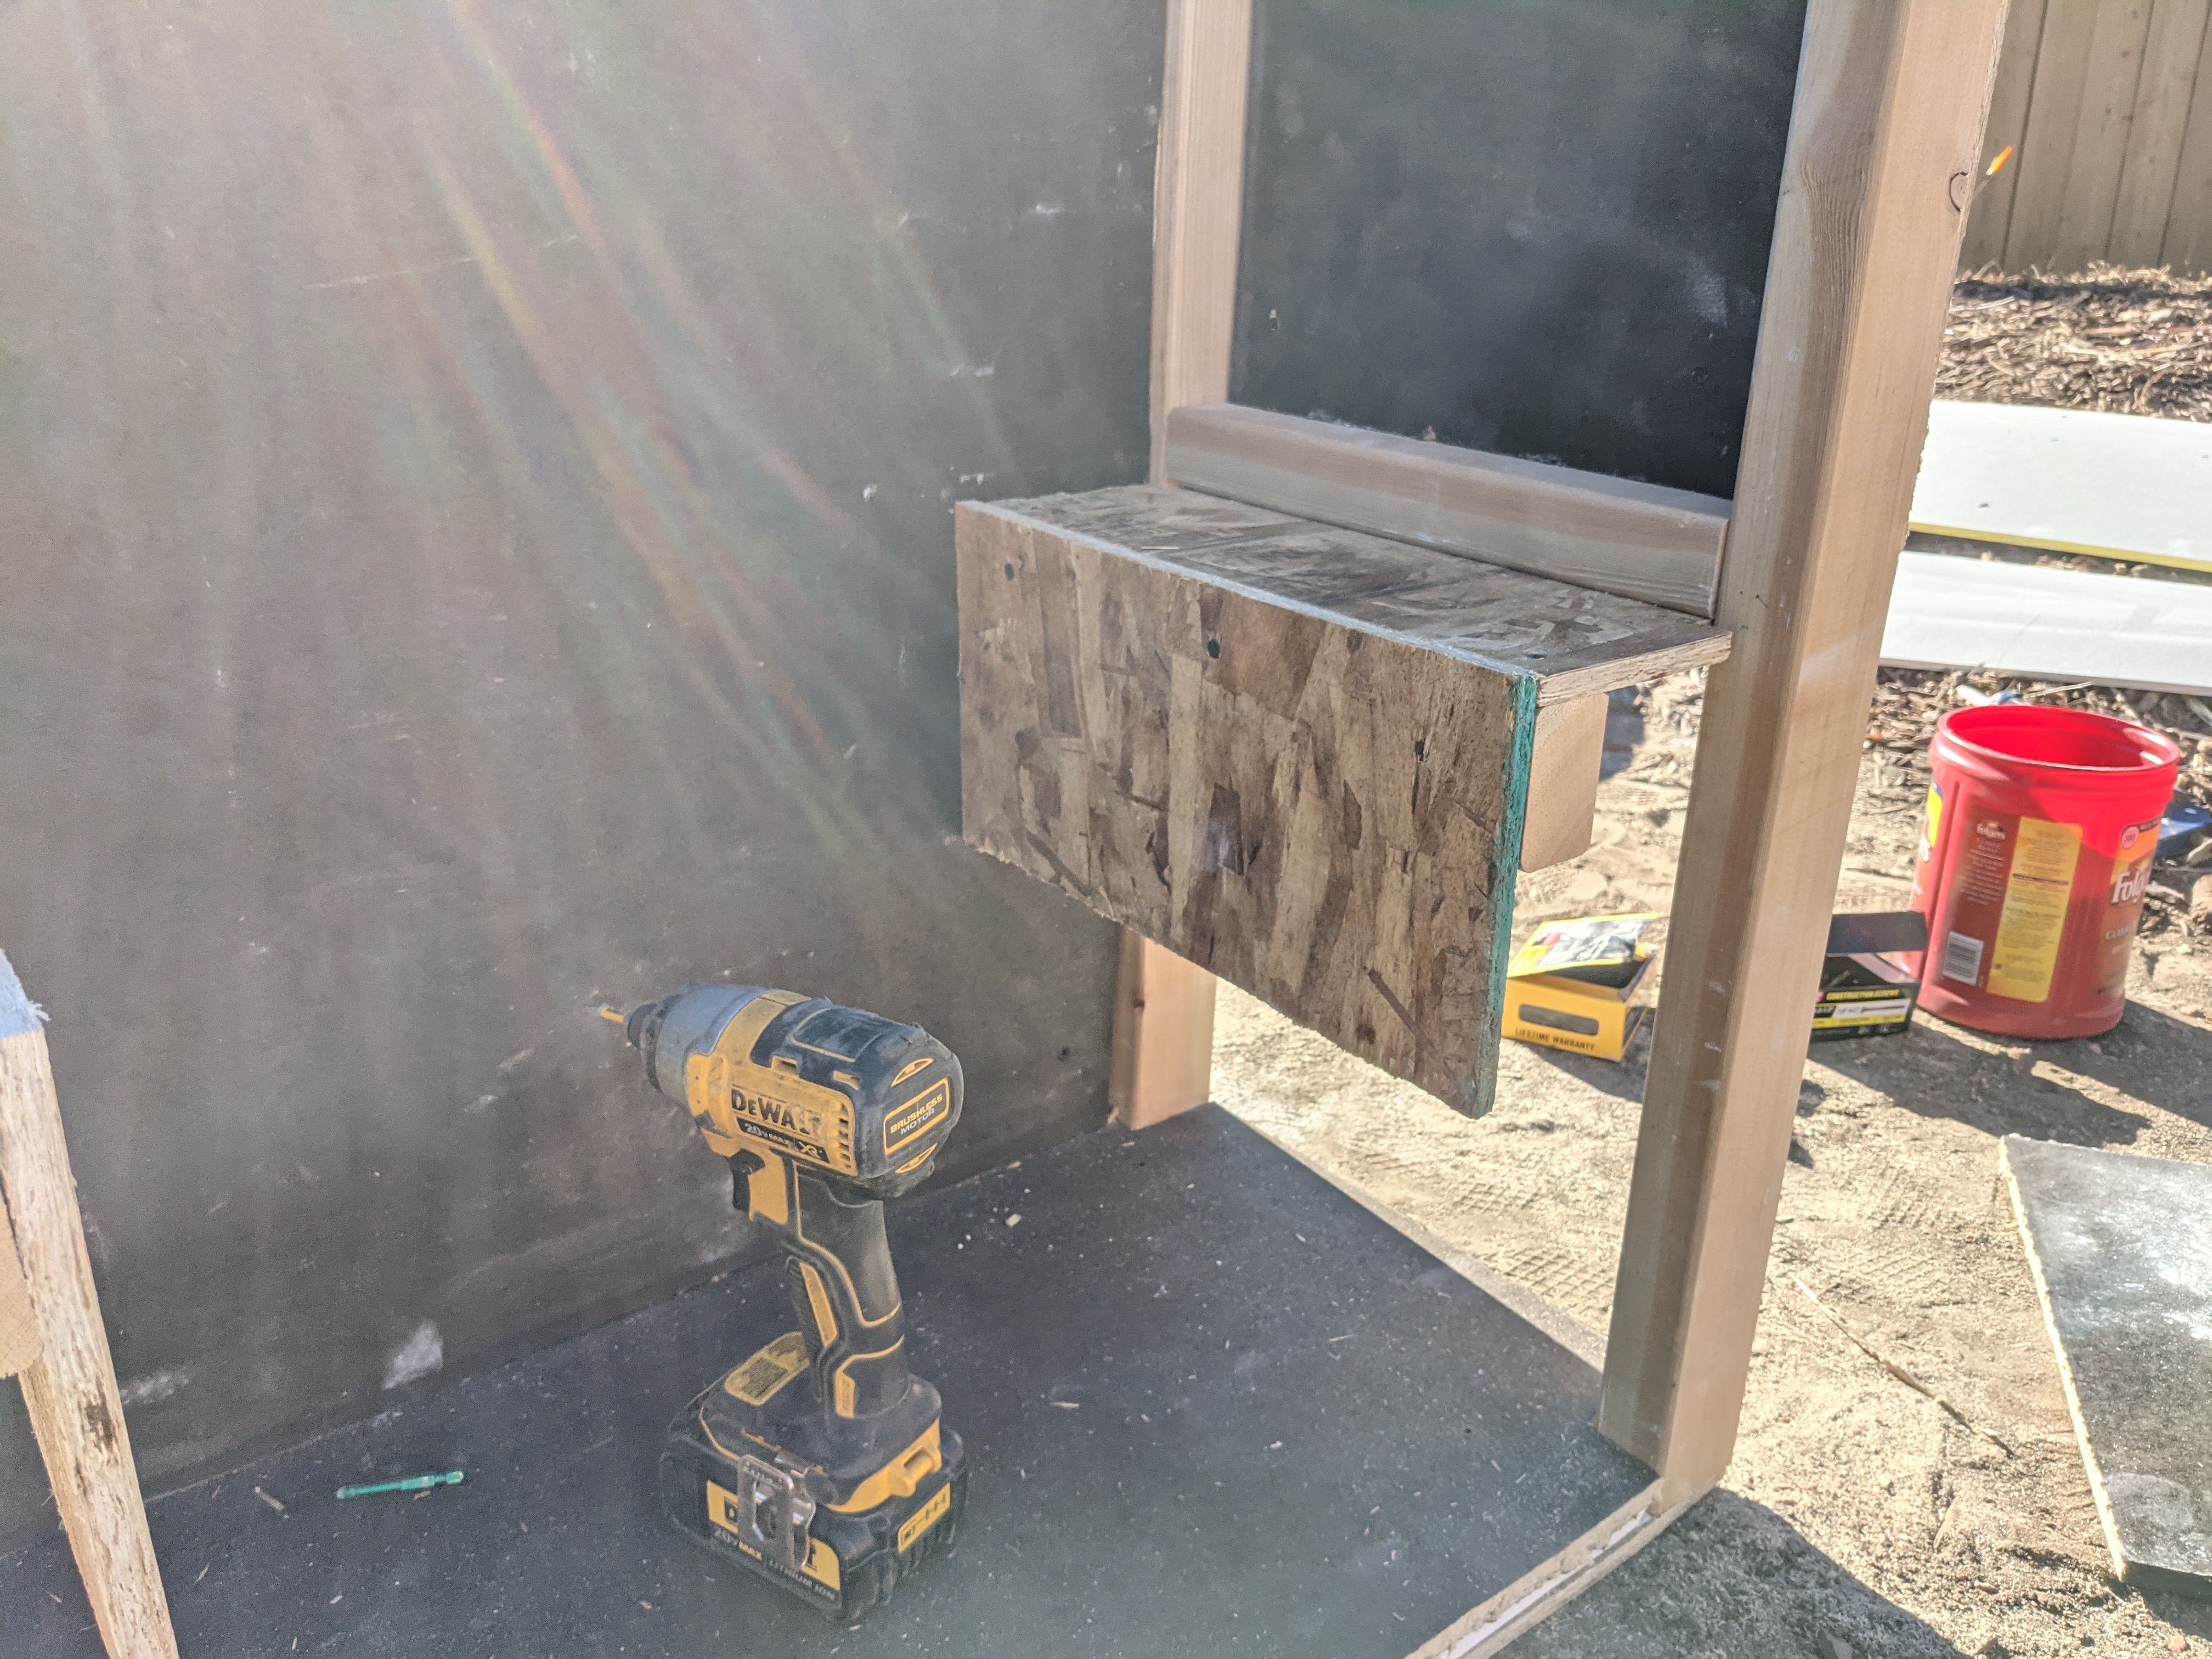
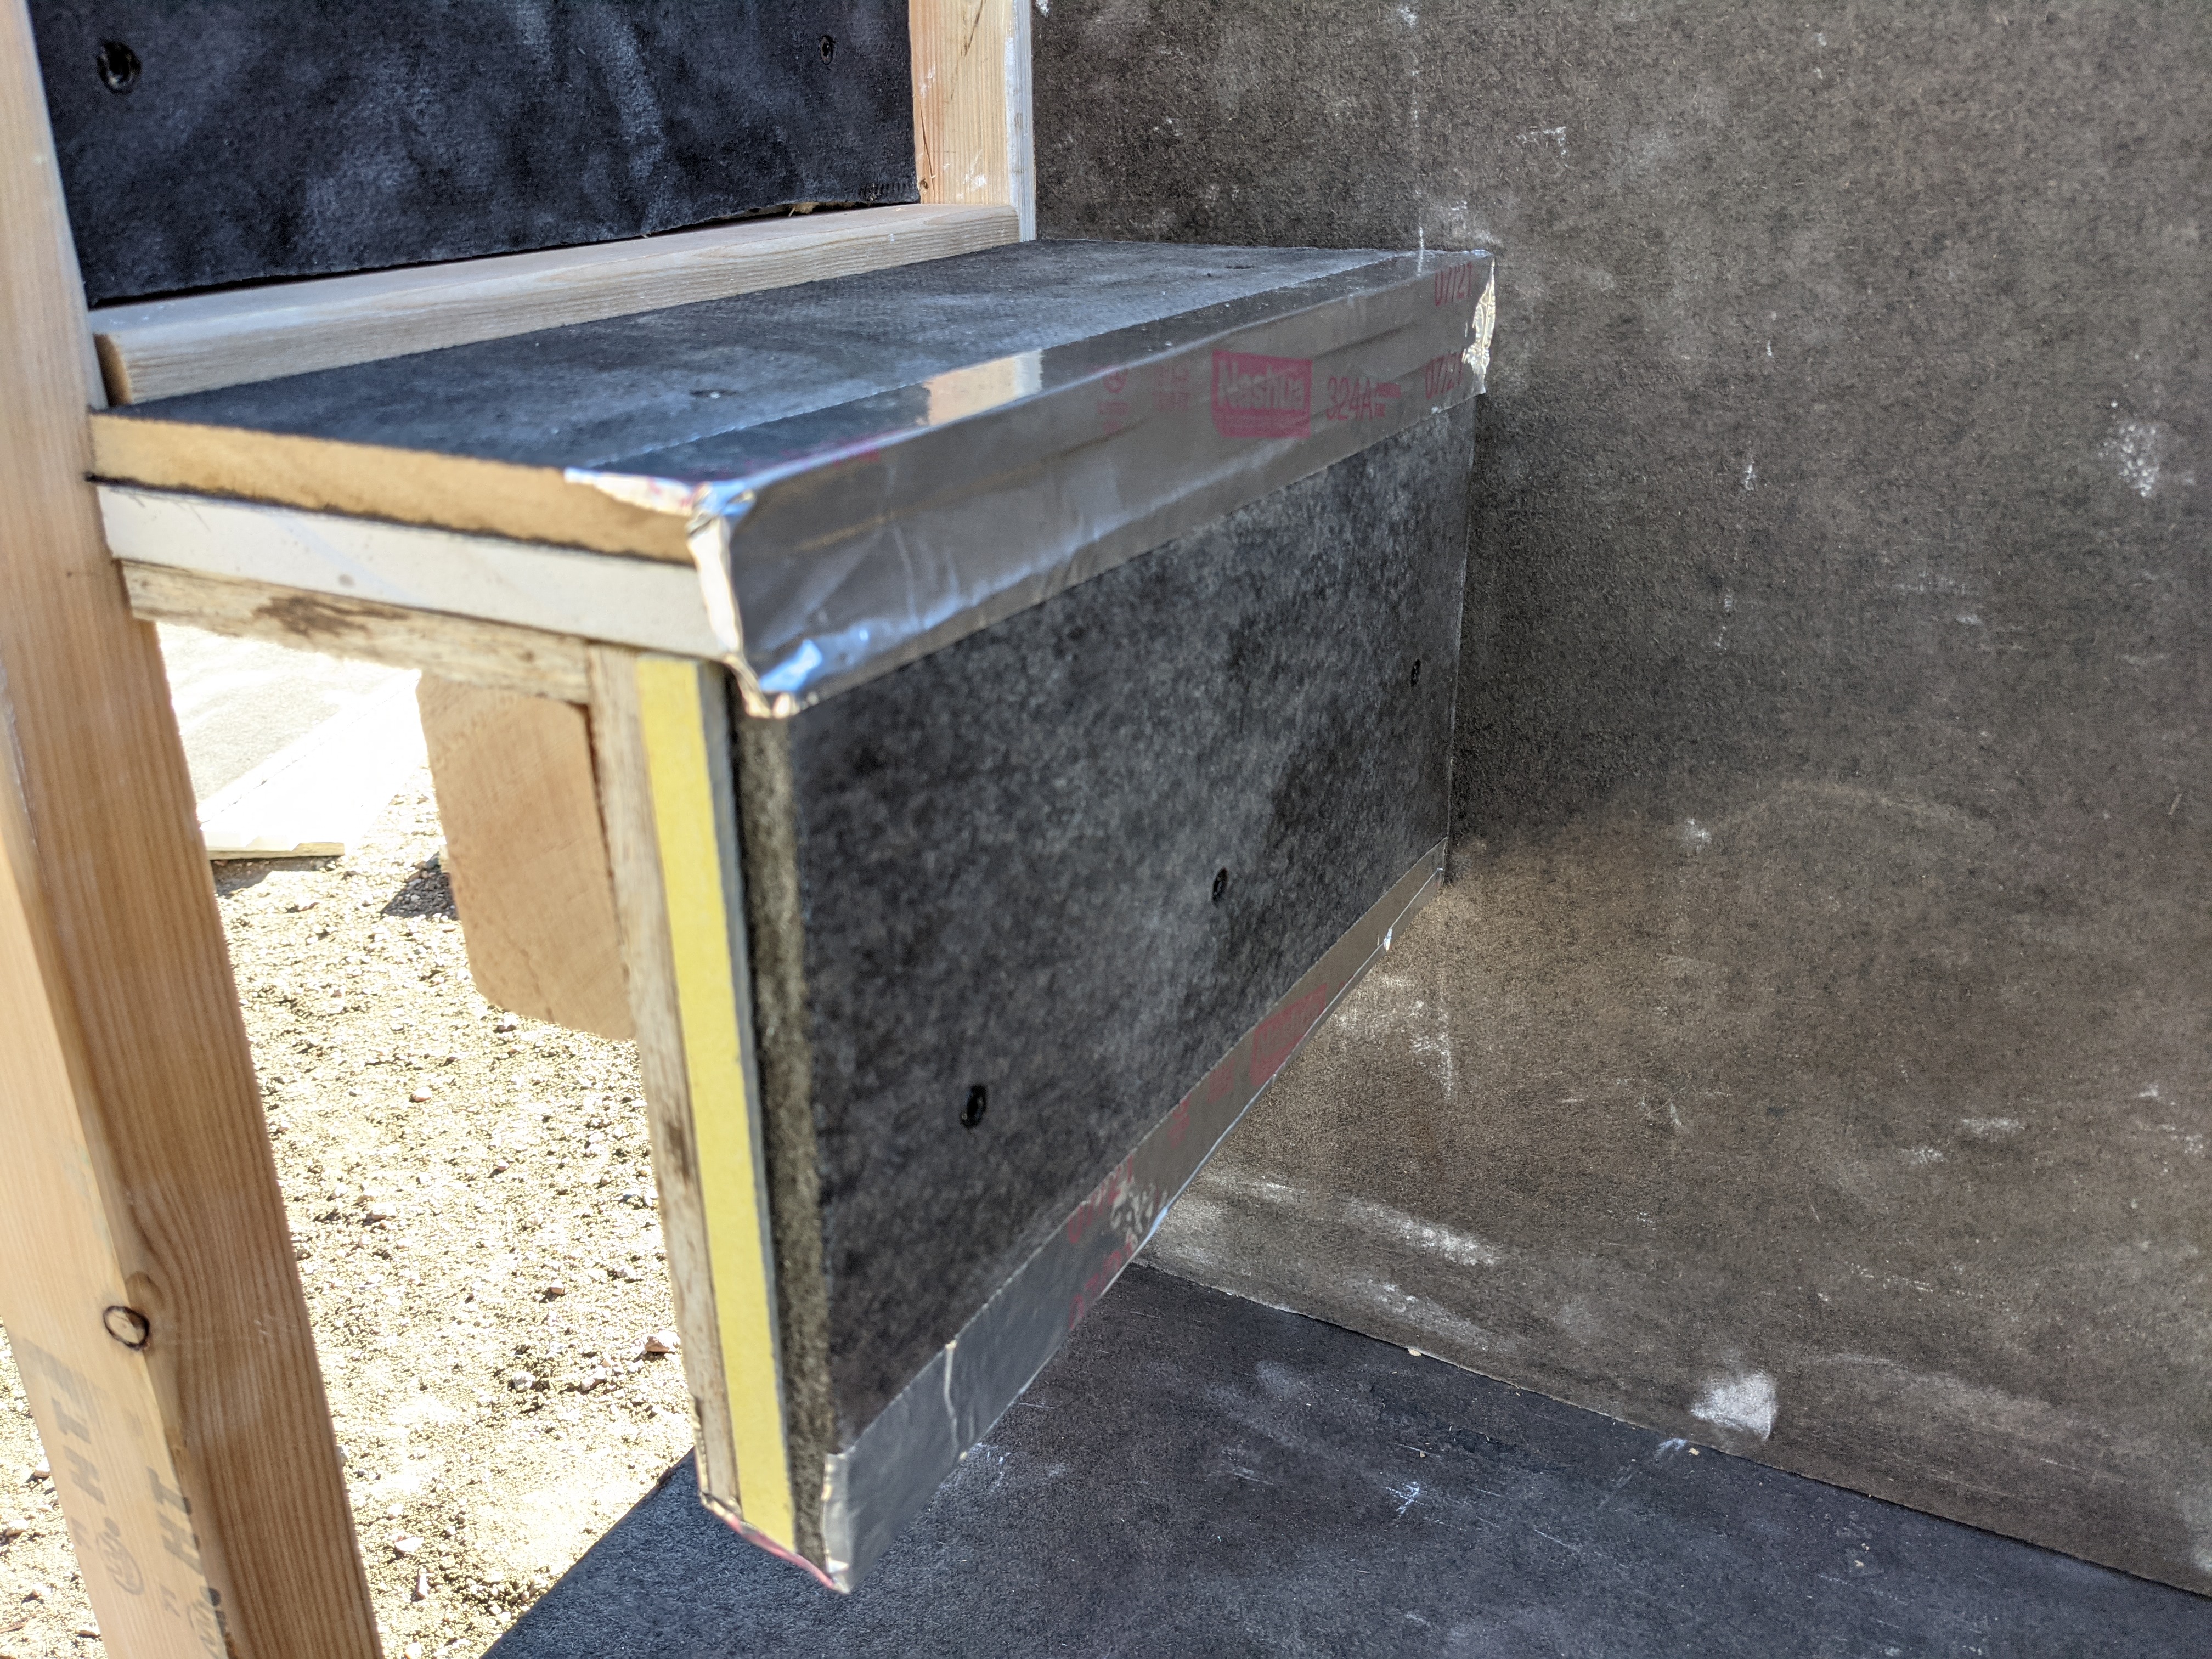
Next, cut the pieces of Dense shield and asphalt board to fit the face edge, adding glue in between each layer.
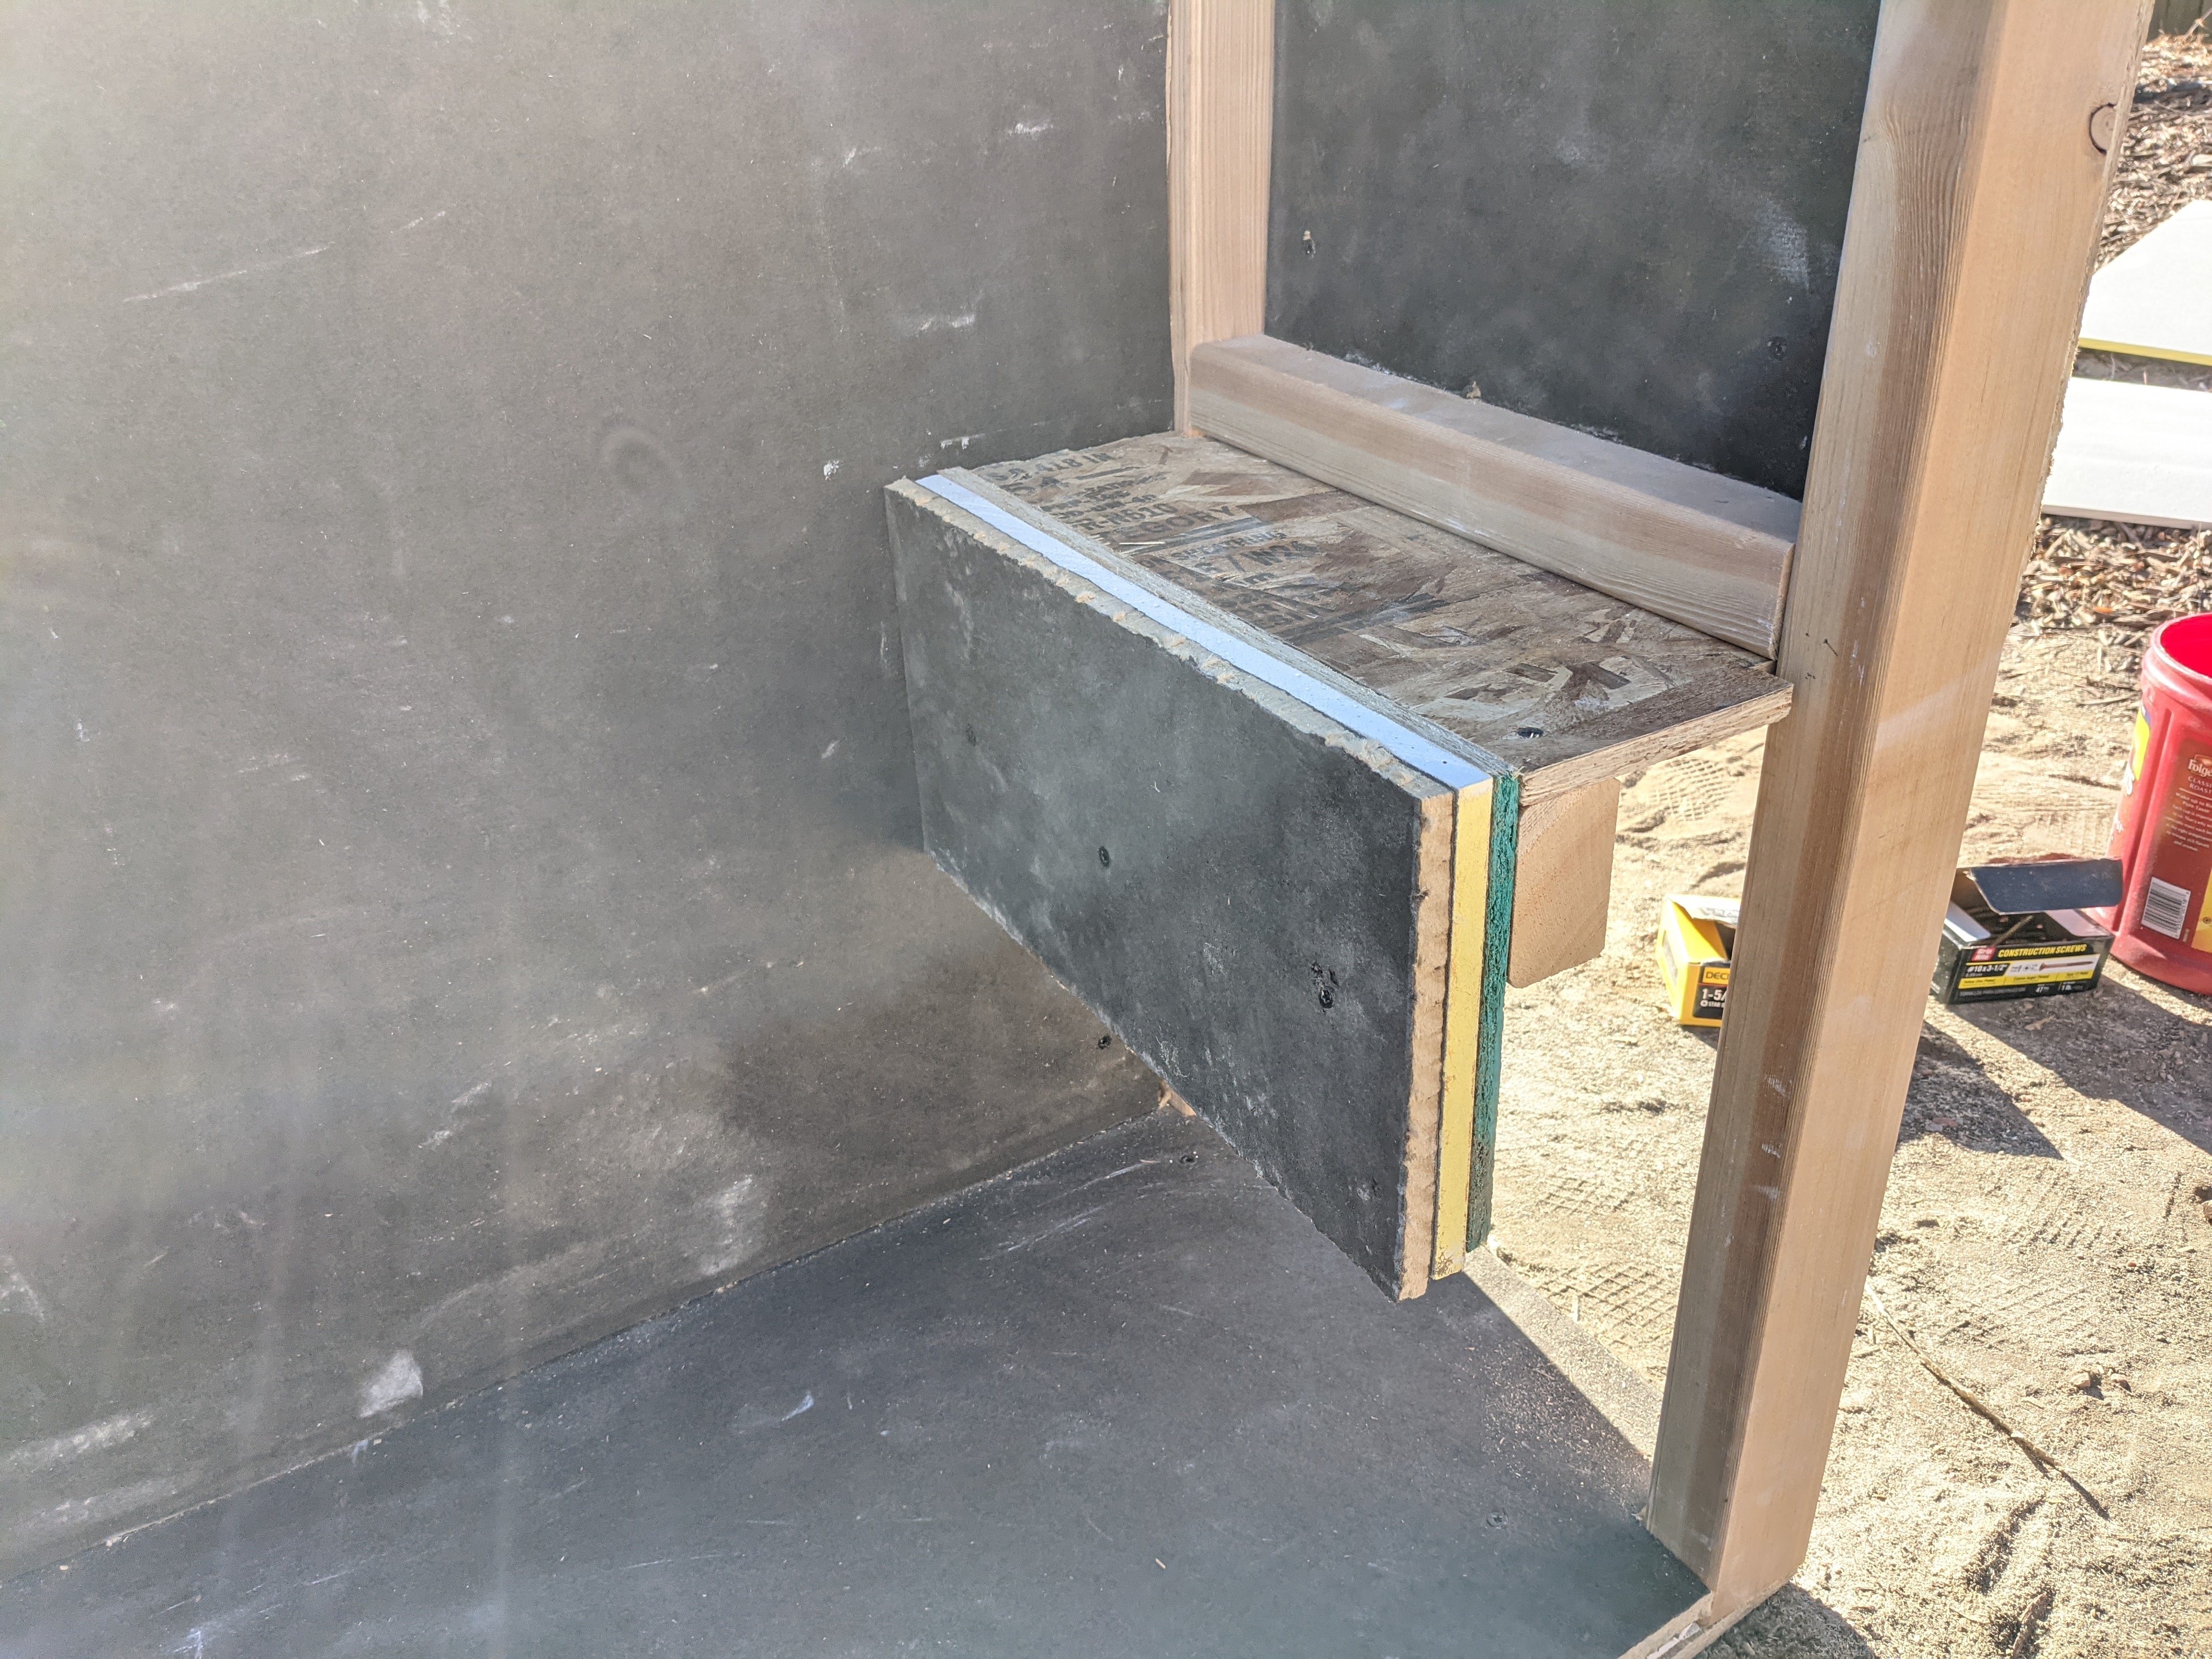
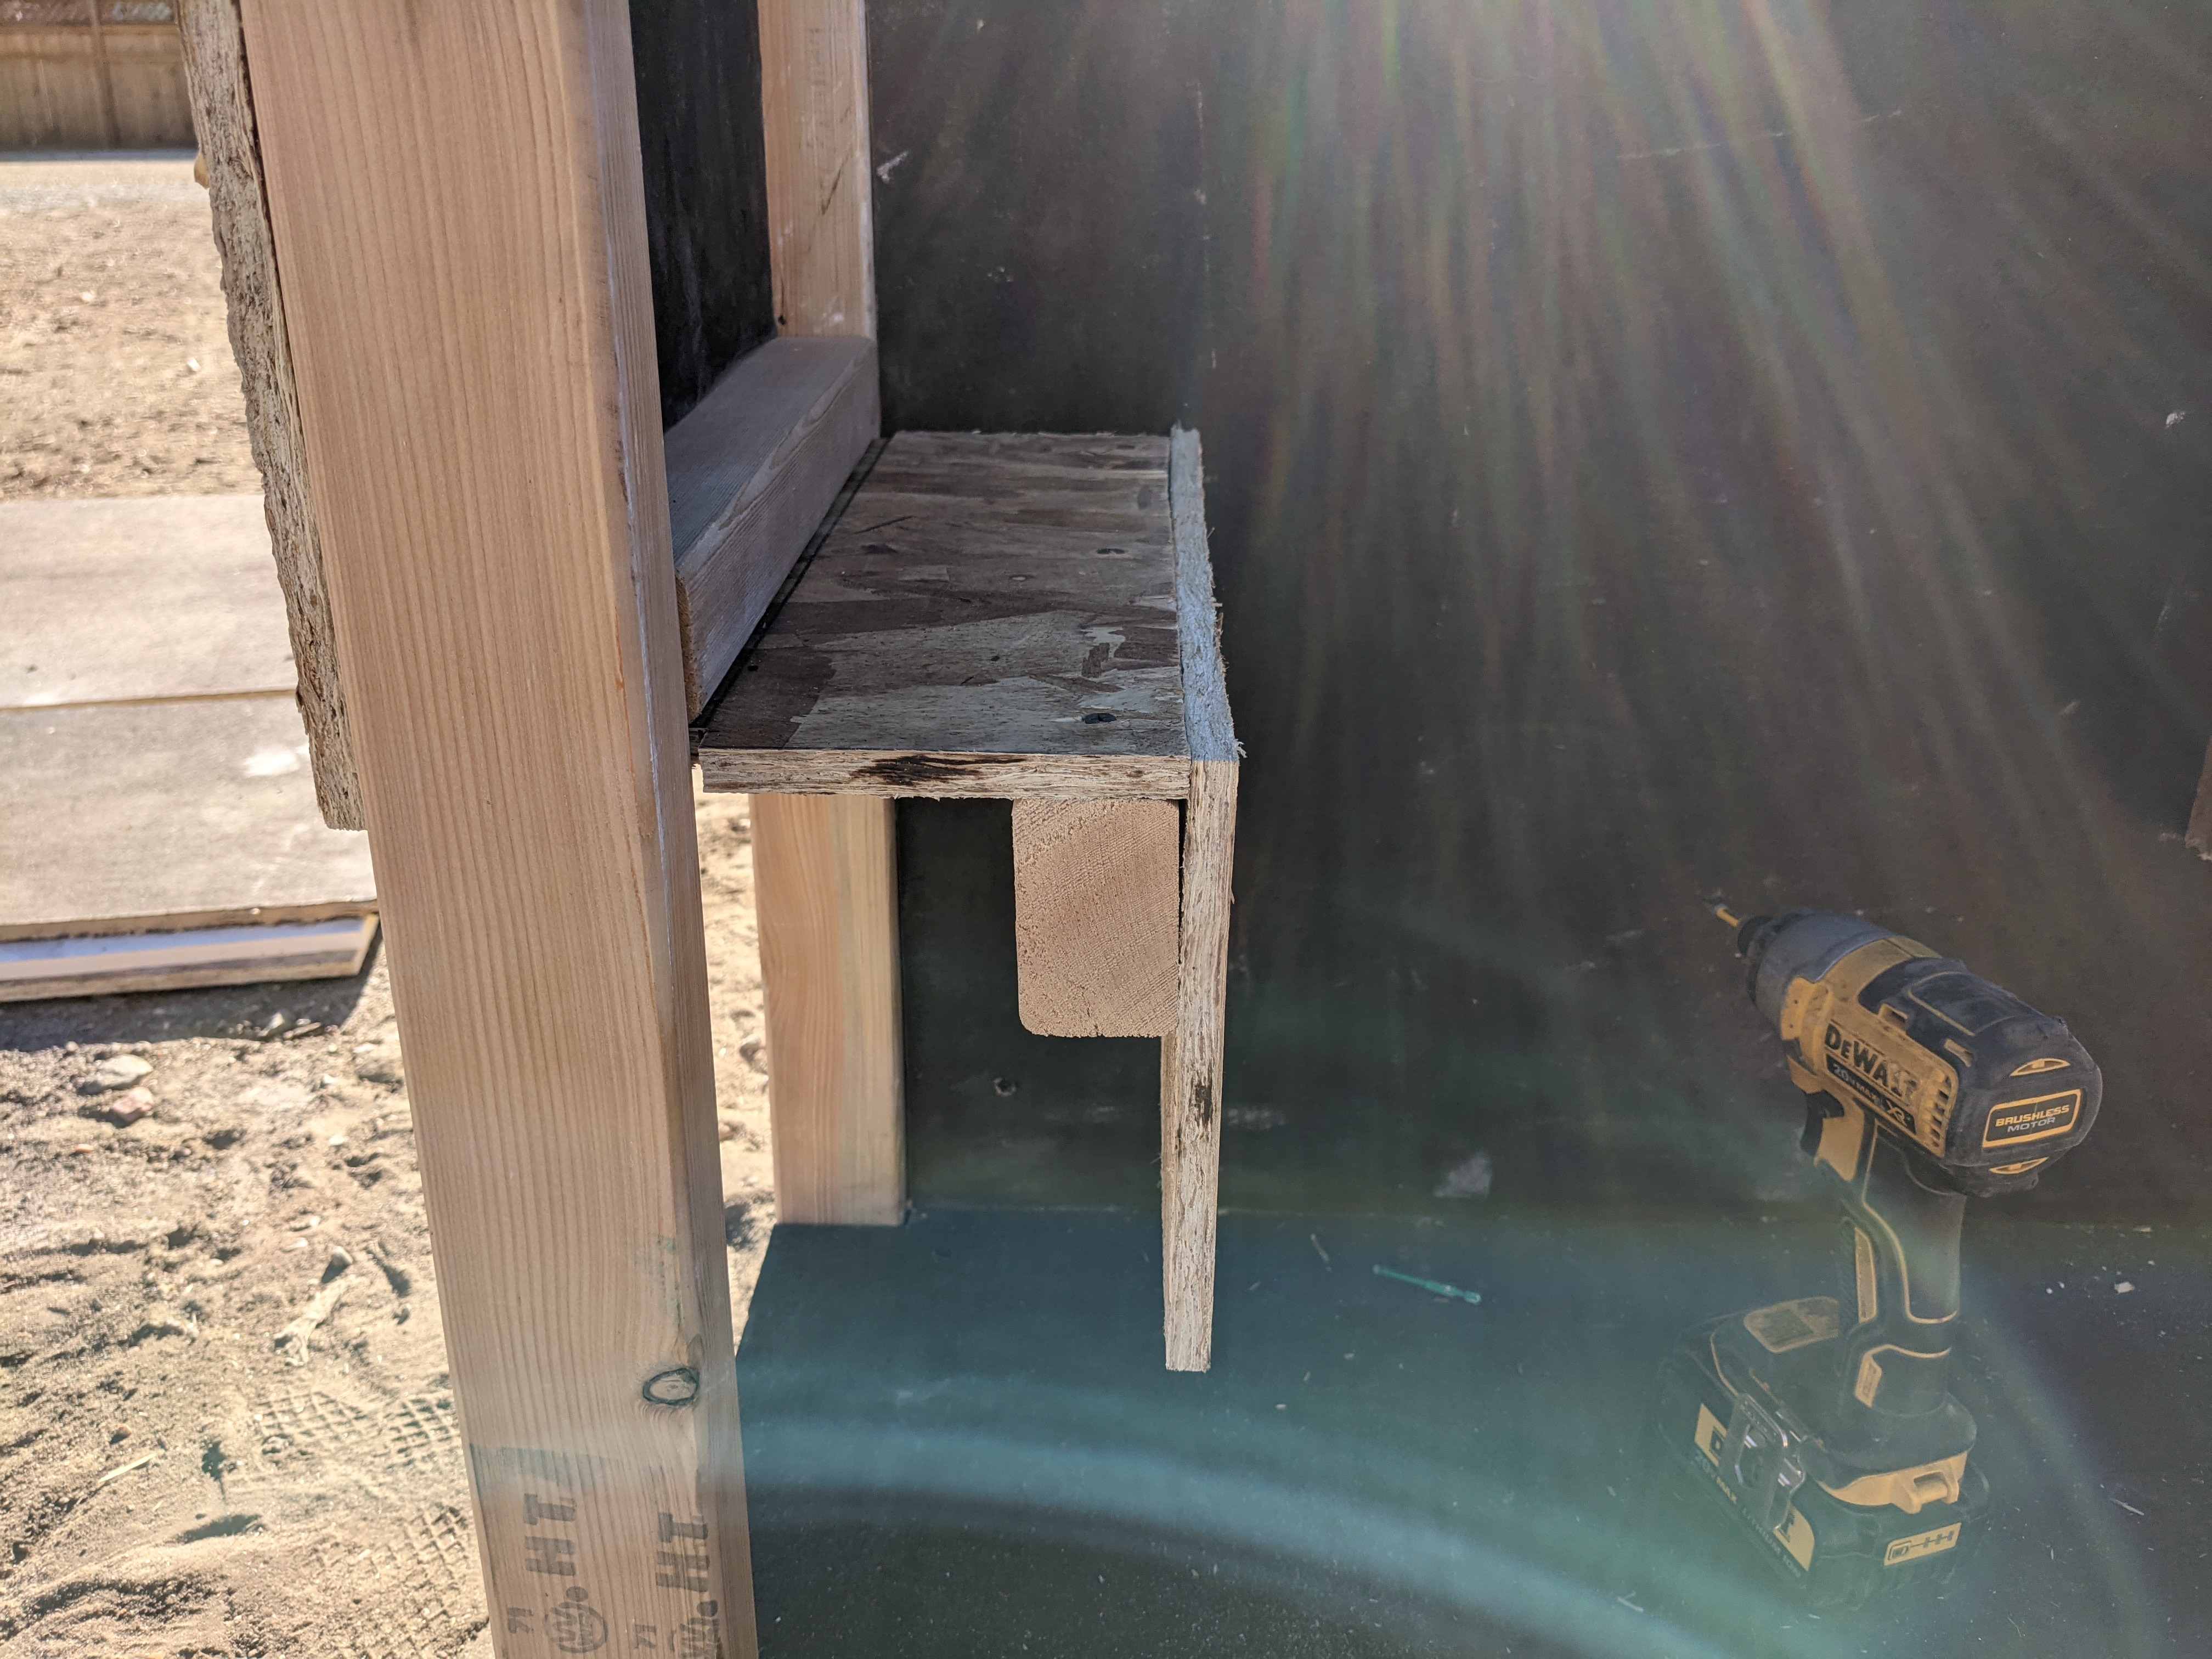
Next, cut the remaining (E) pieces of the Dense Shield and asphalt board to fit over the top of all three layers on the face edge.
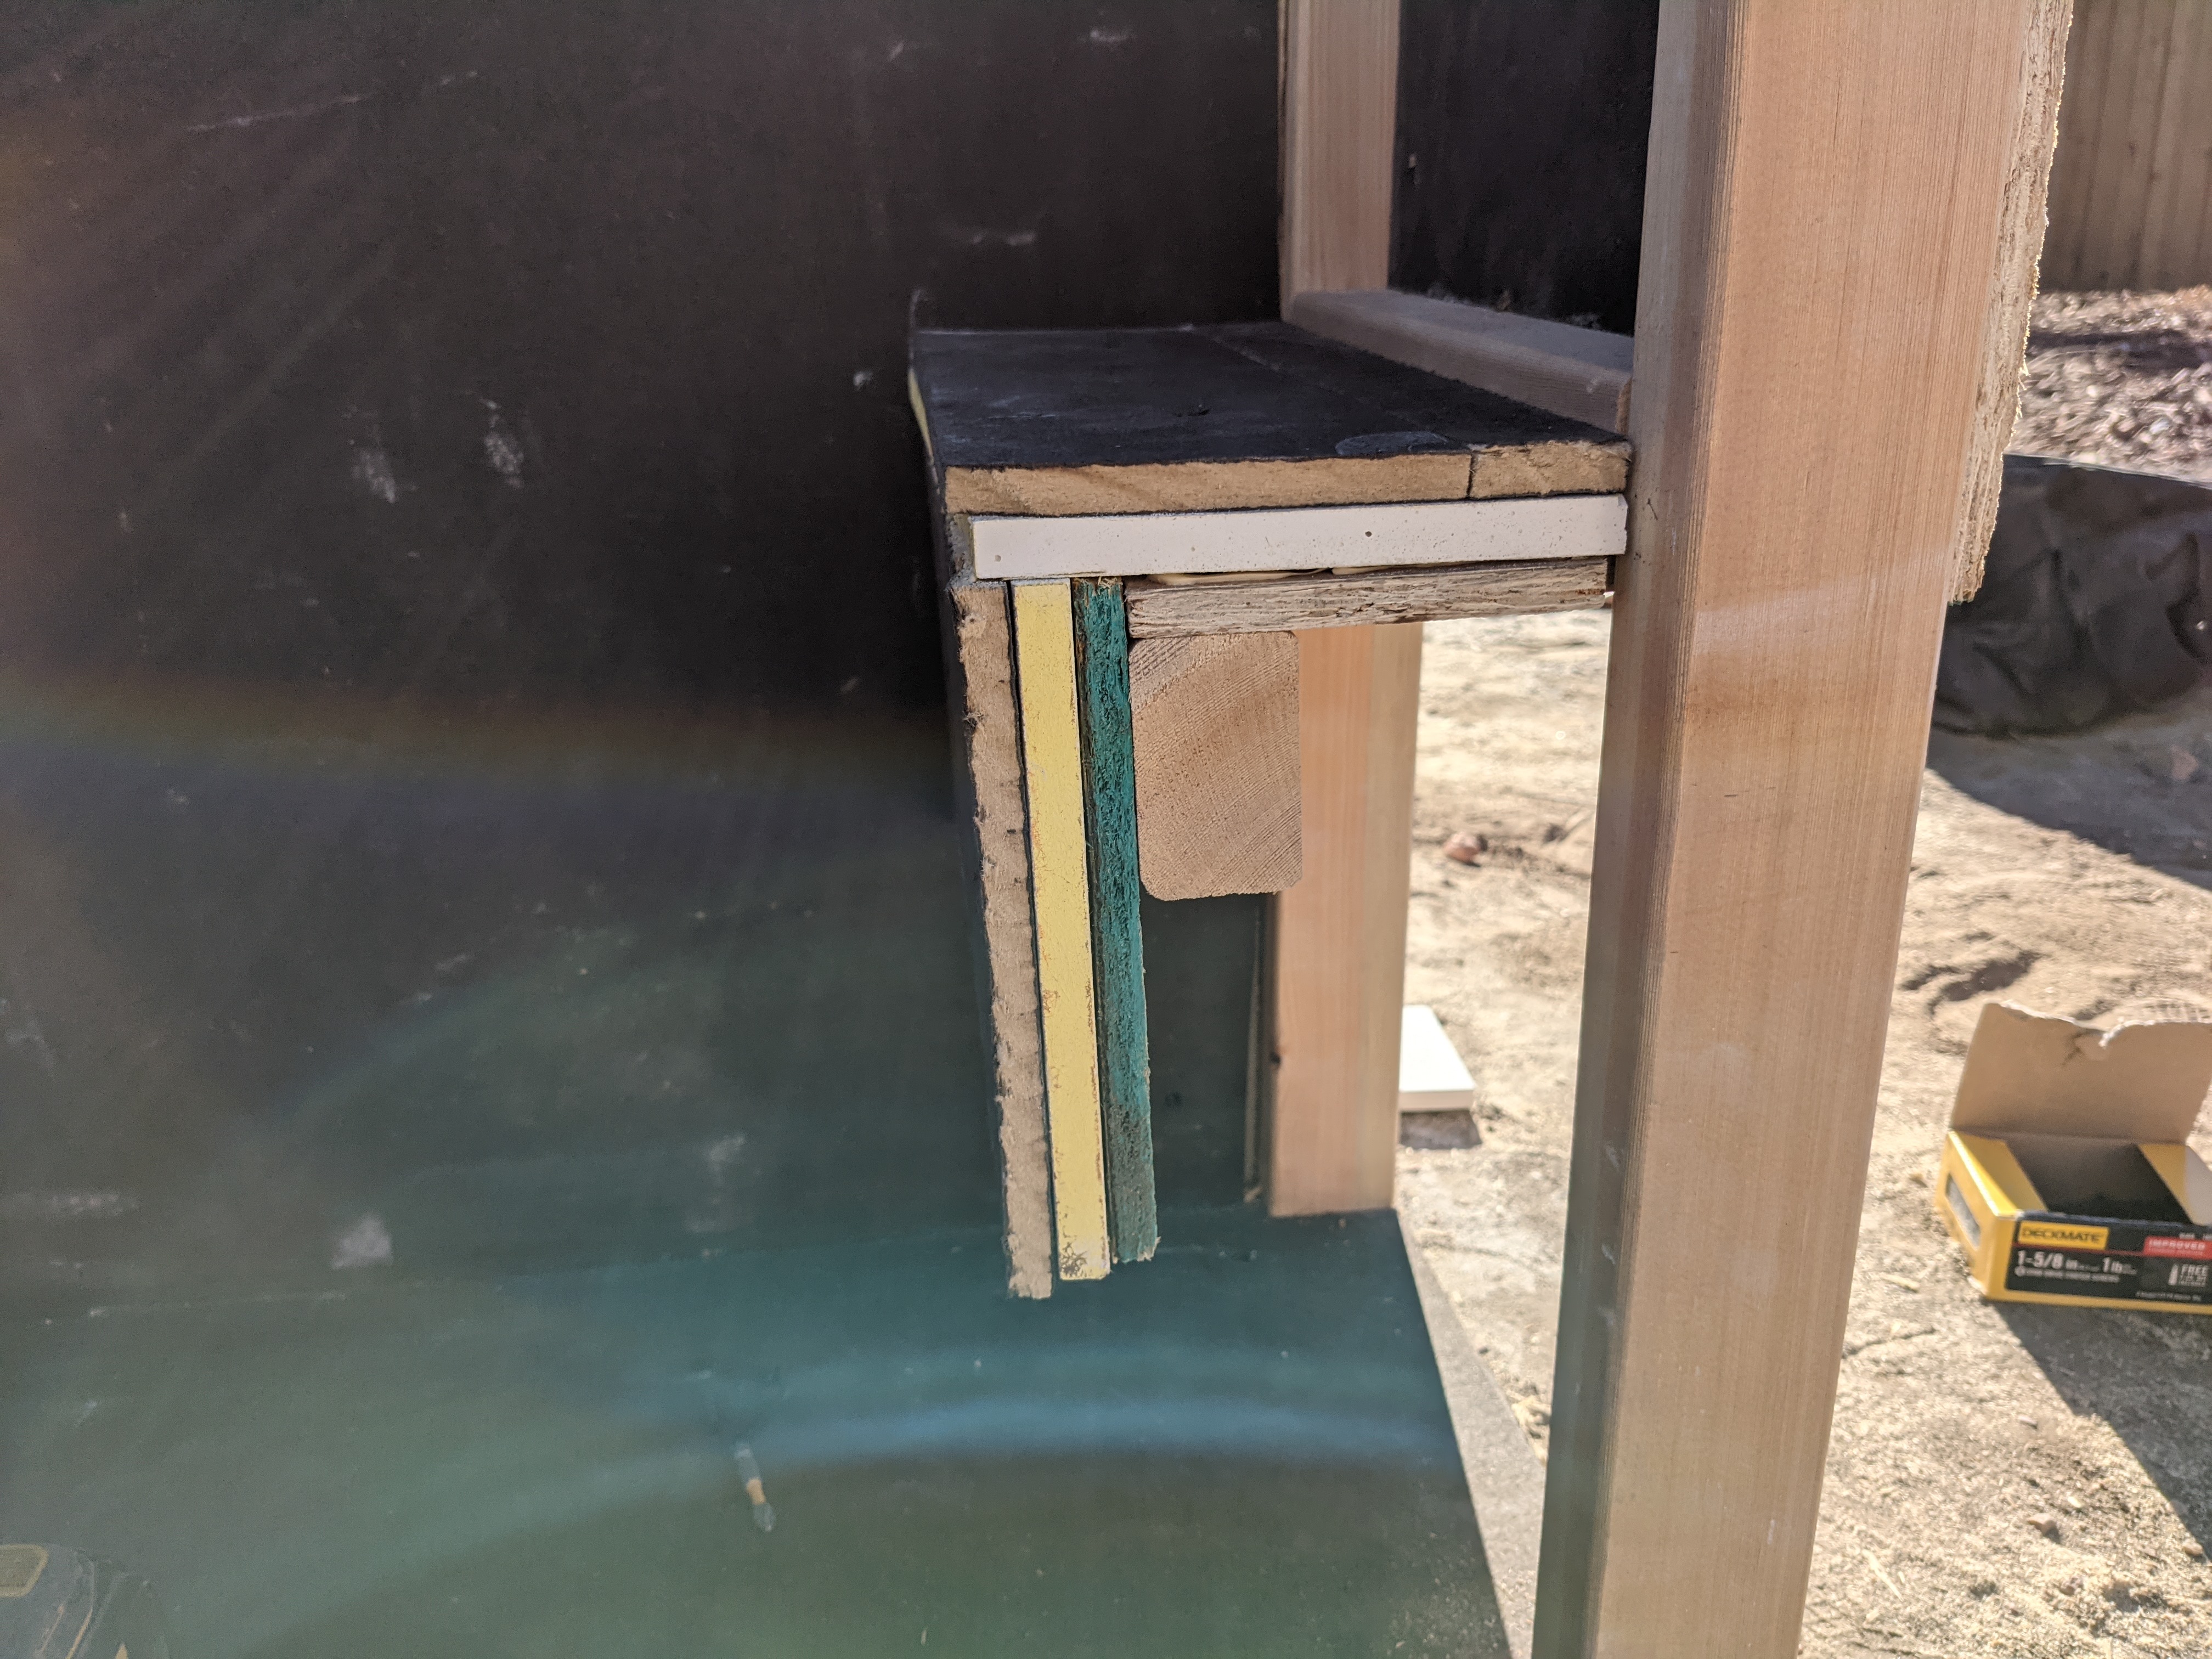
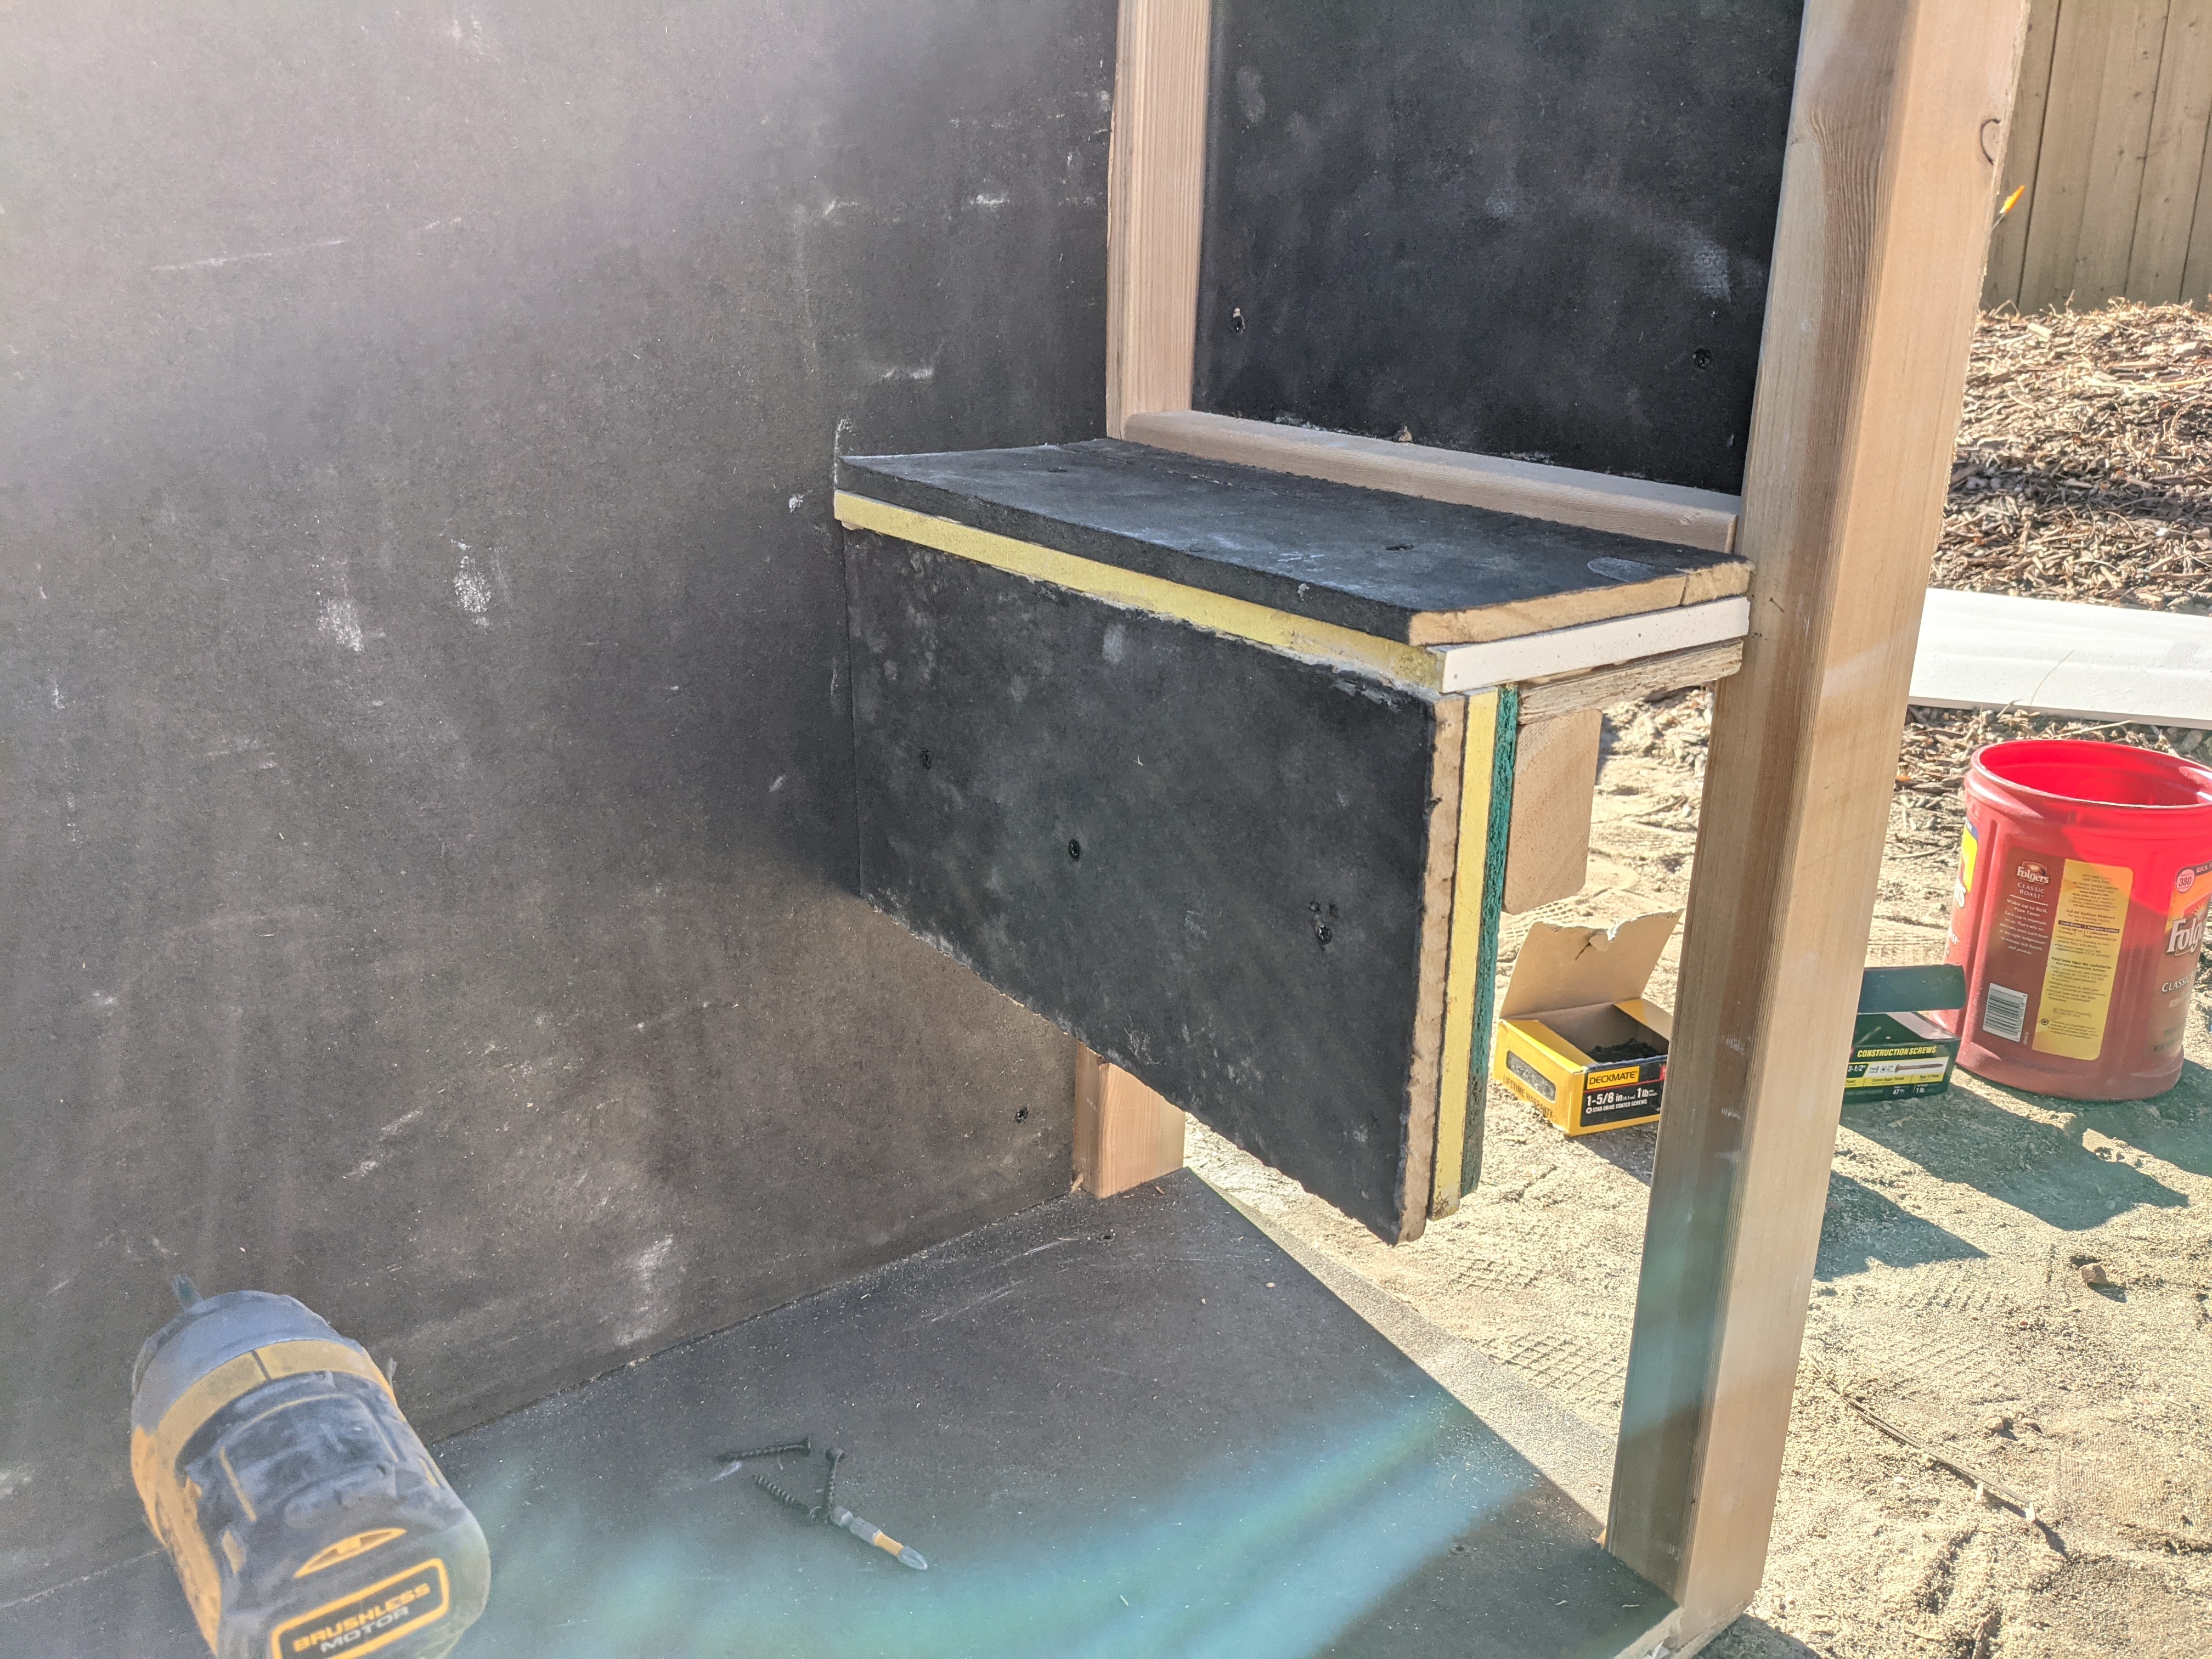
You can use the foil tape to help keep the corners clean. This should also help keep the edges from deteriorating over time.