Step 6: Build the "T"
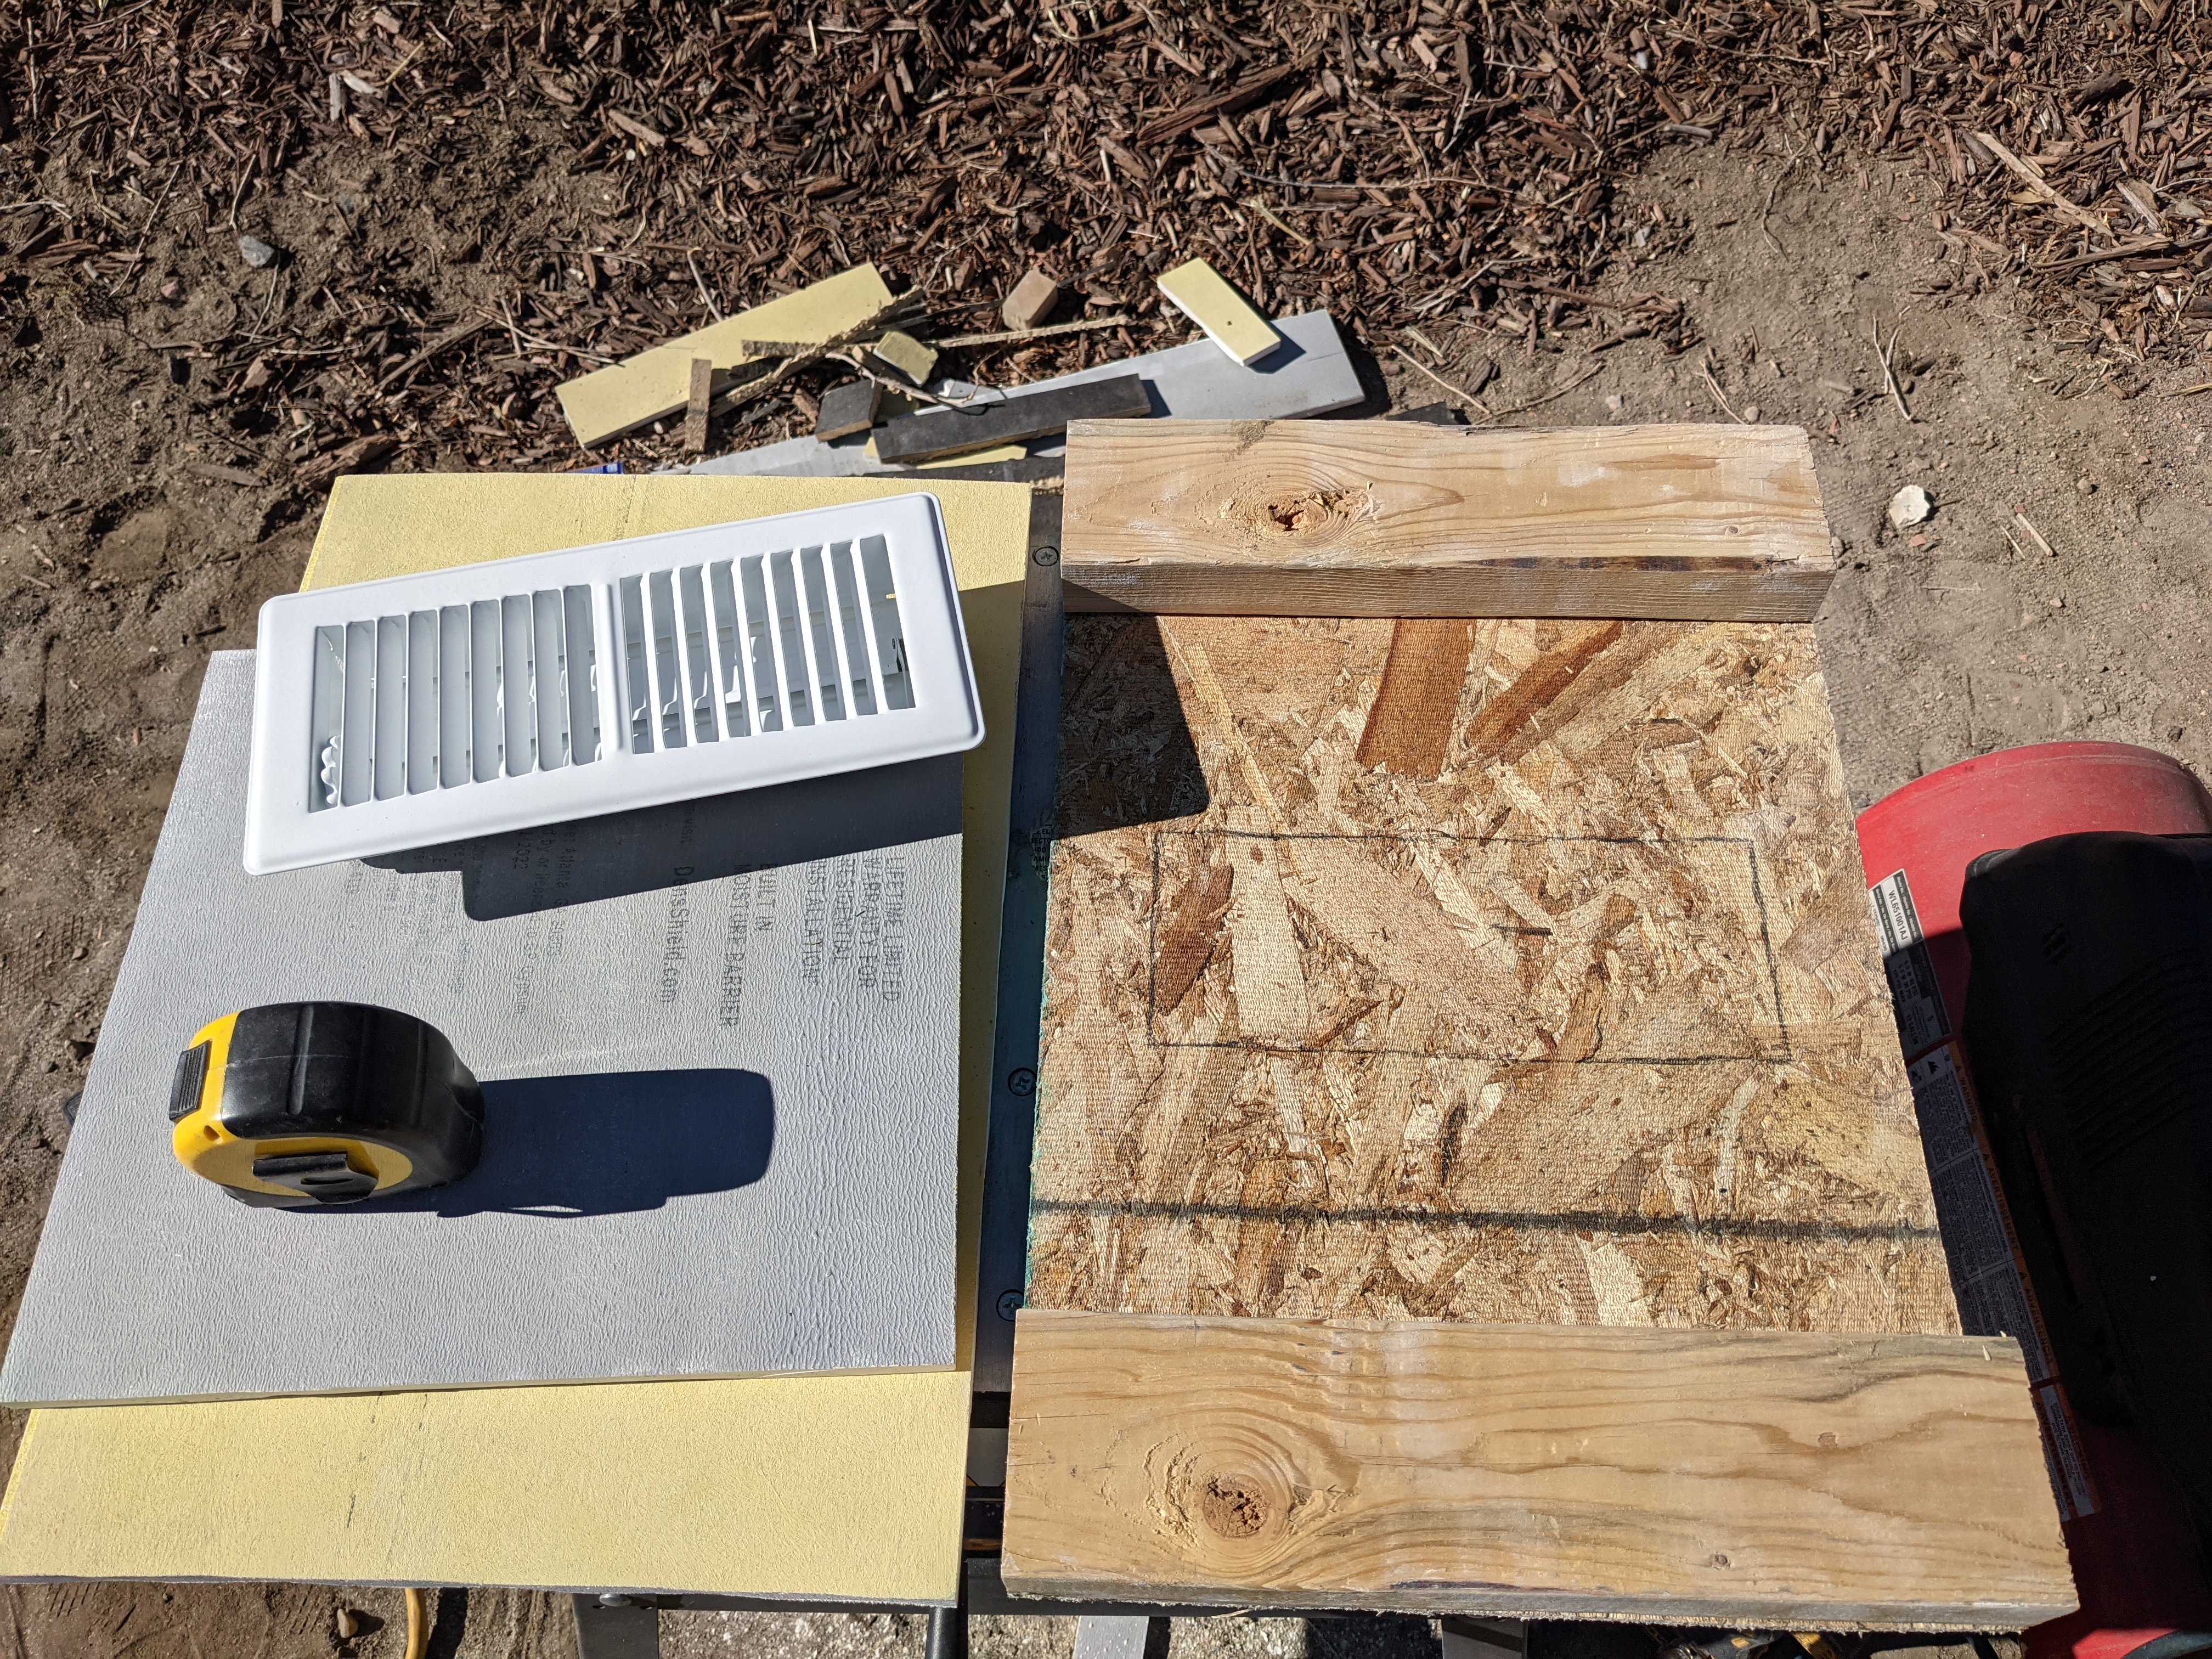
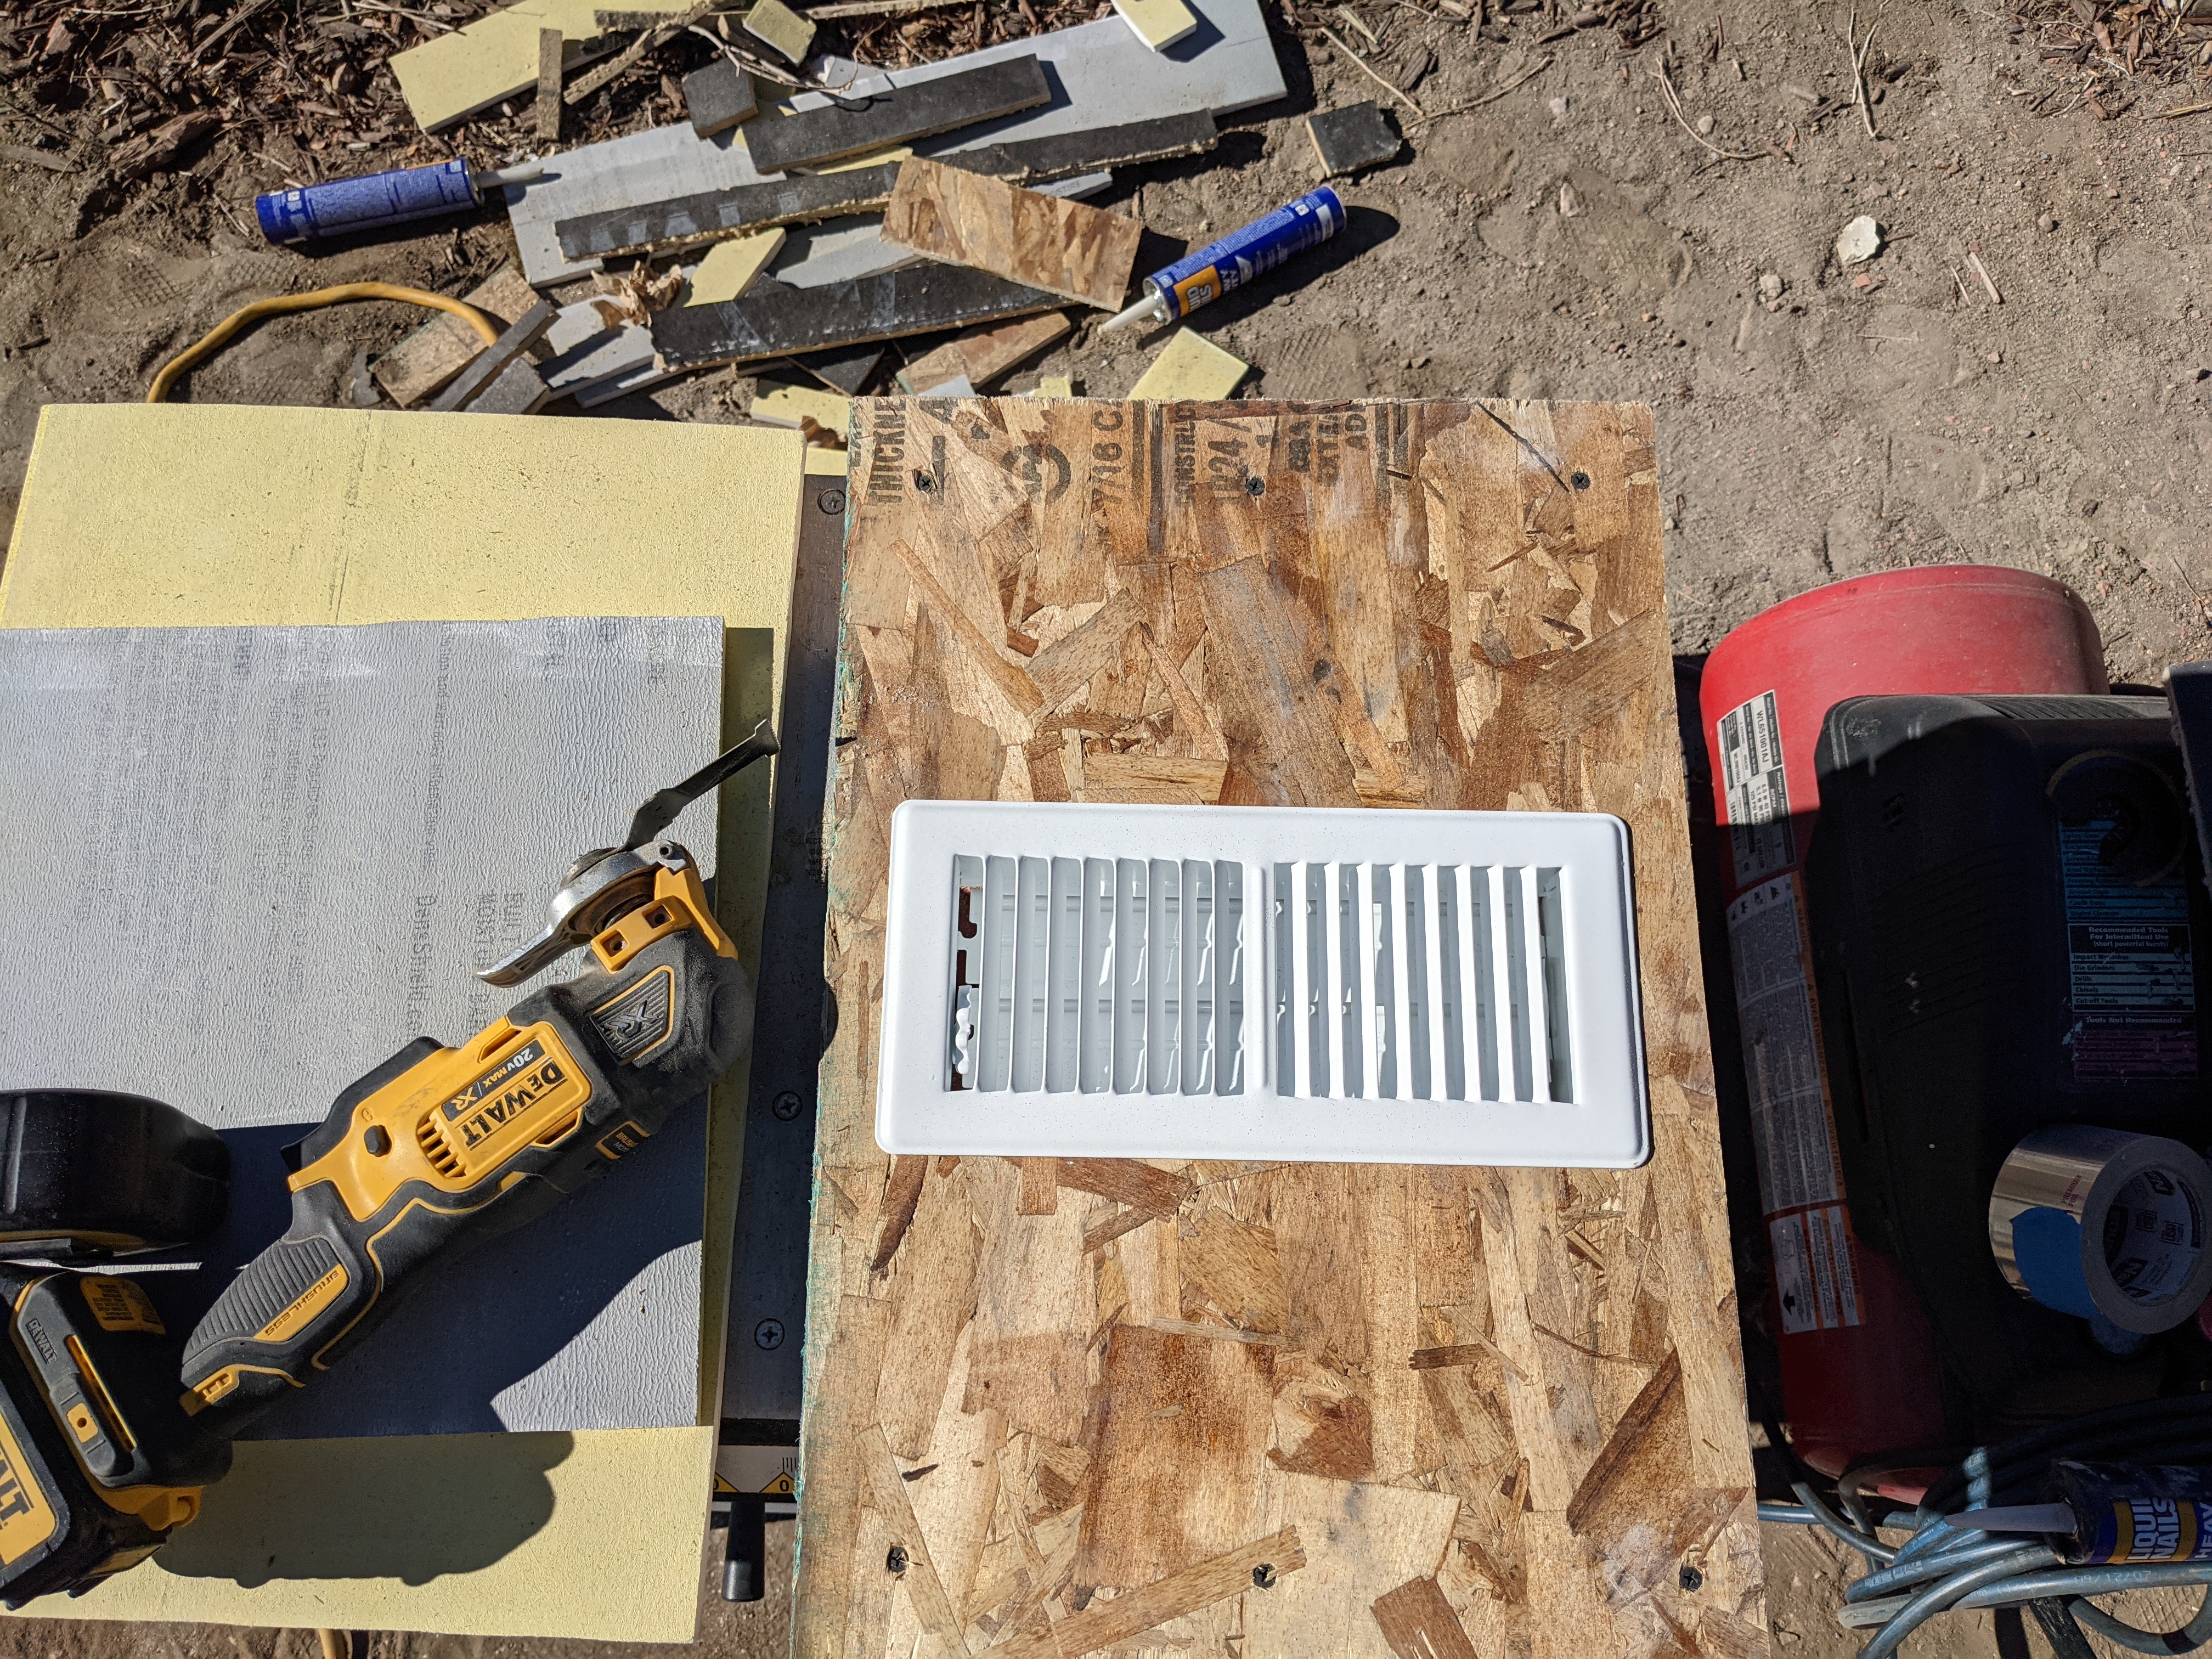
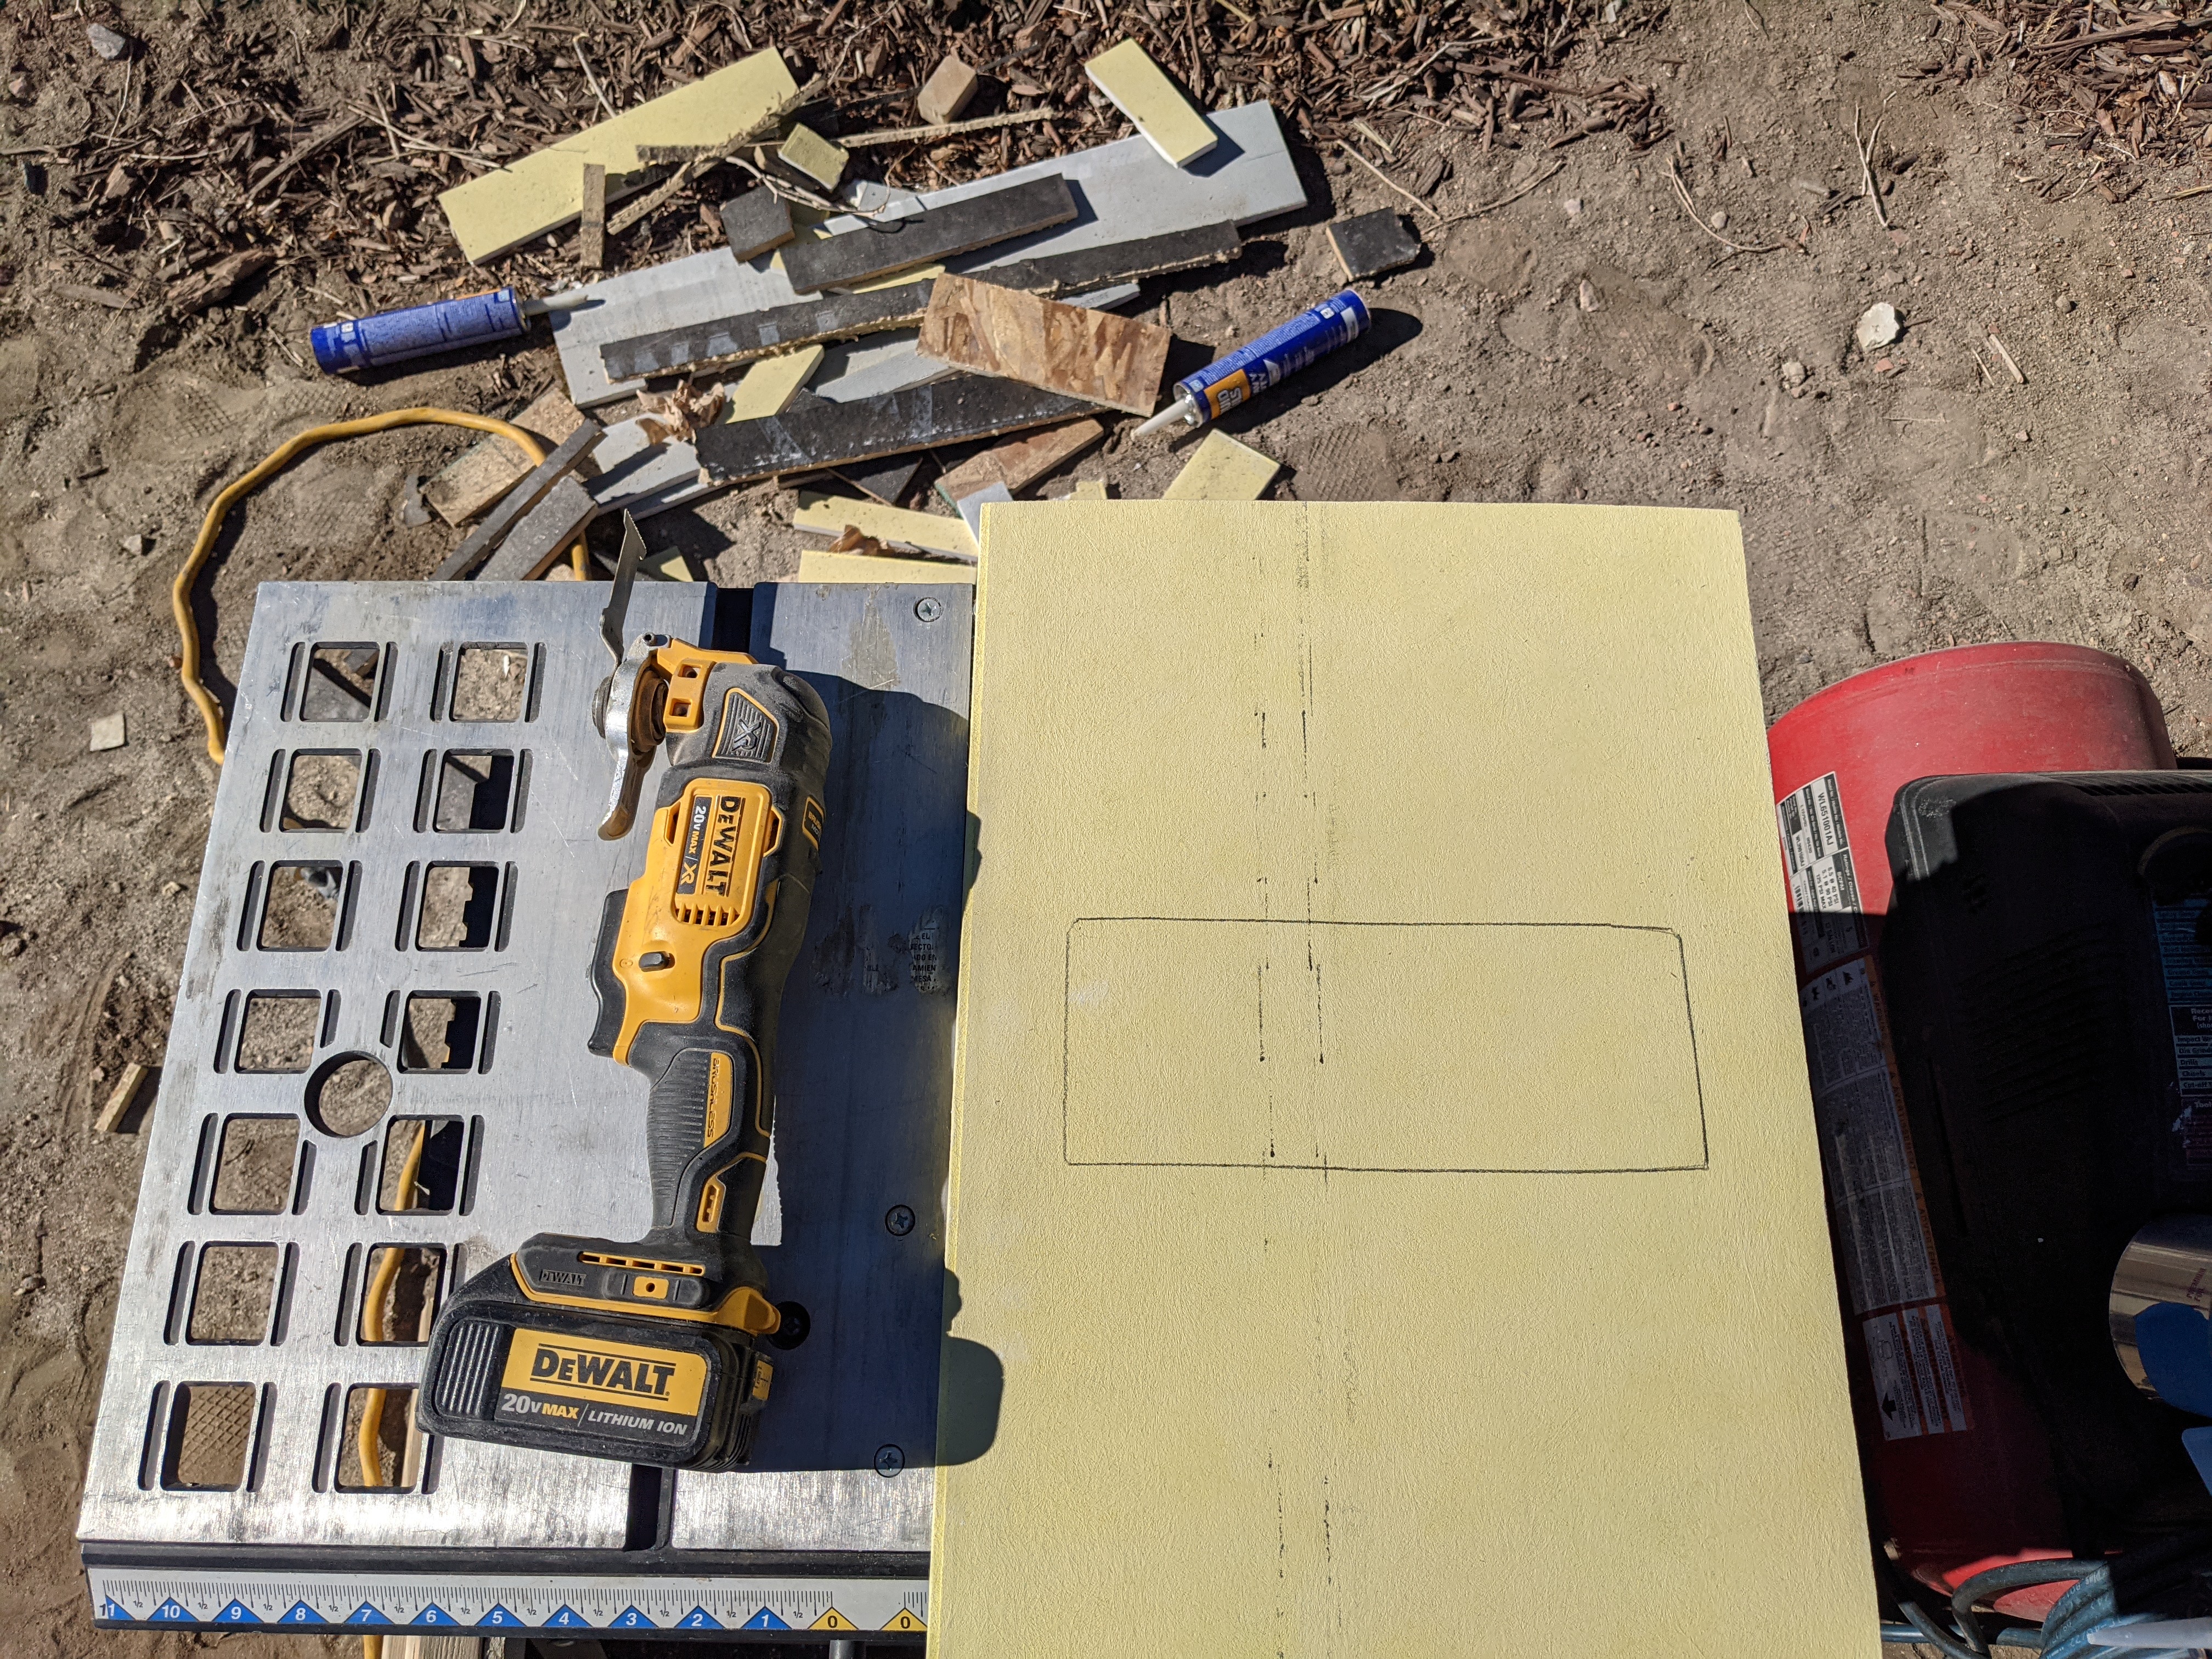
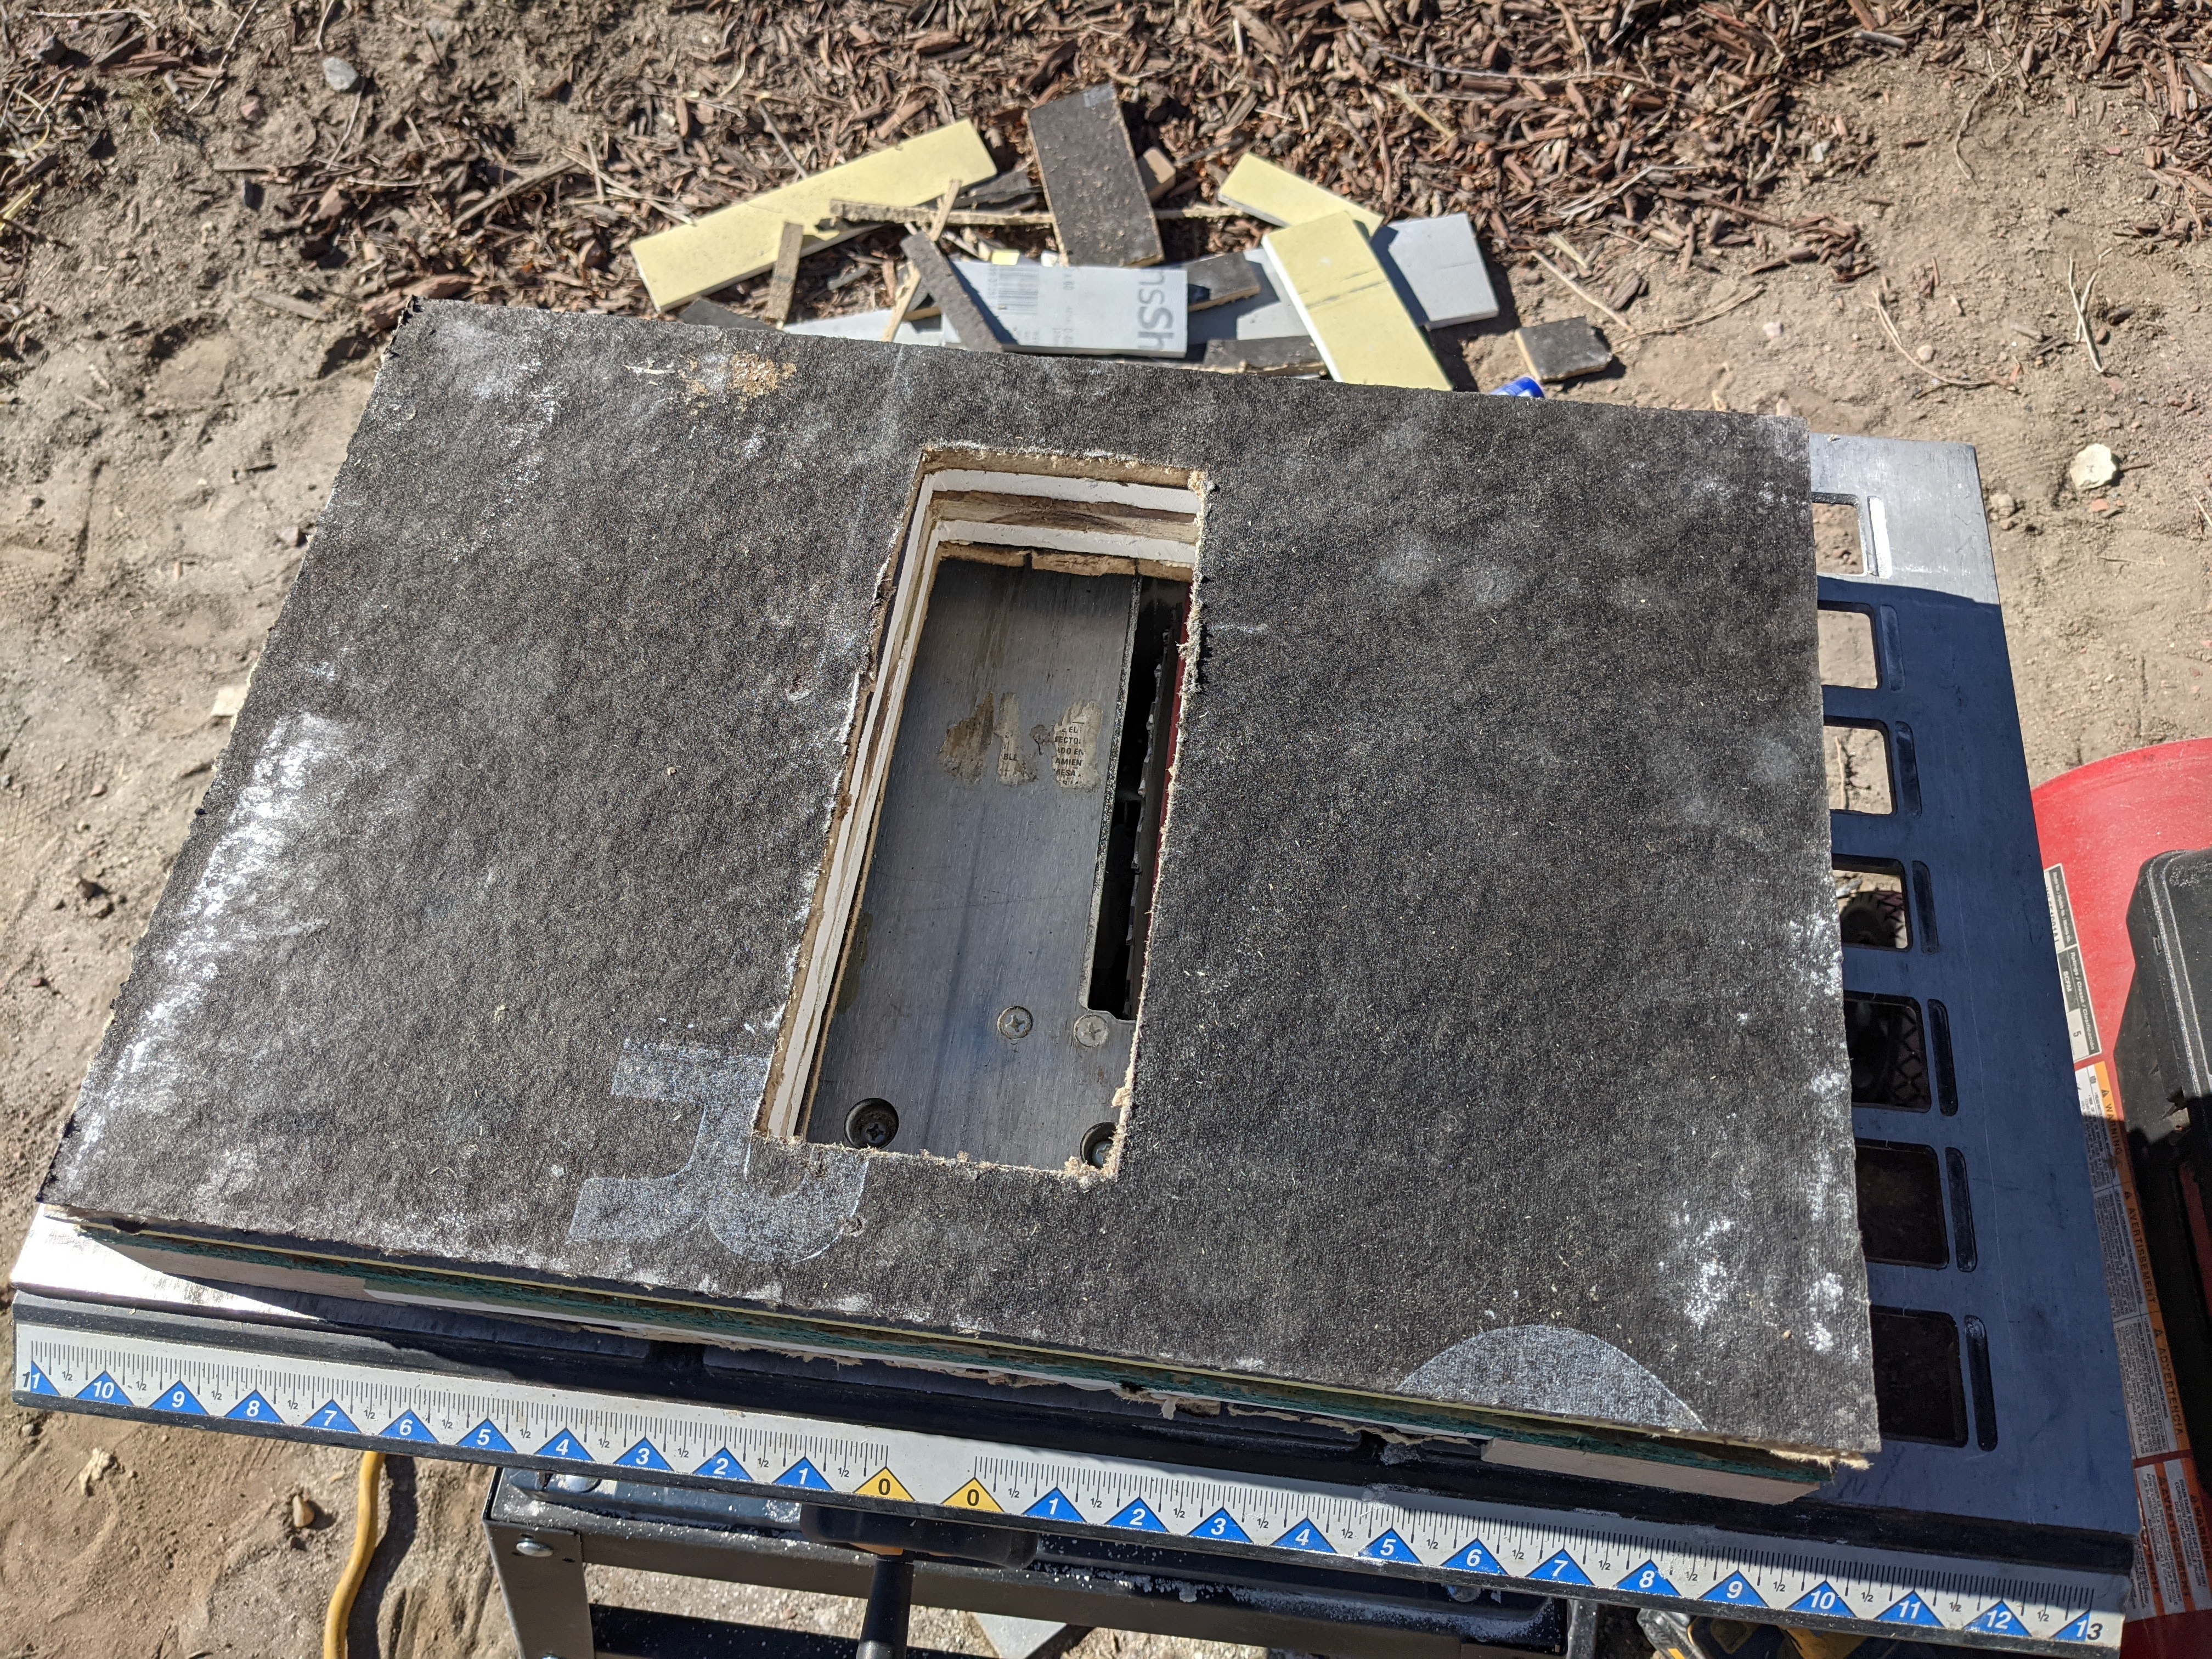
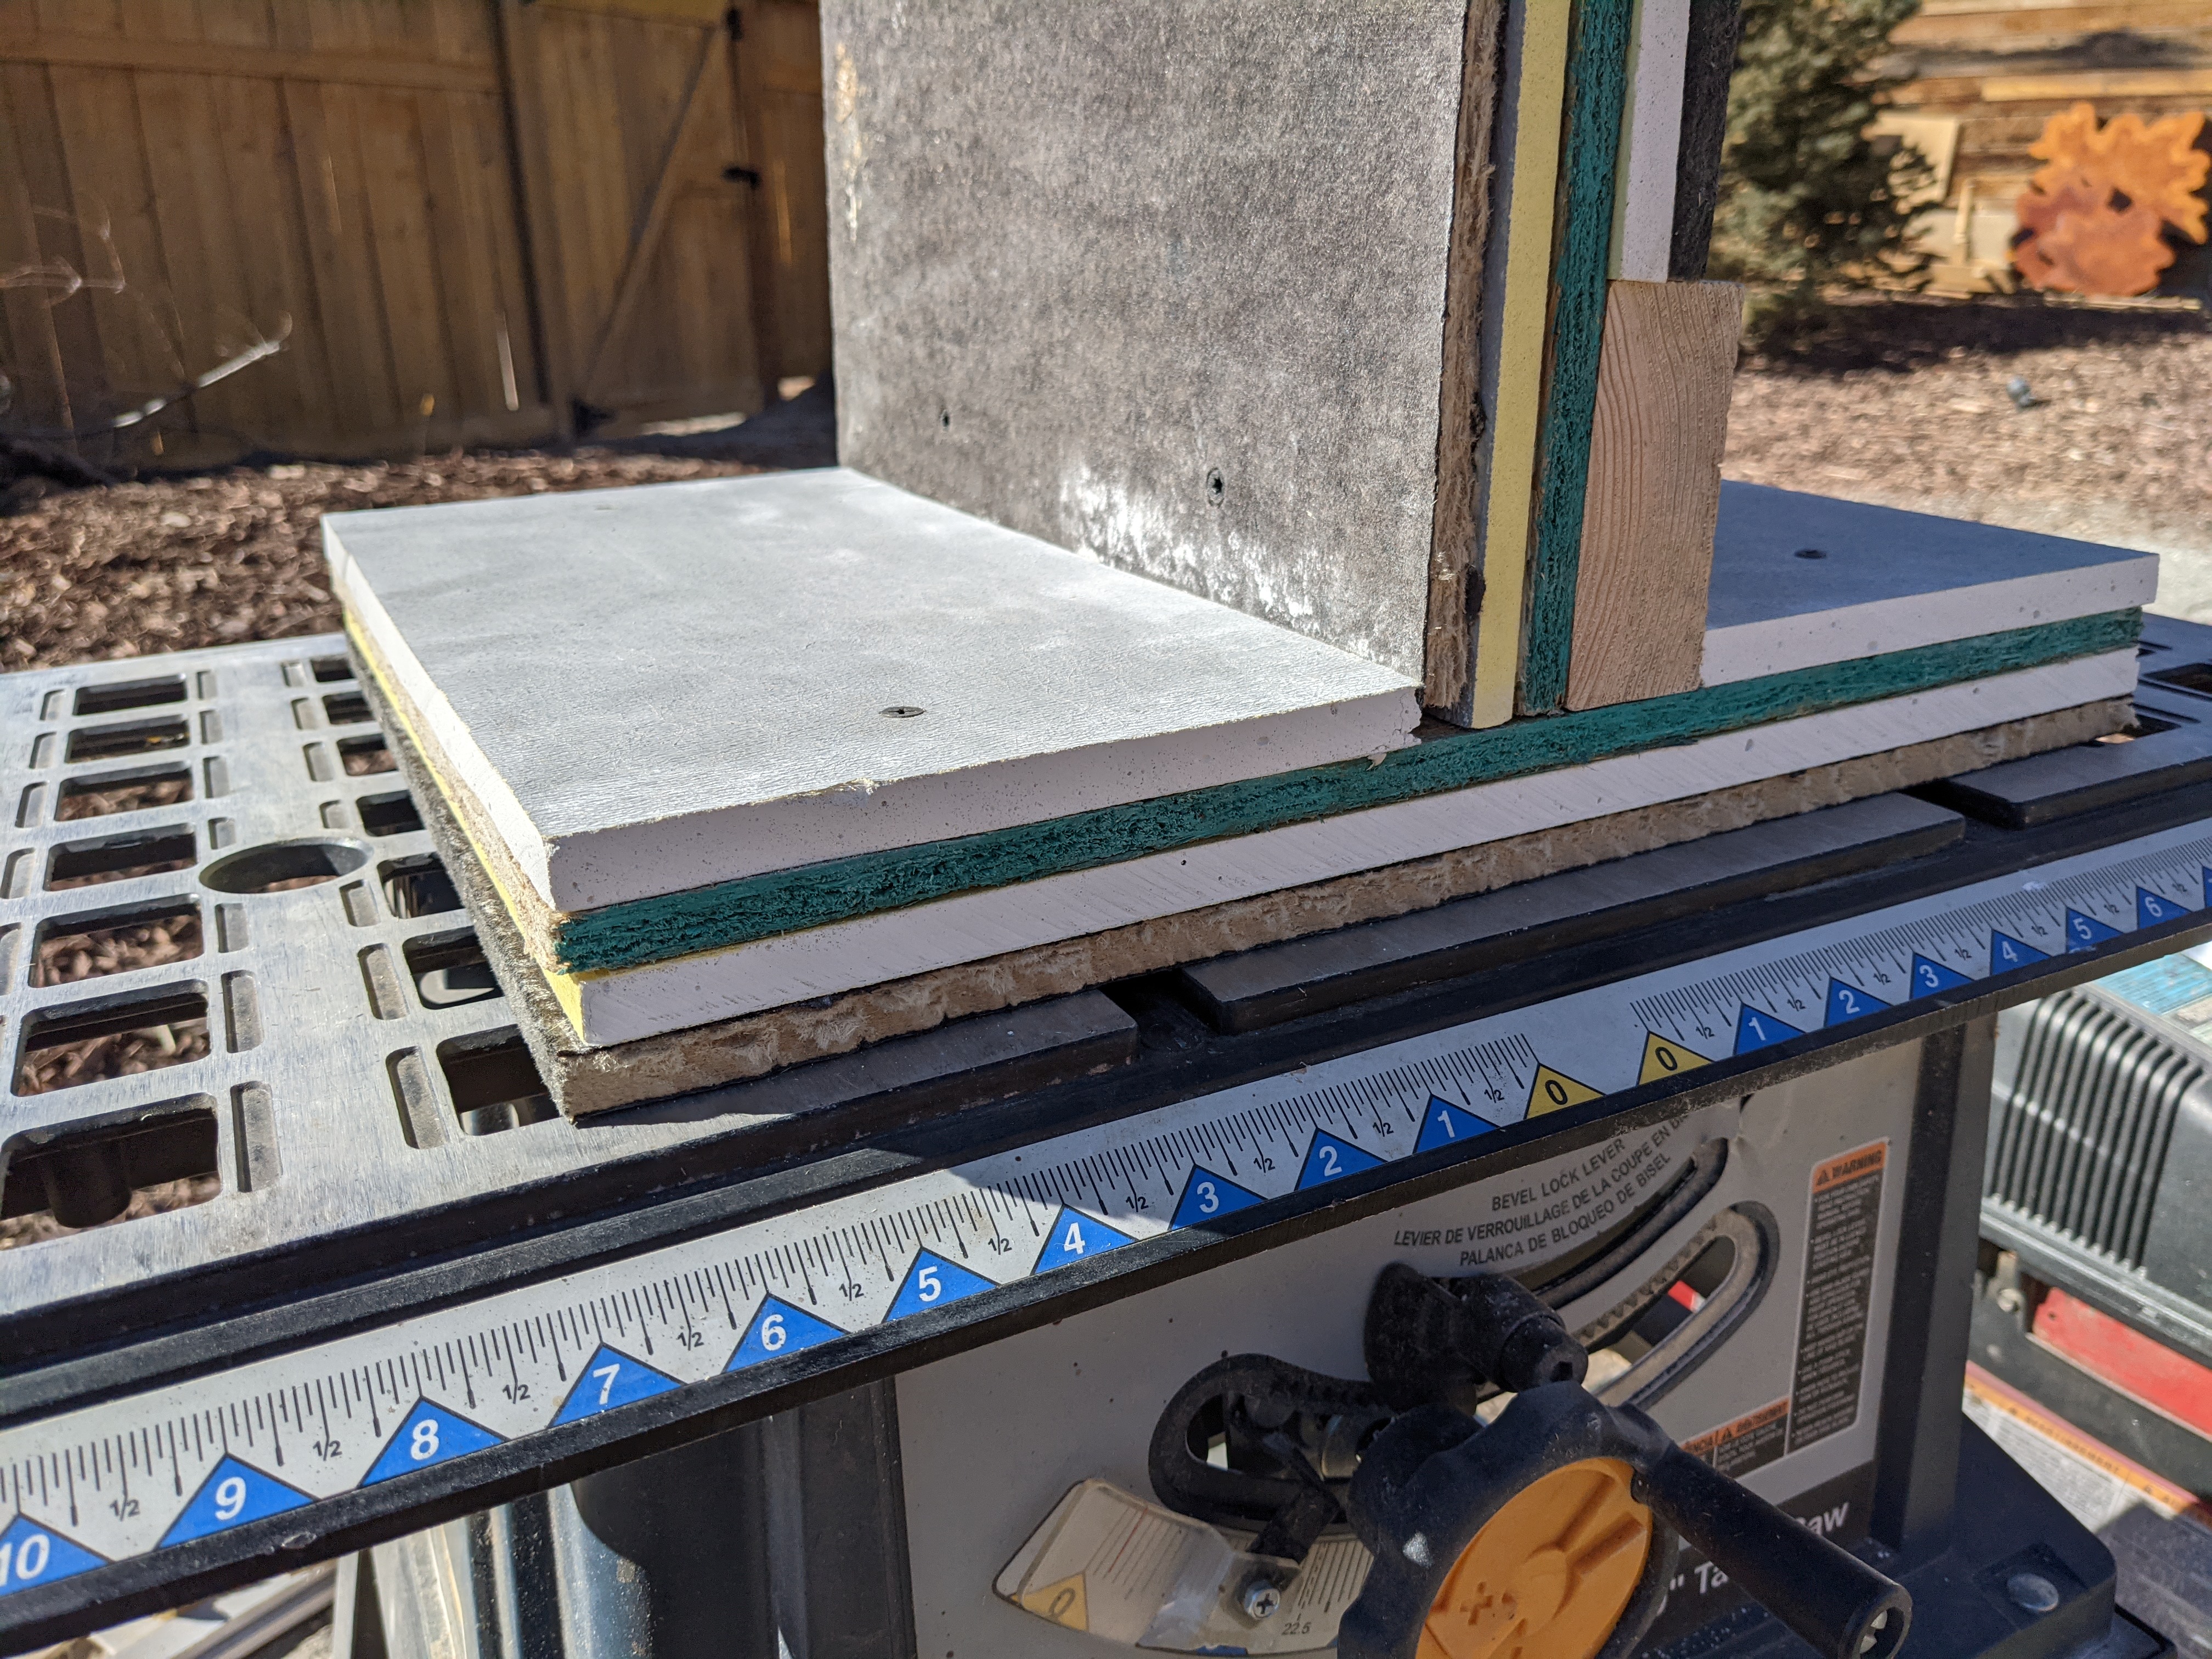
For the "T" piece that goes in the center, first cut the width appropriately for the finished interior dimensions. Then you can cut two more pieces of lumber and attach them to the top and bottom of the (C) piece of OSB, aligning the edges. Then you can place the vent register on that, trace it, then cut it out so the register fits through. For the "T", a piece of Dense Shield and asphalt board were used on both sides of the OSB, so in total, the "T" had 5 layers.
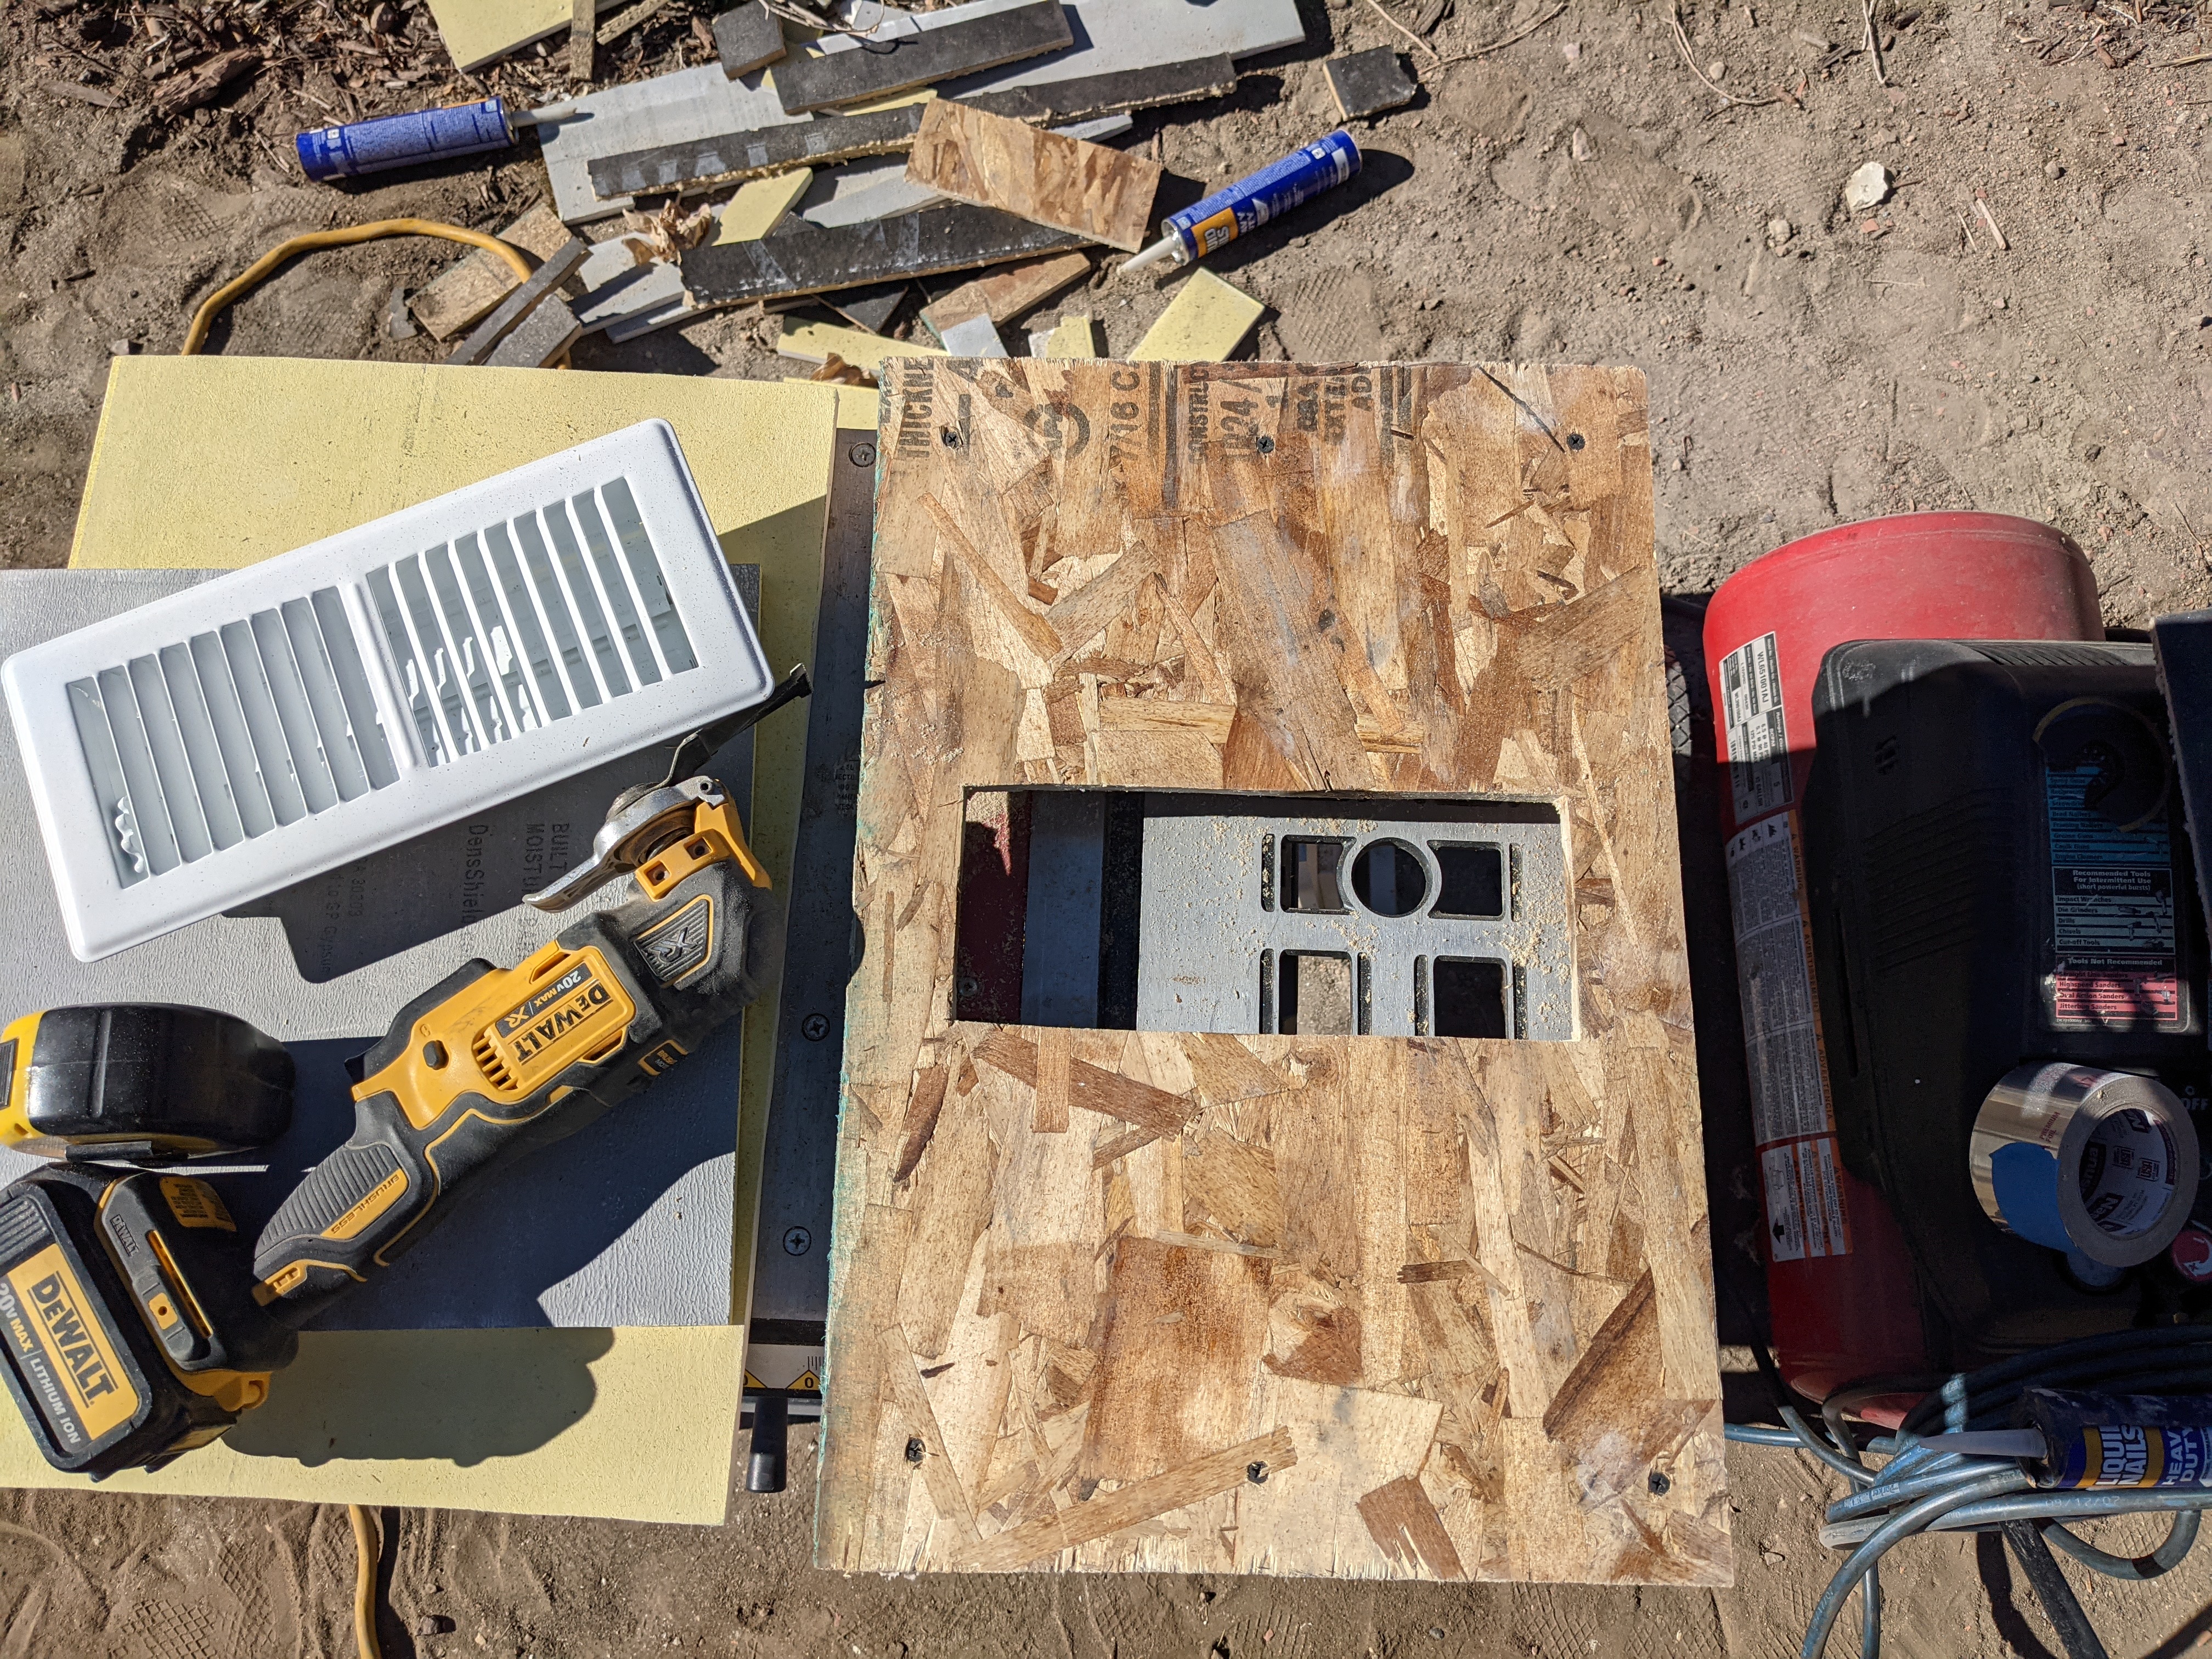
Then align the (C) piece of Dense Shield with the OSB and trace out for the vent through the hole you just cut out.
Repeat that same process for the asphalt board.
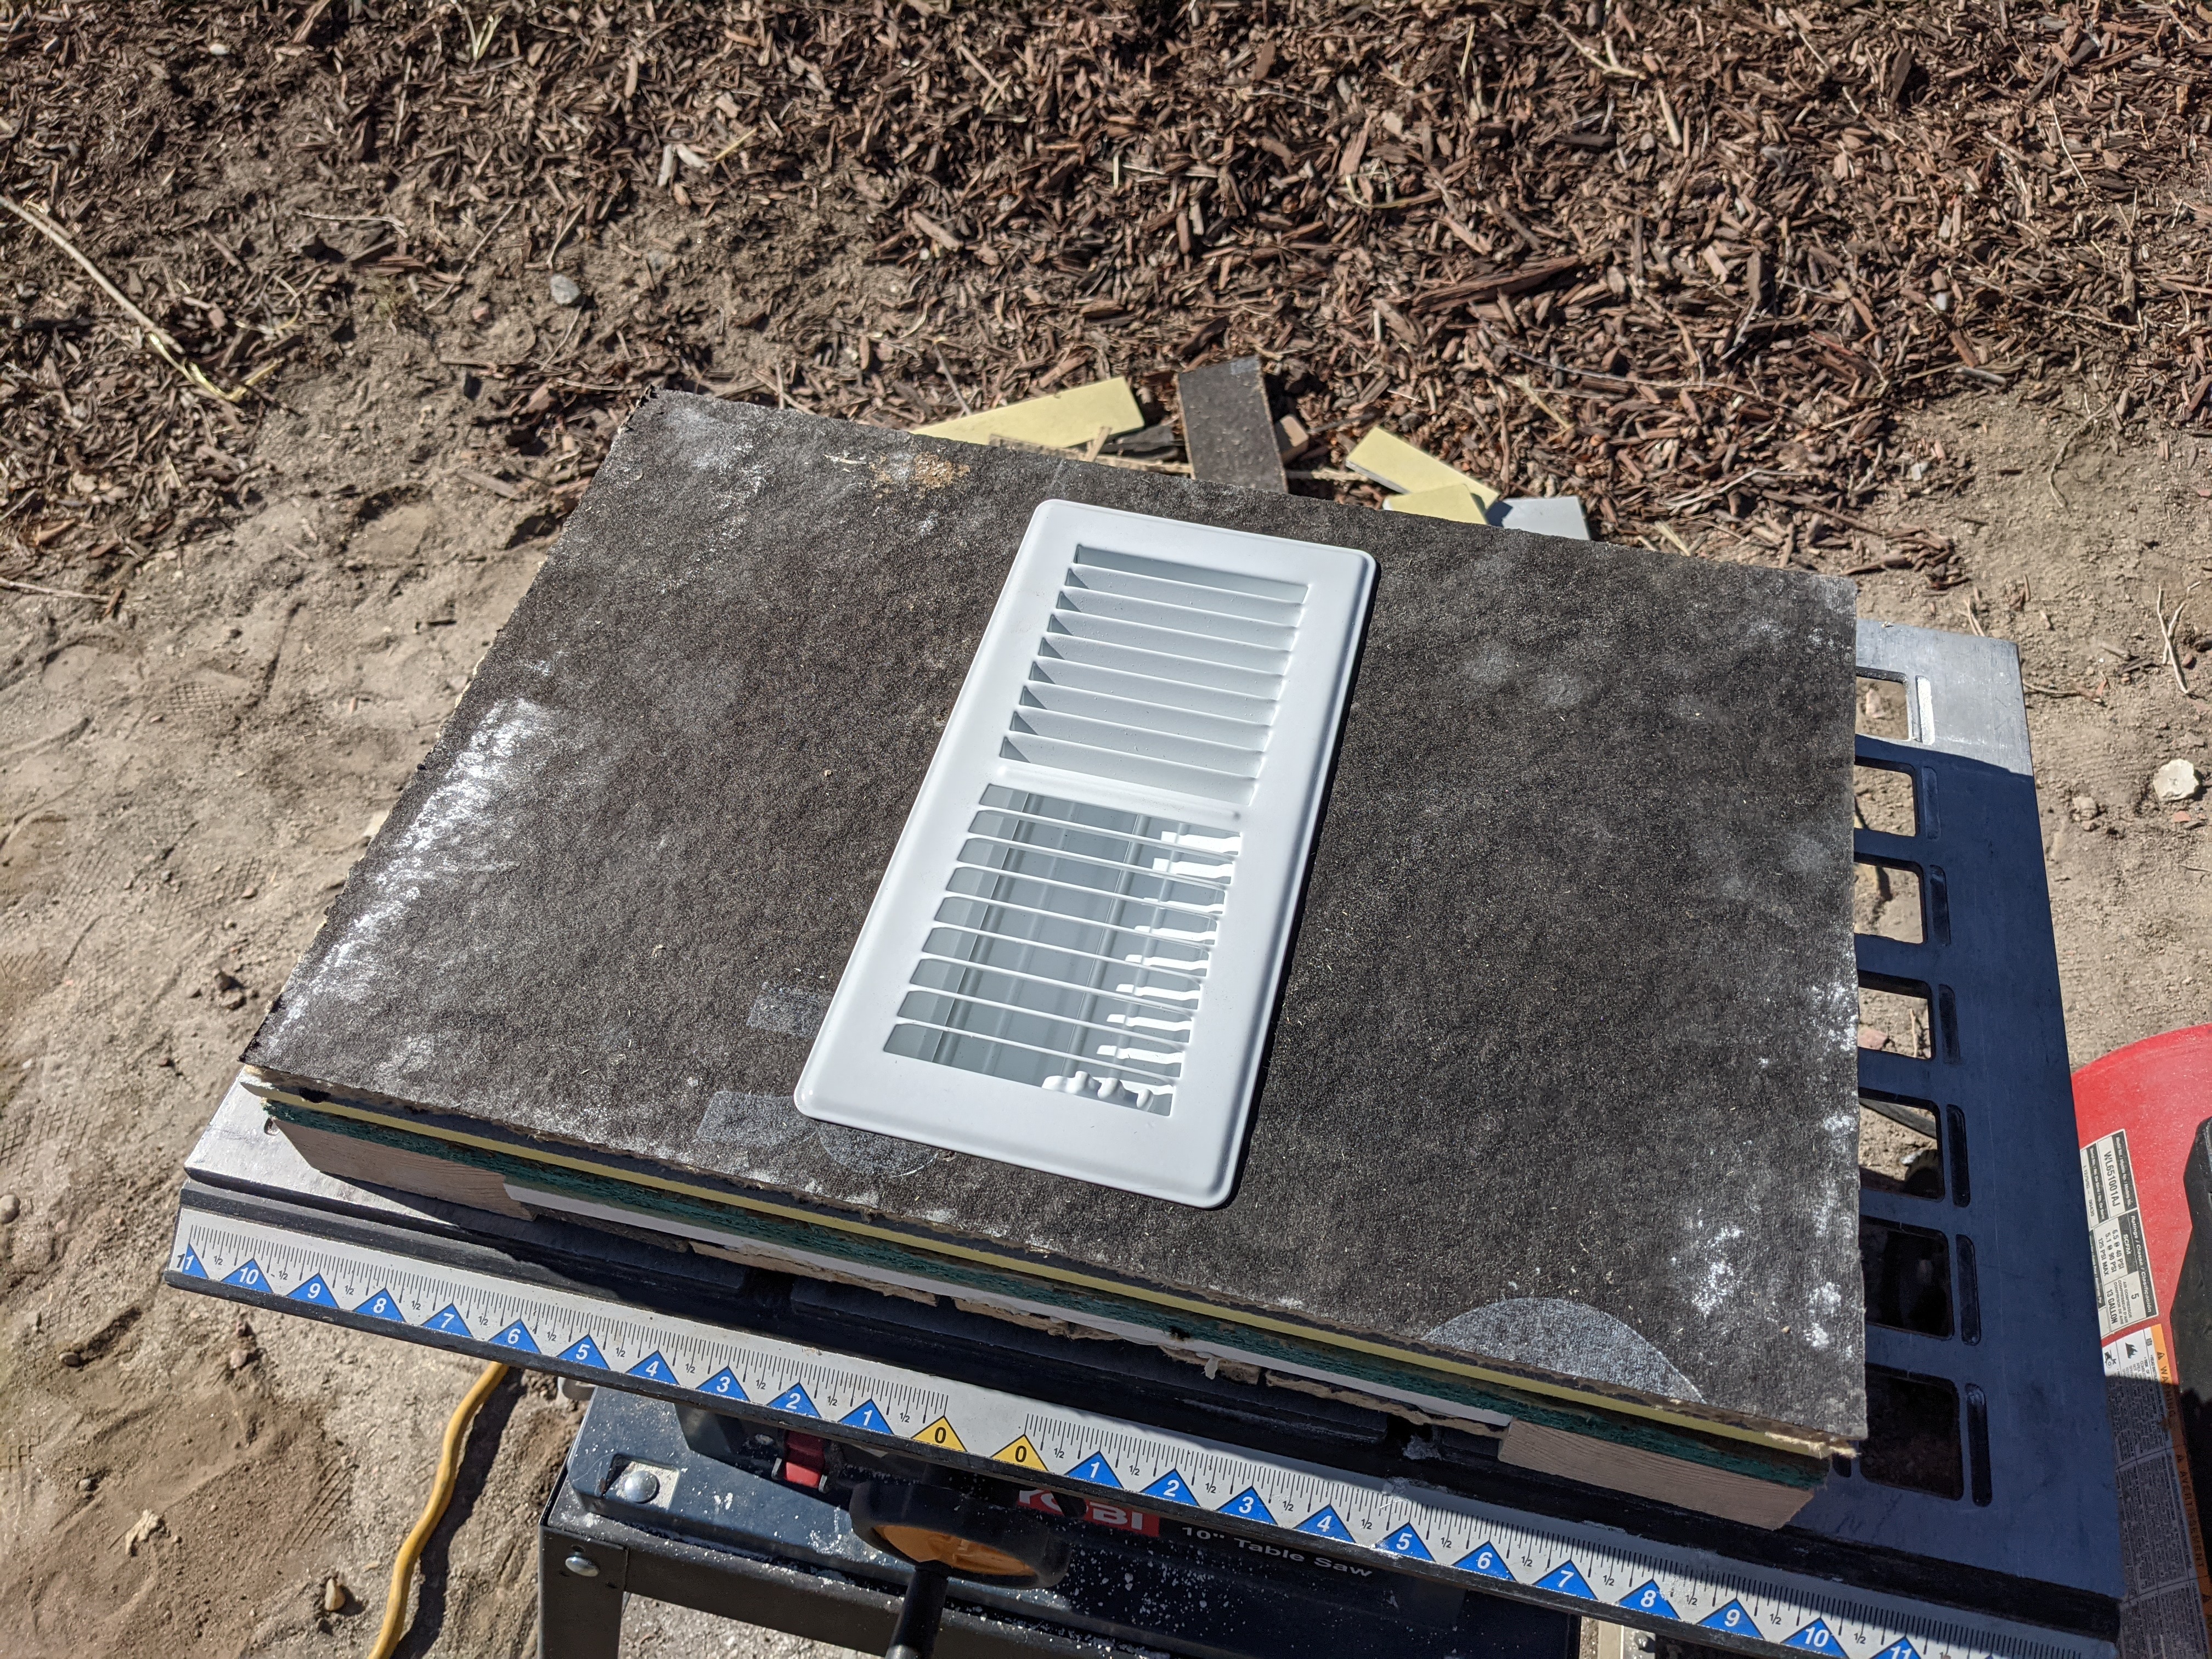
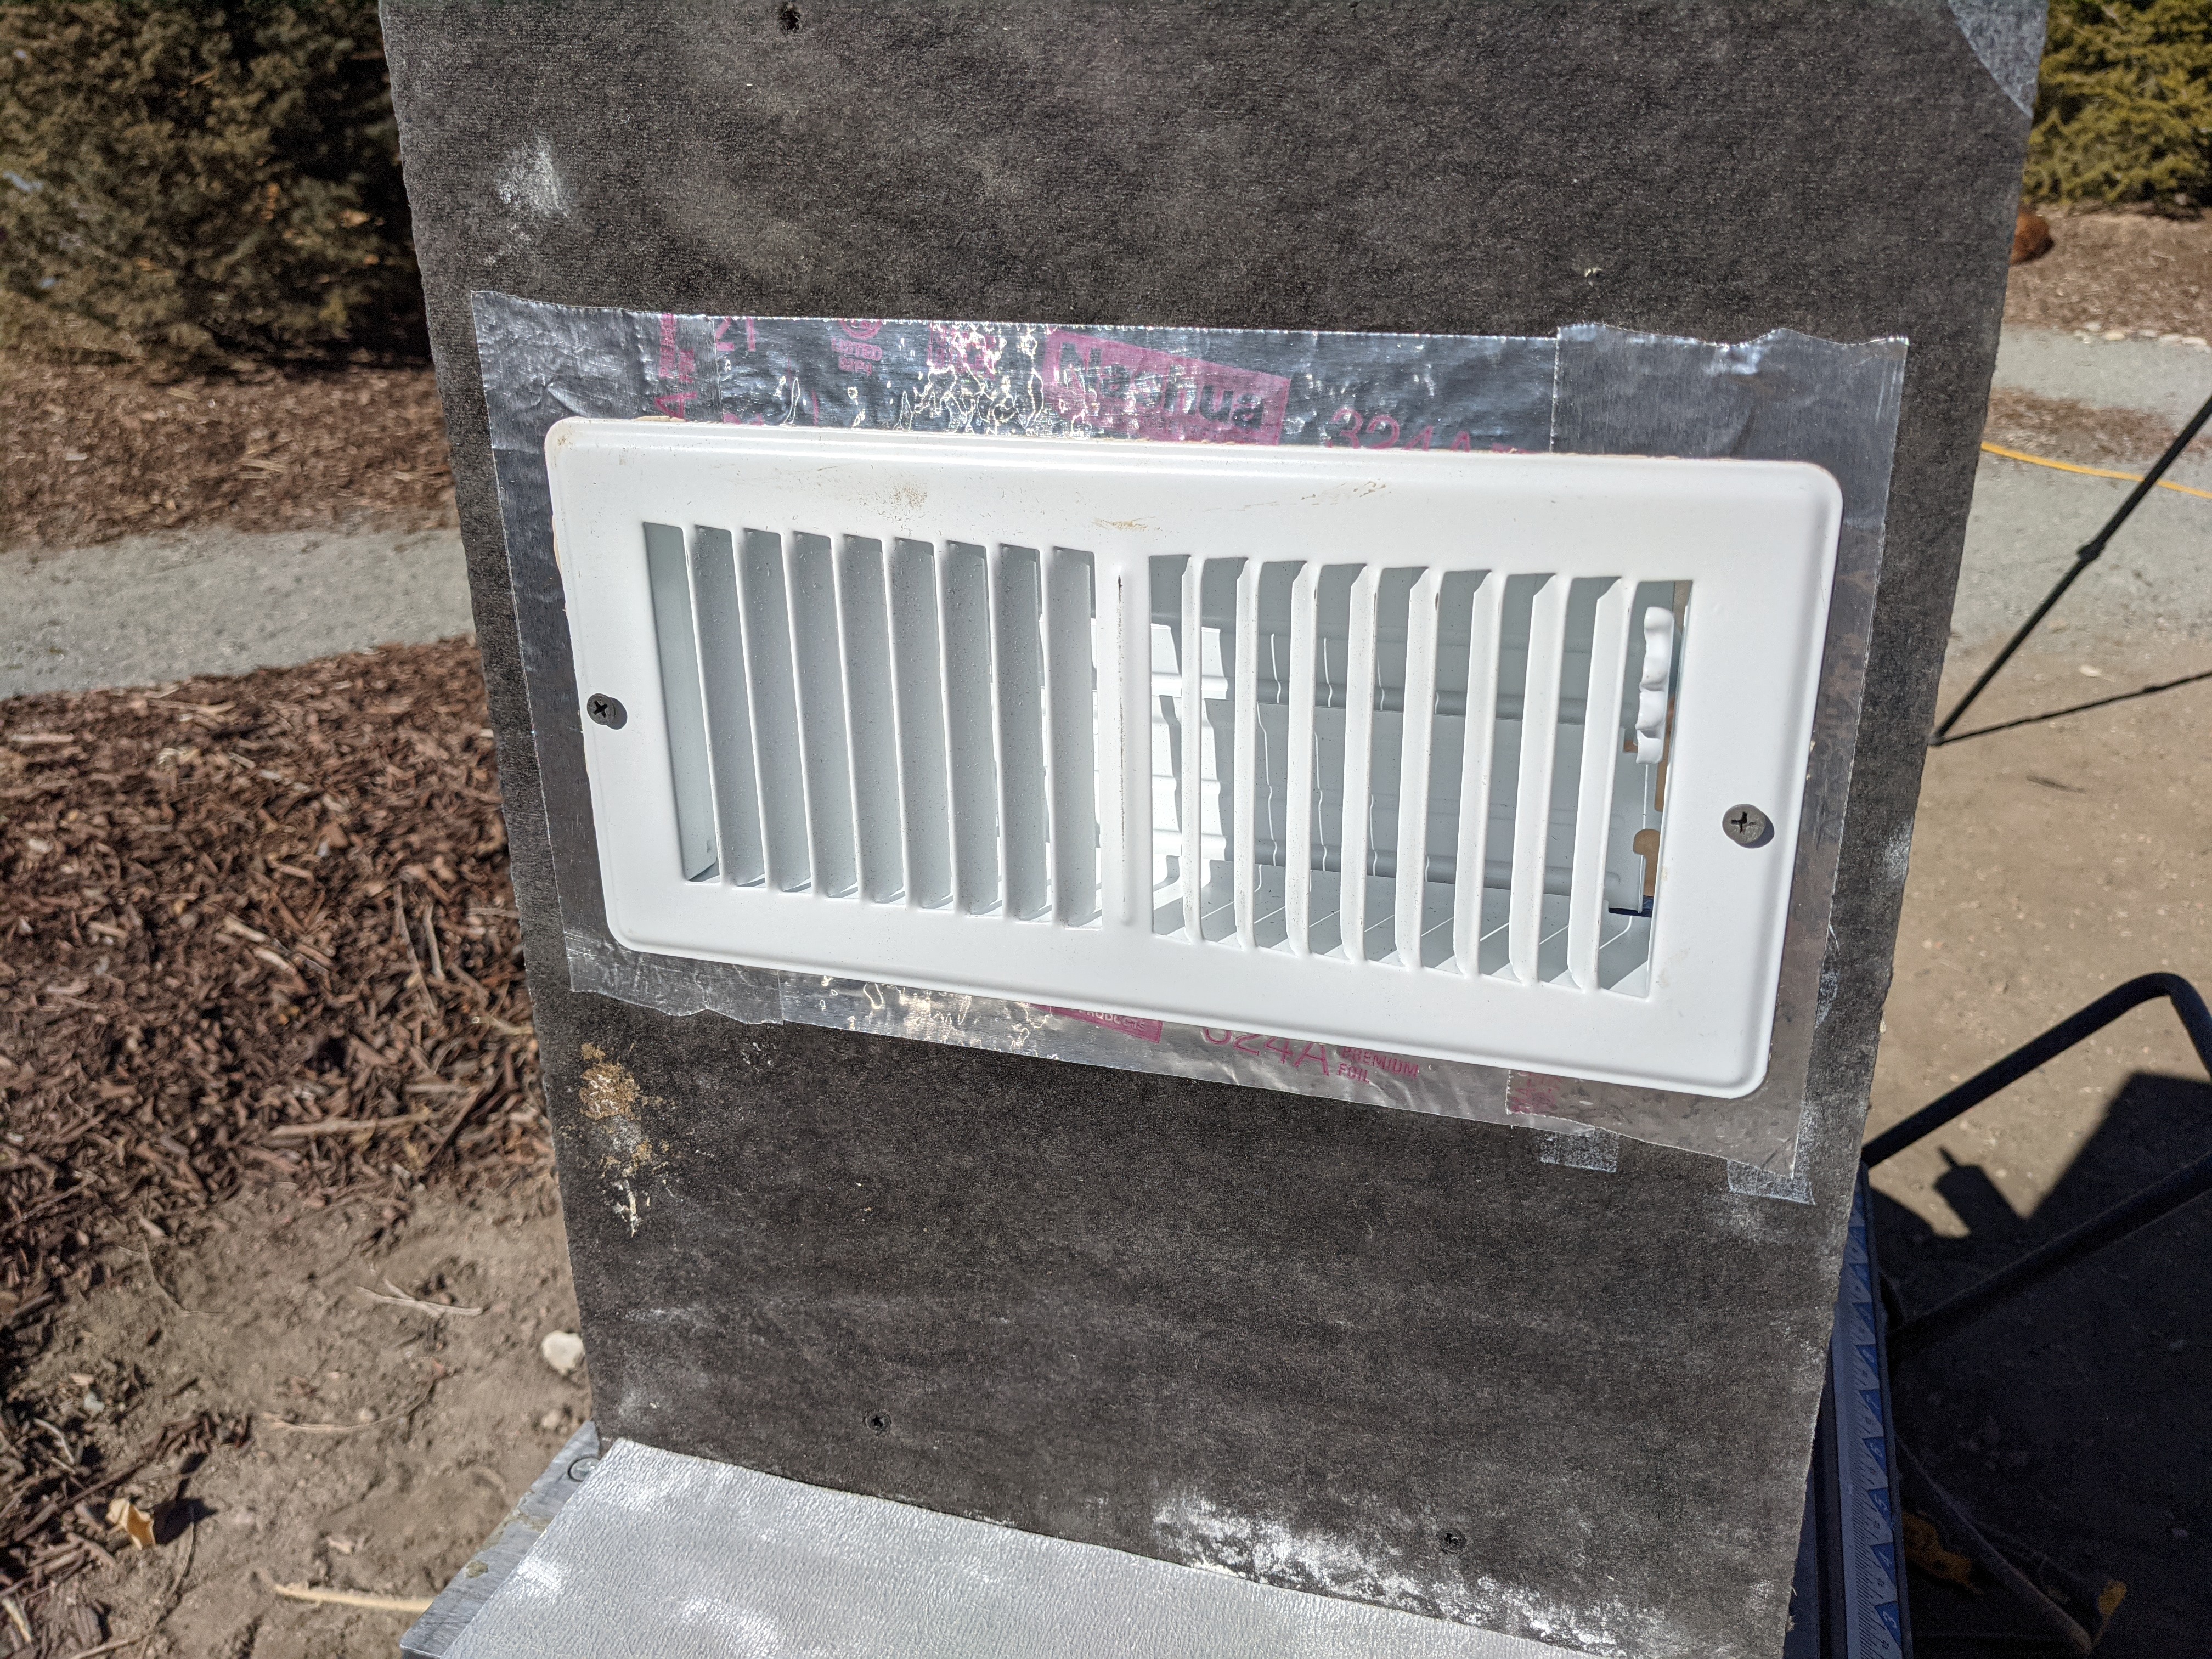
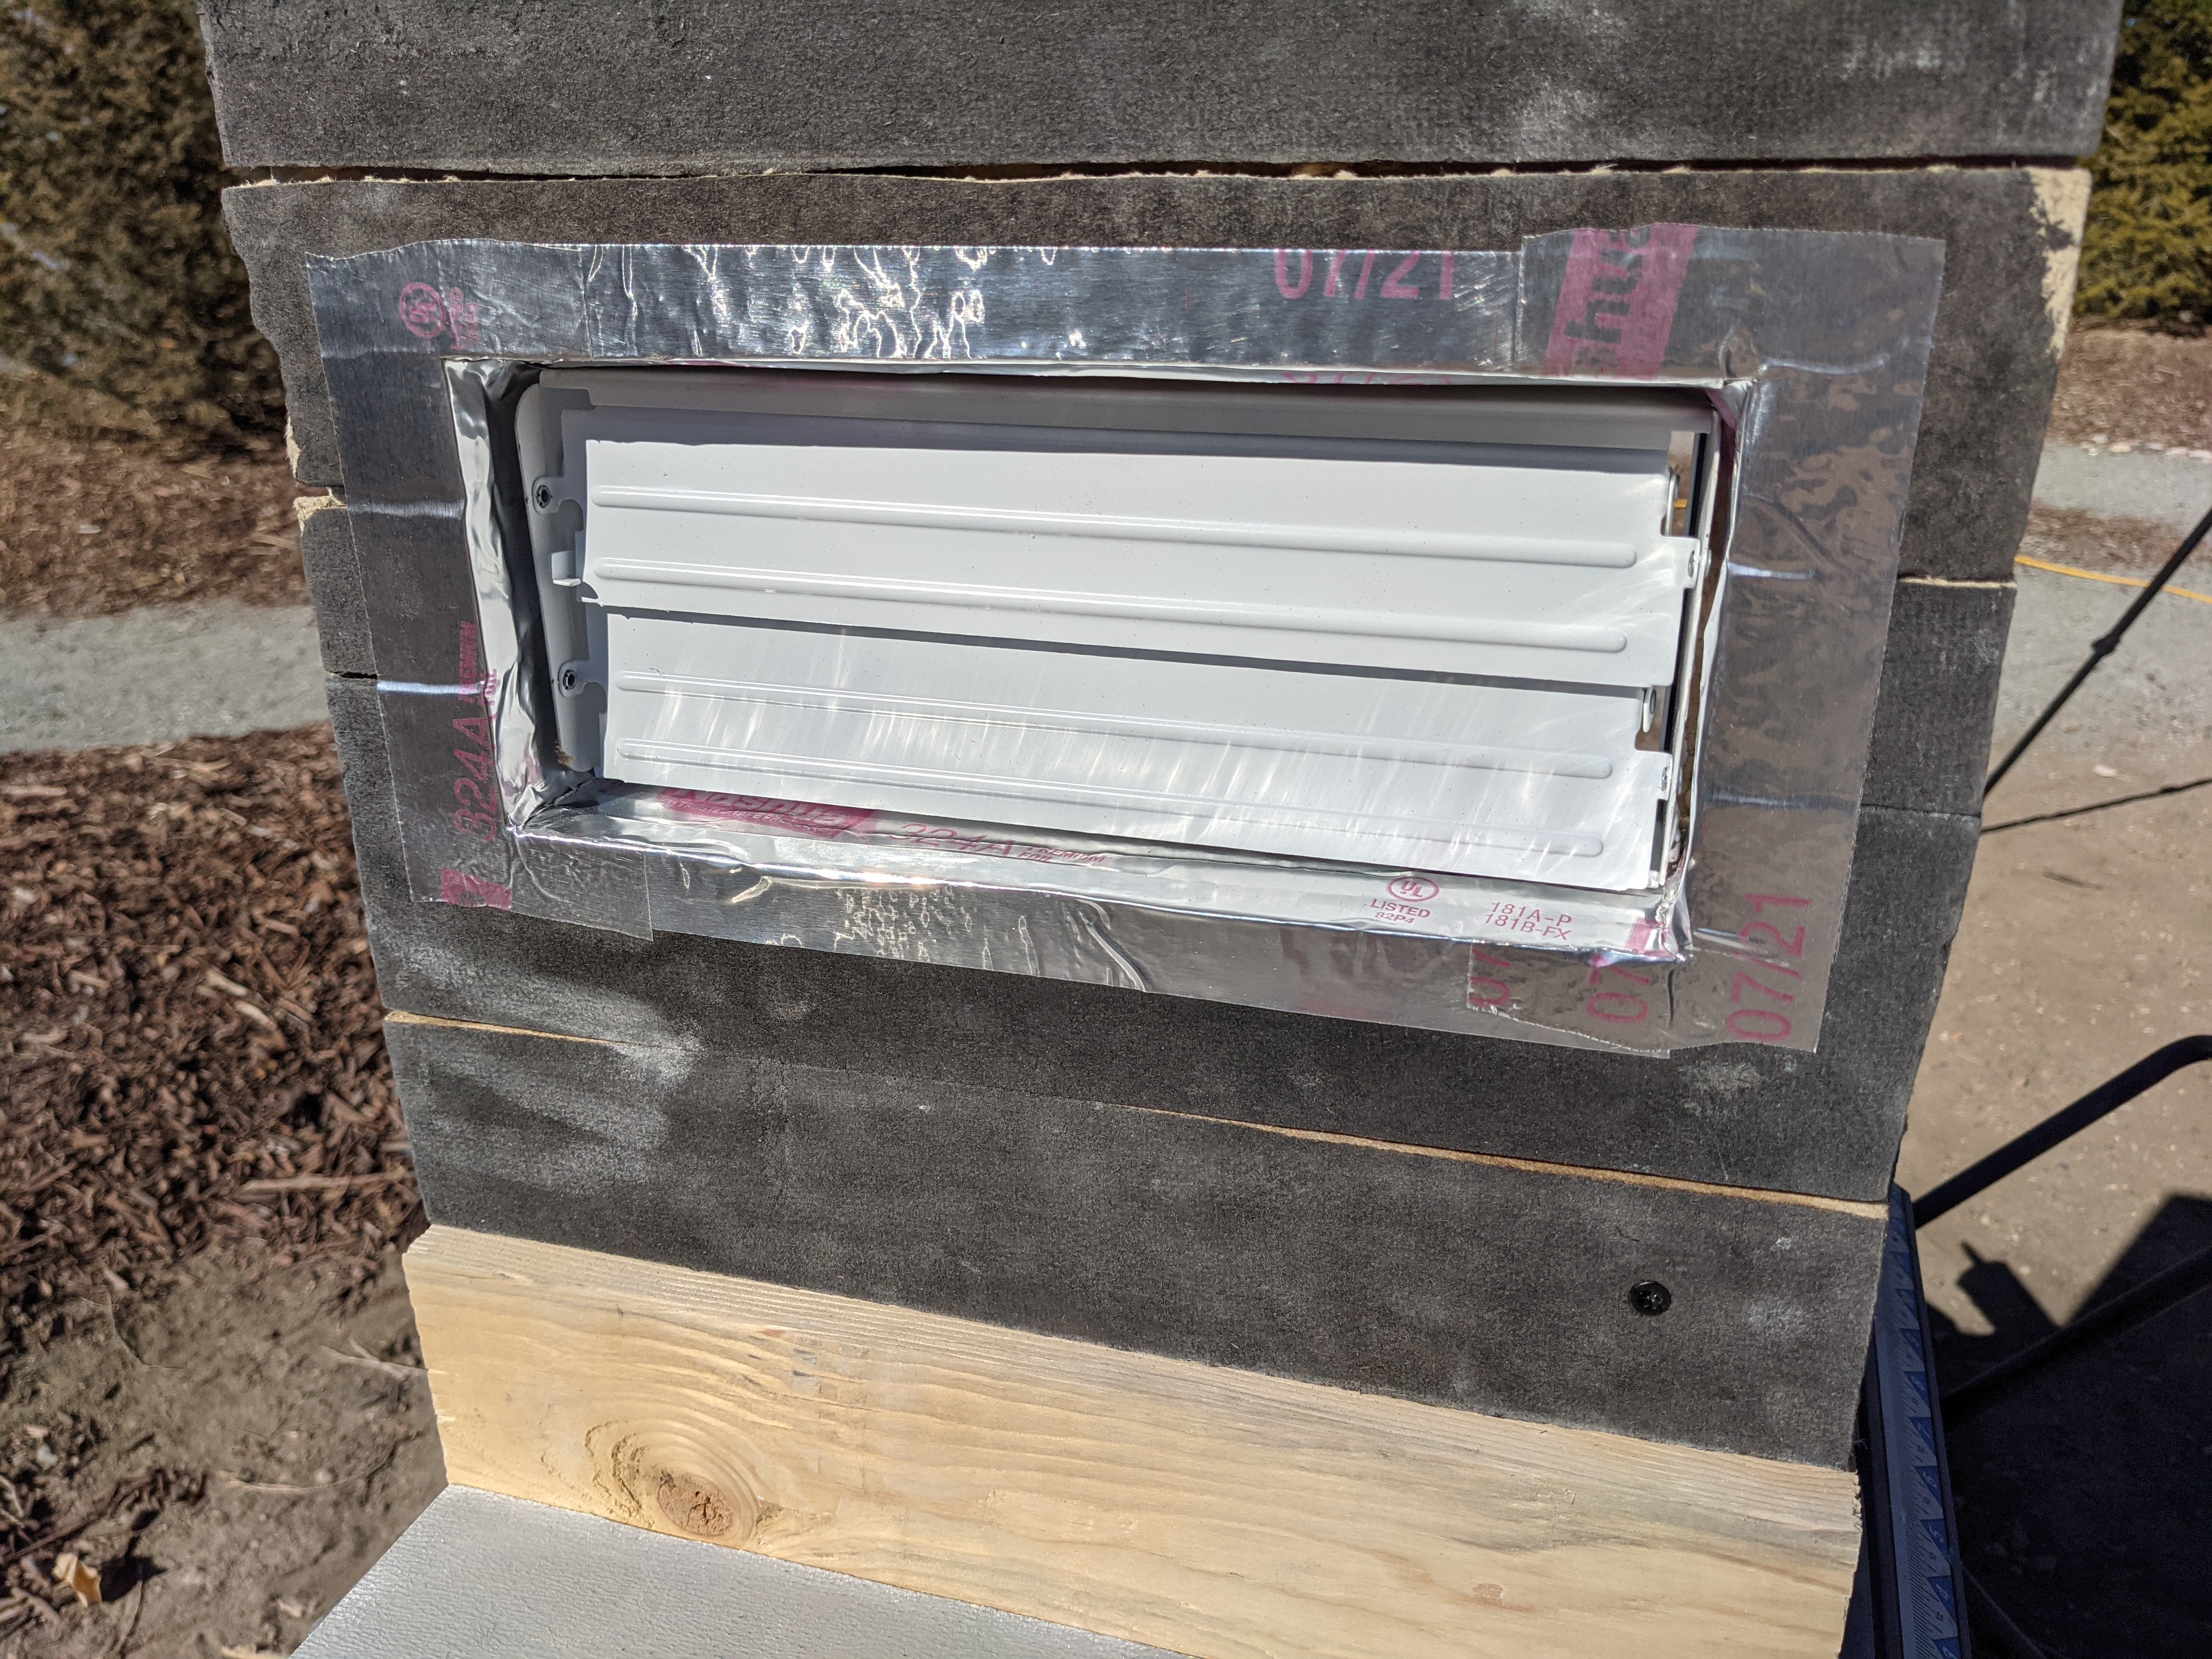
Then the (D) pieces of OSB, Dense Shield, and asphalt board were fastened to the top of the "T", using the lumber as the anchor point. The (D) piece of OSB should be fastened perpendicular and center with the (C) piece of OSB. Once attached, the (D) pieces were glued to the top and some smaller pieces of Dense Shield were added to the under-side of the (D) piece. The vent register cutout was taped over with the foil tape to help keep the edges clean and to prevent them from deteriorating over time.
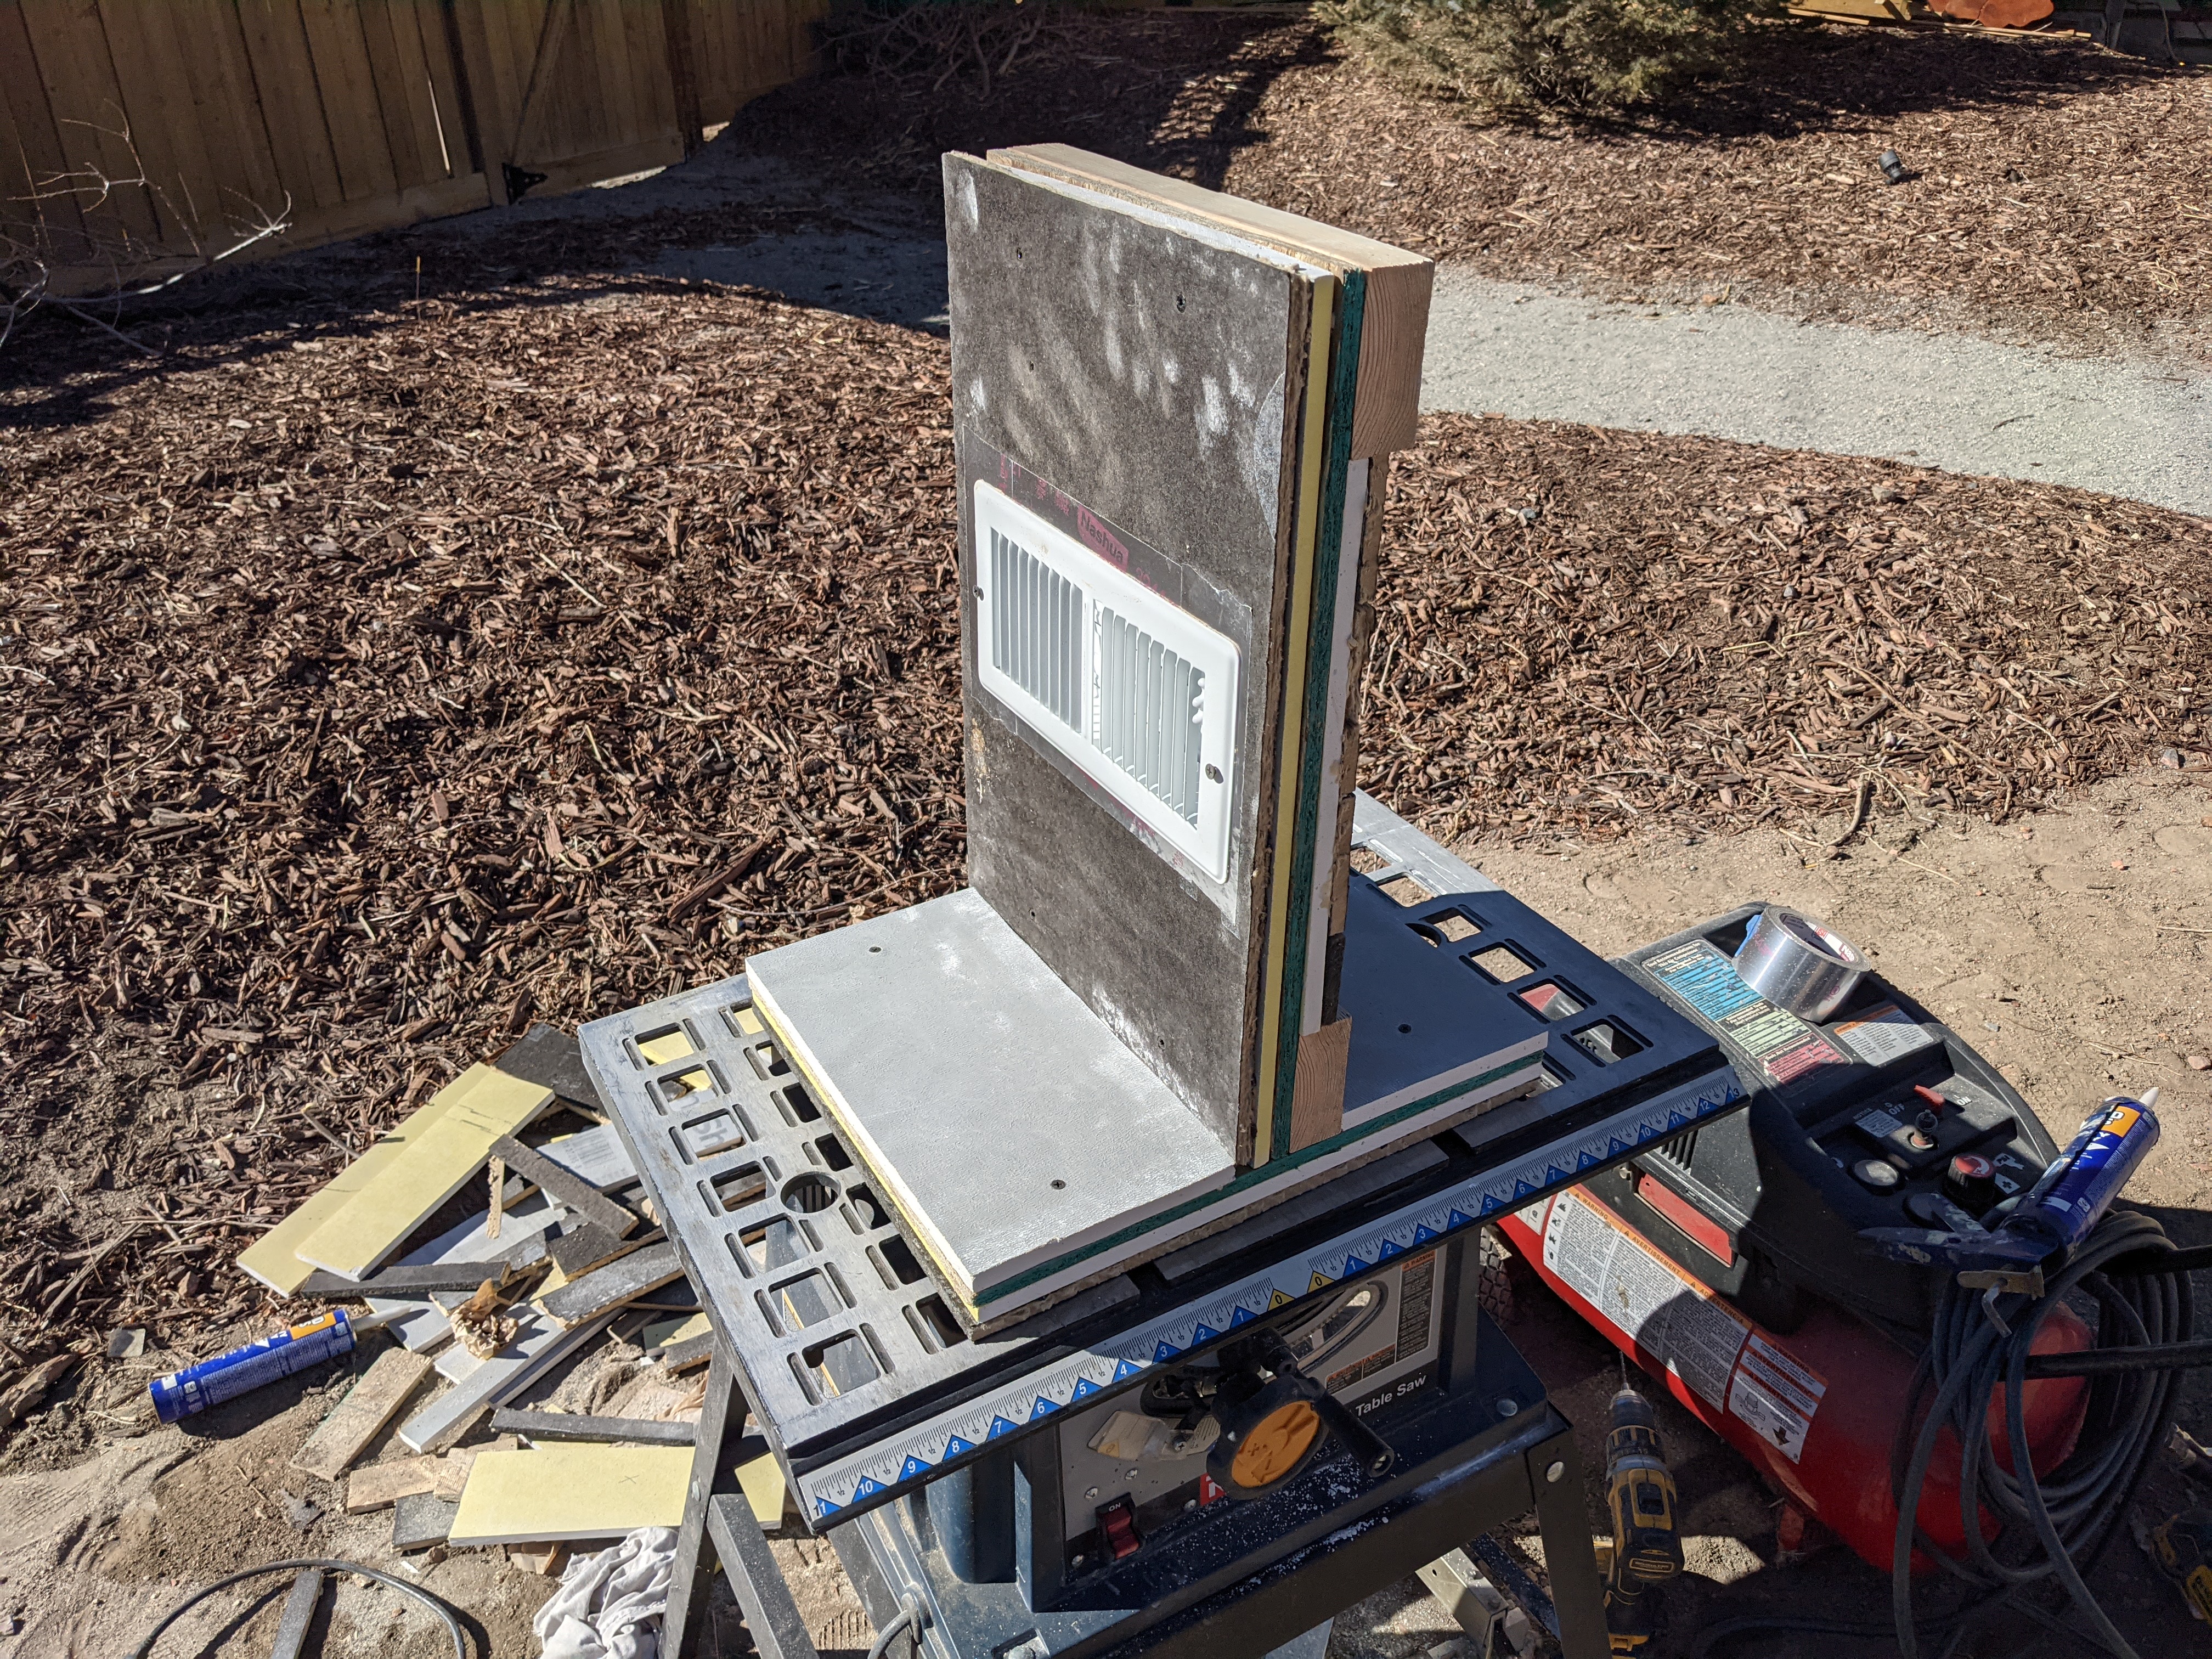
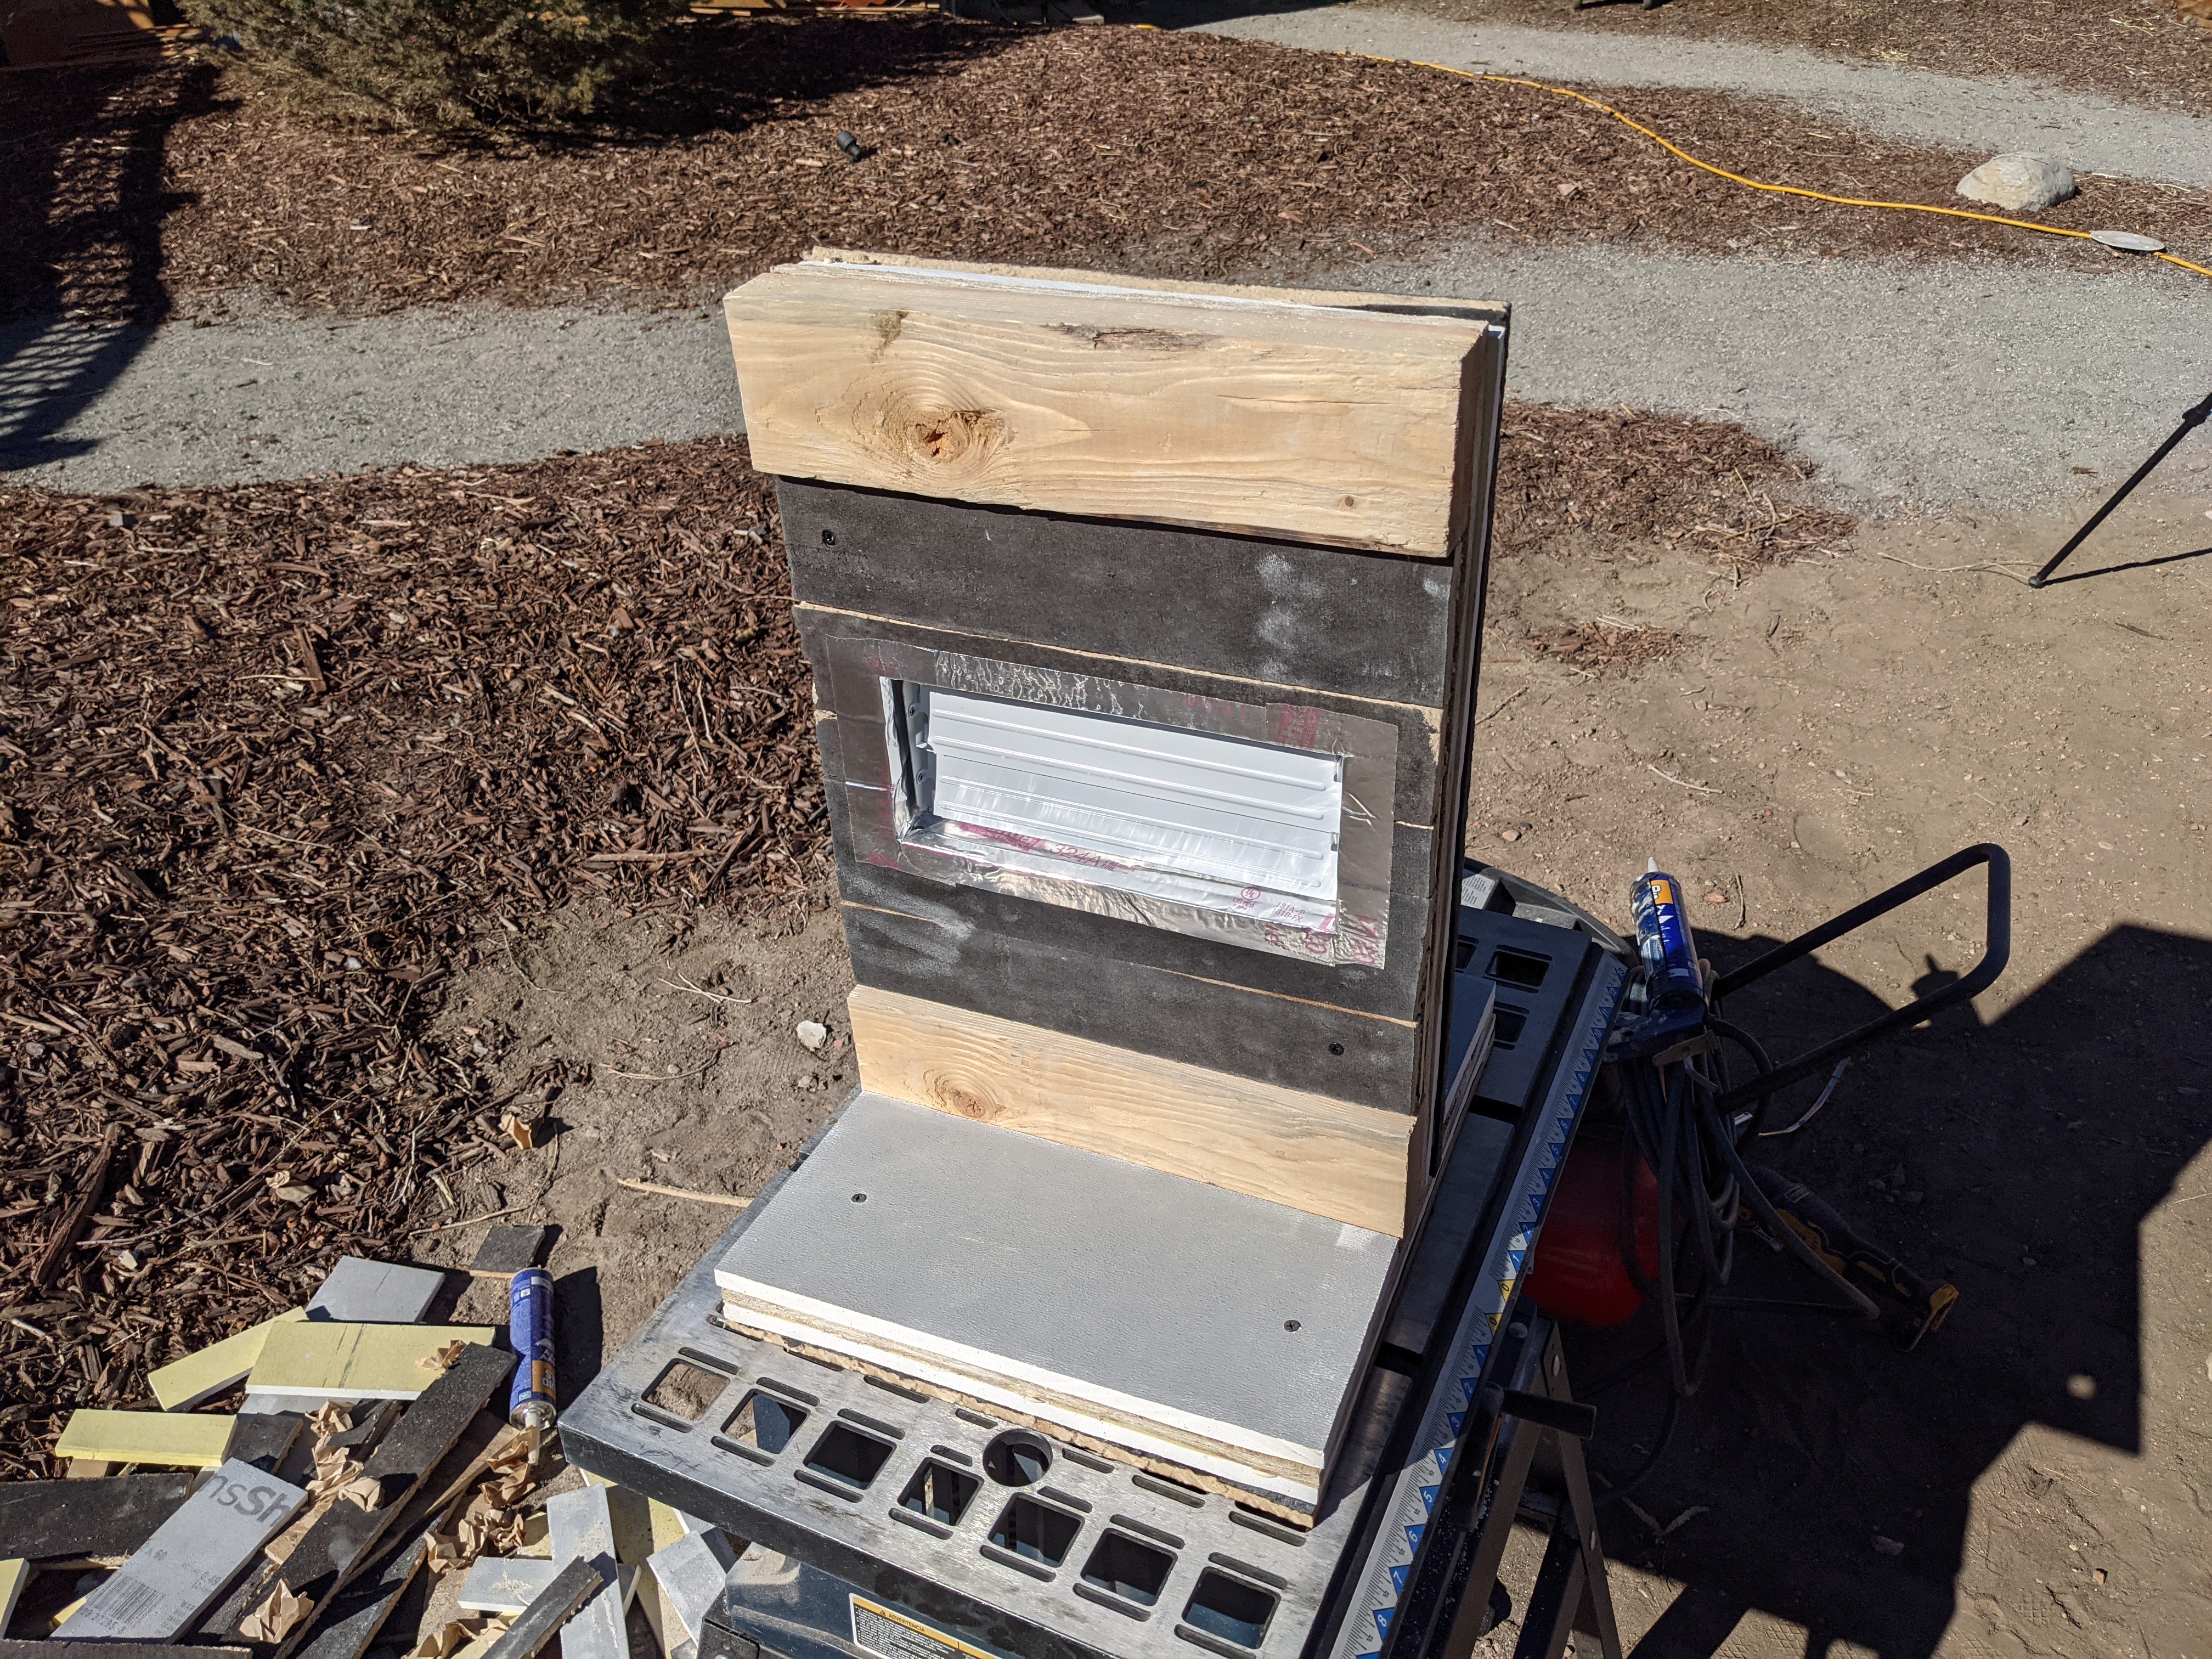
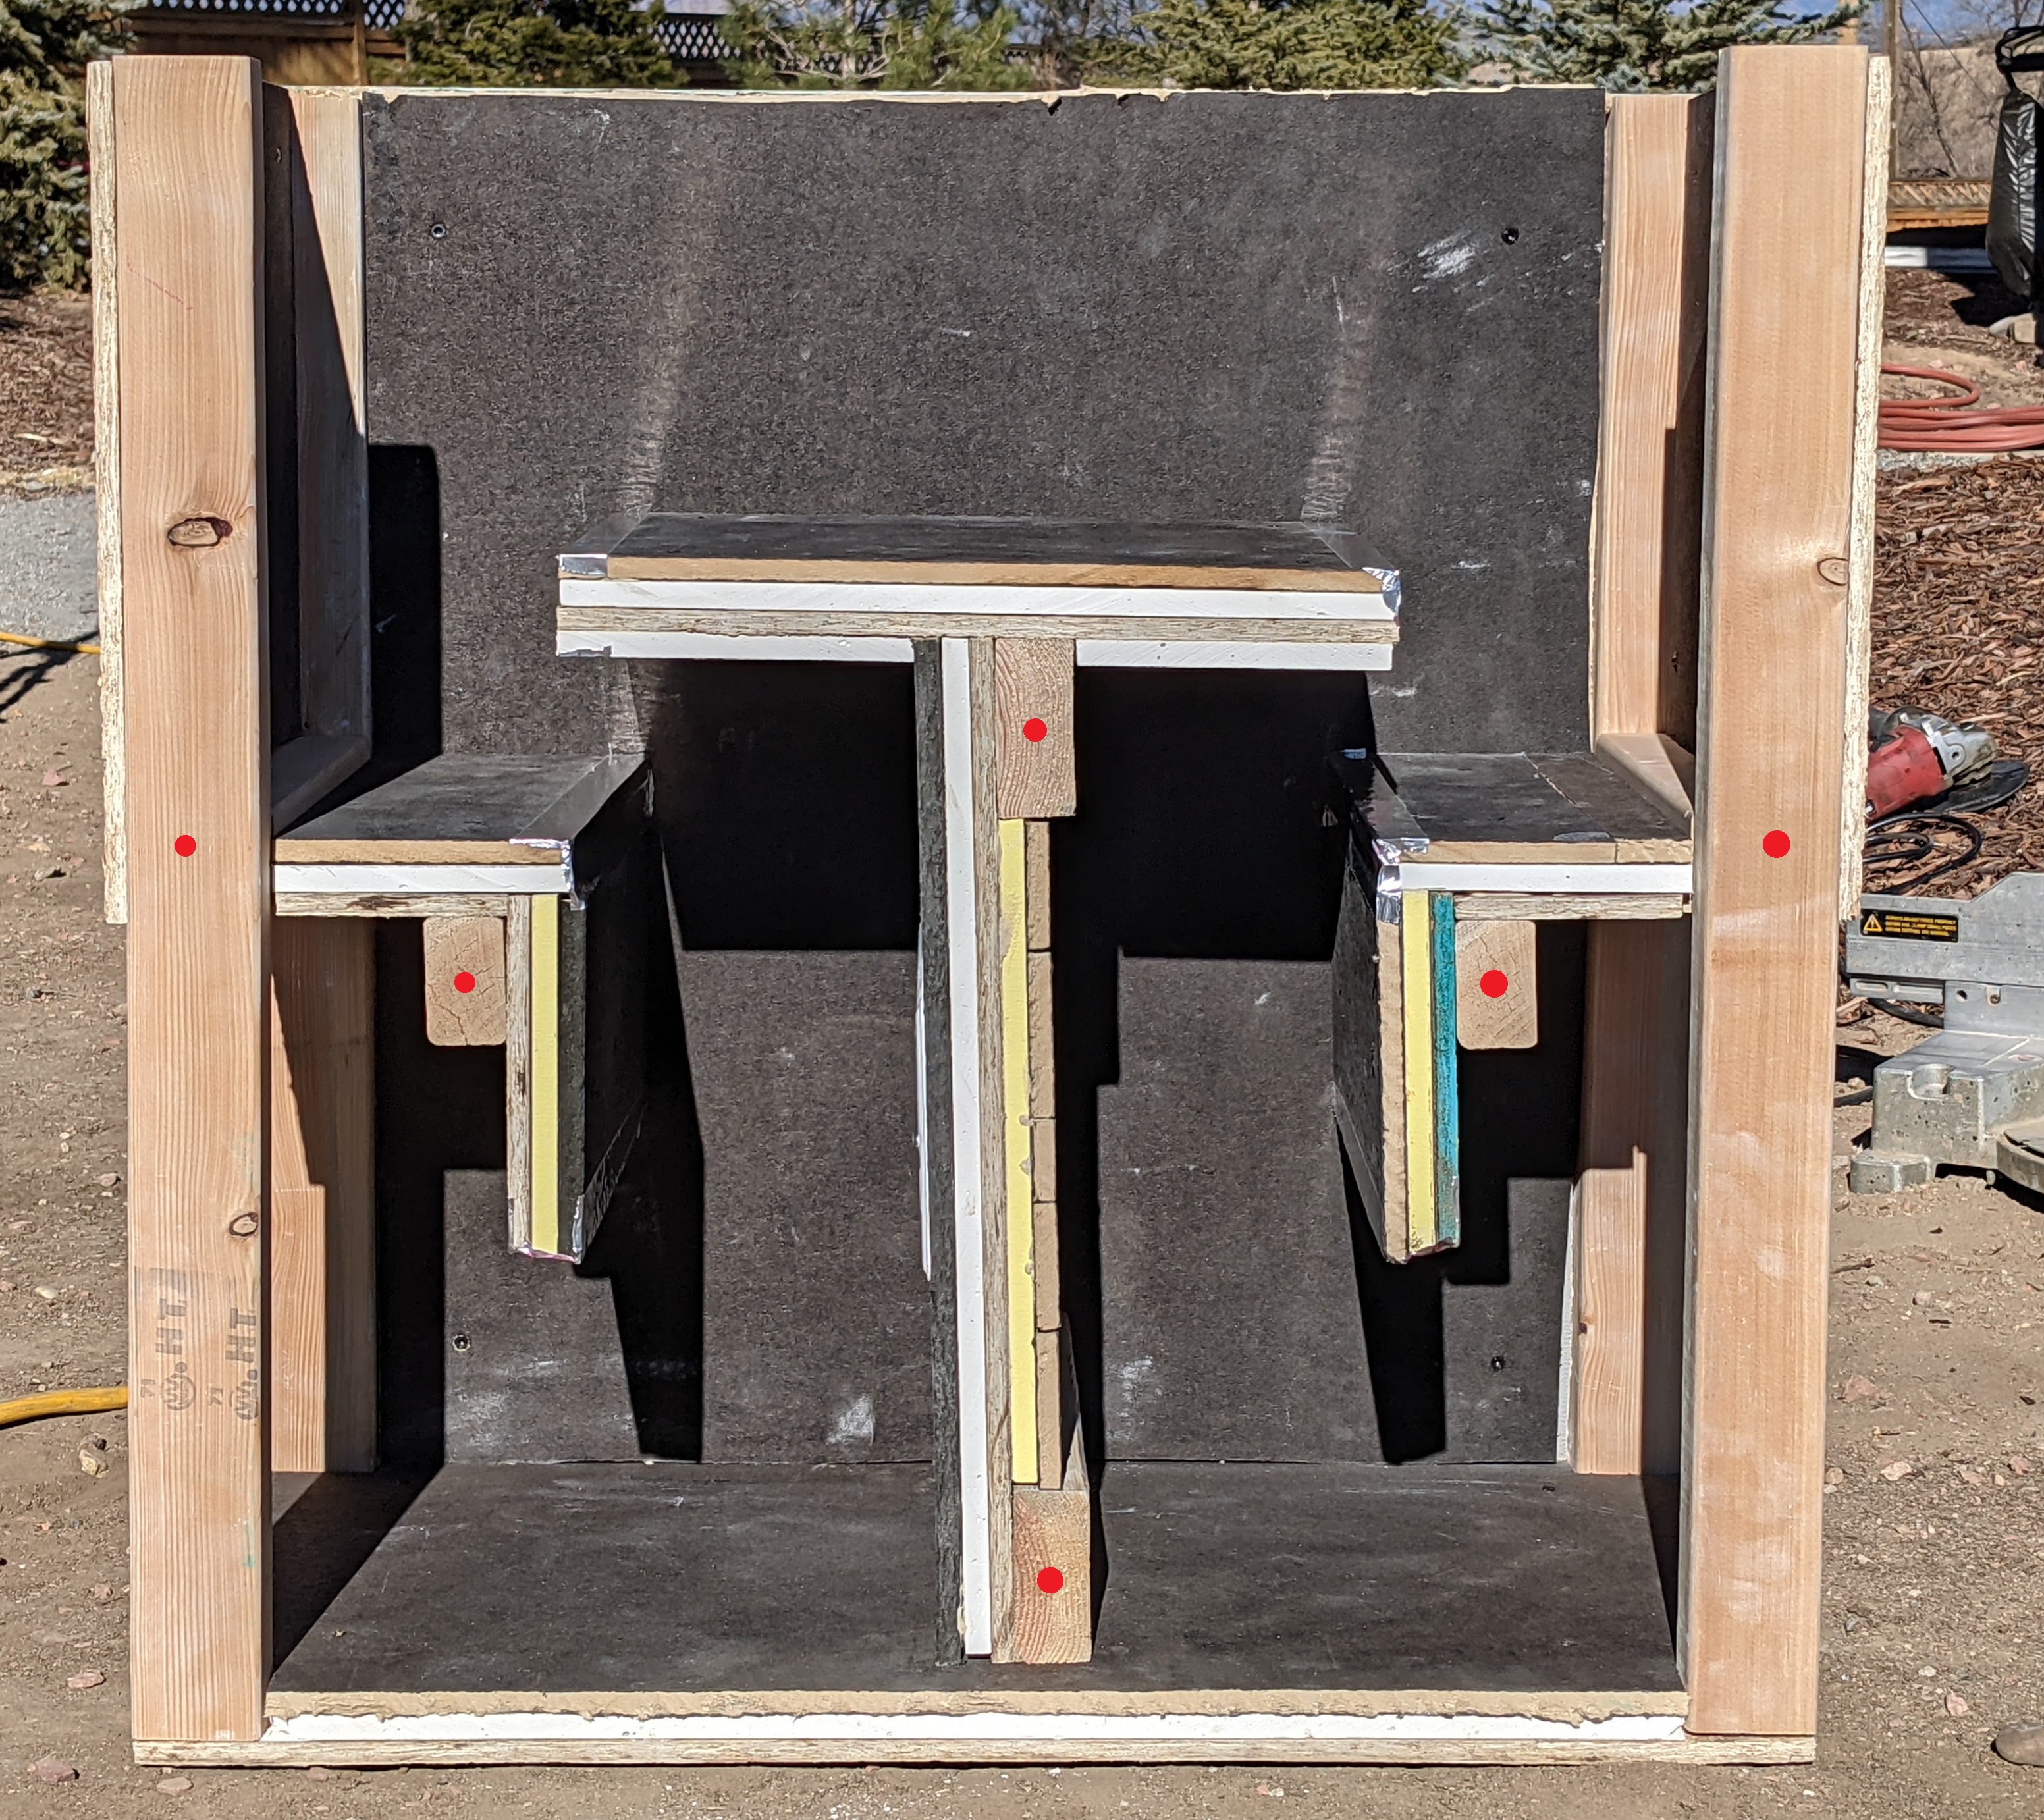
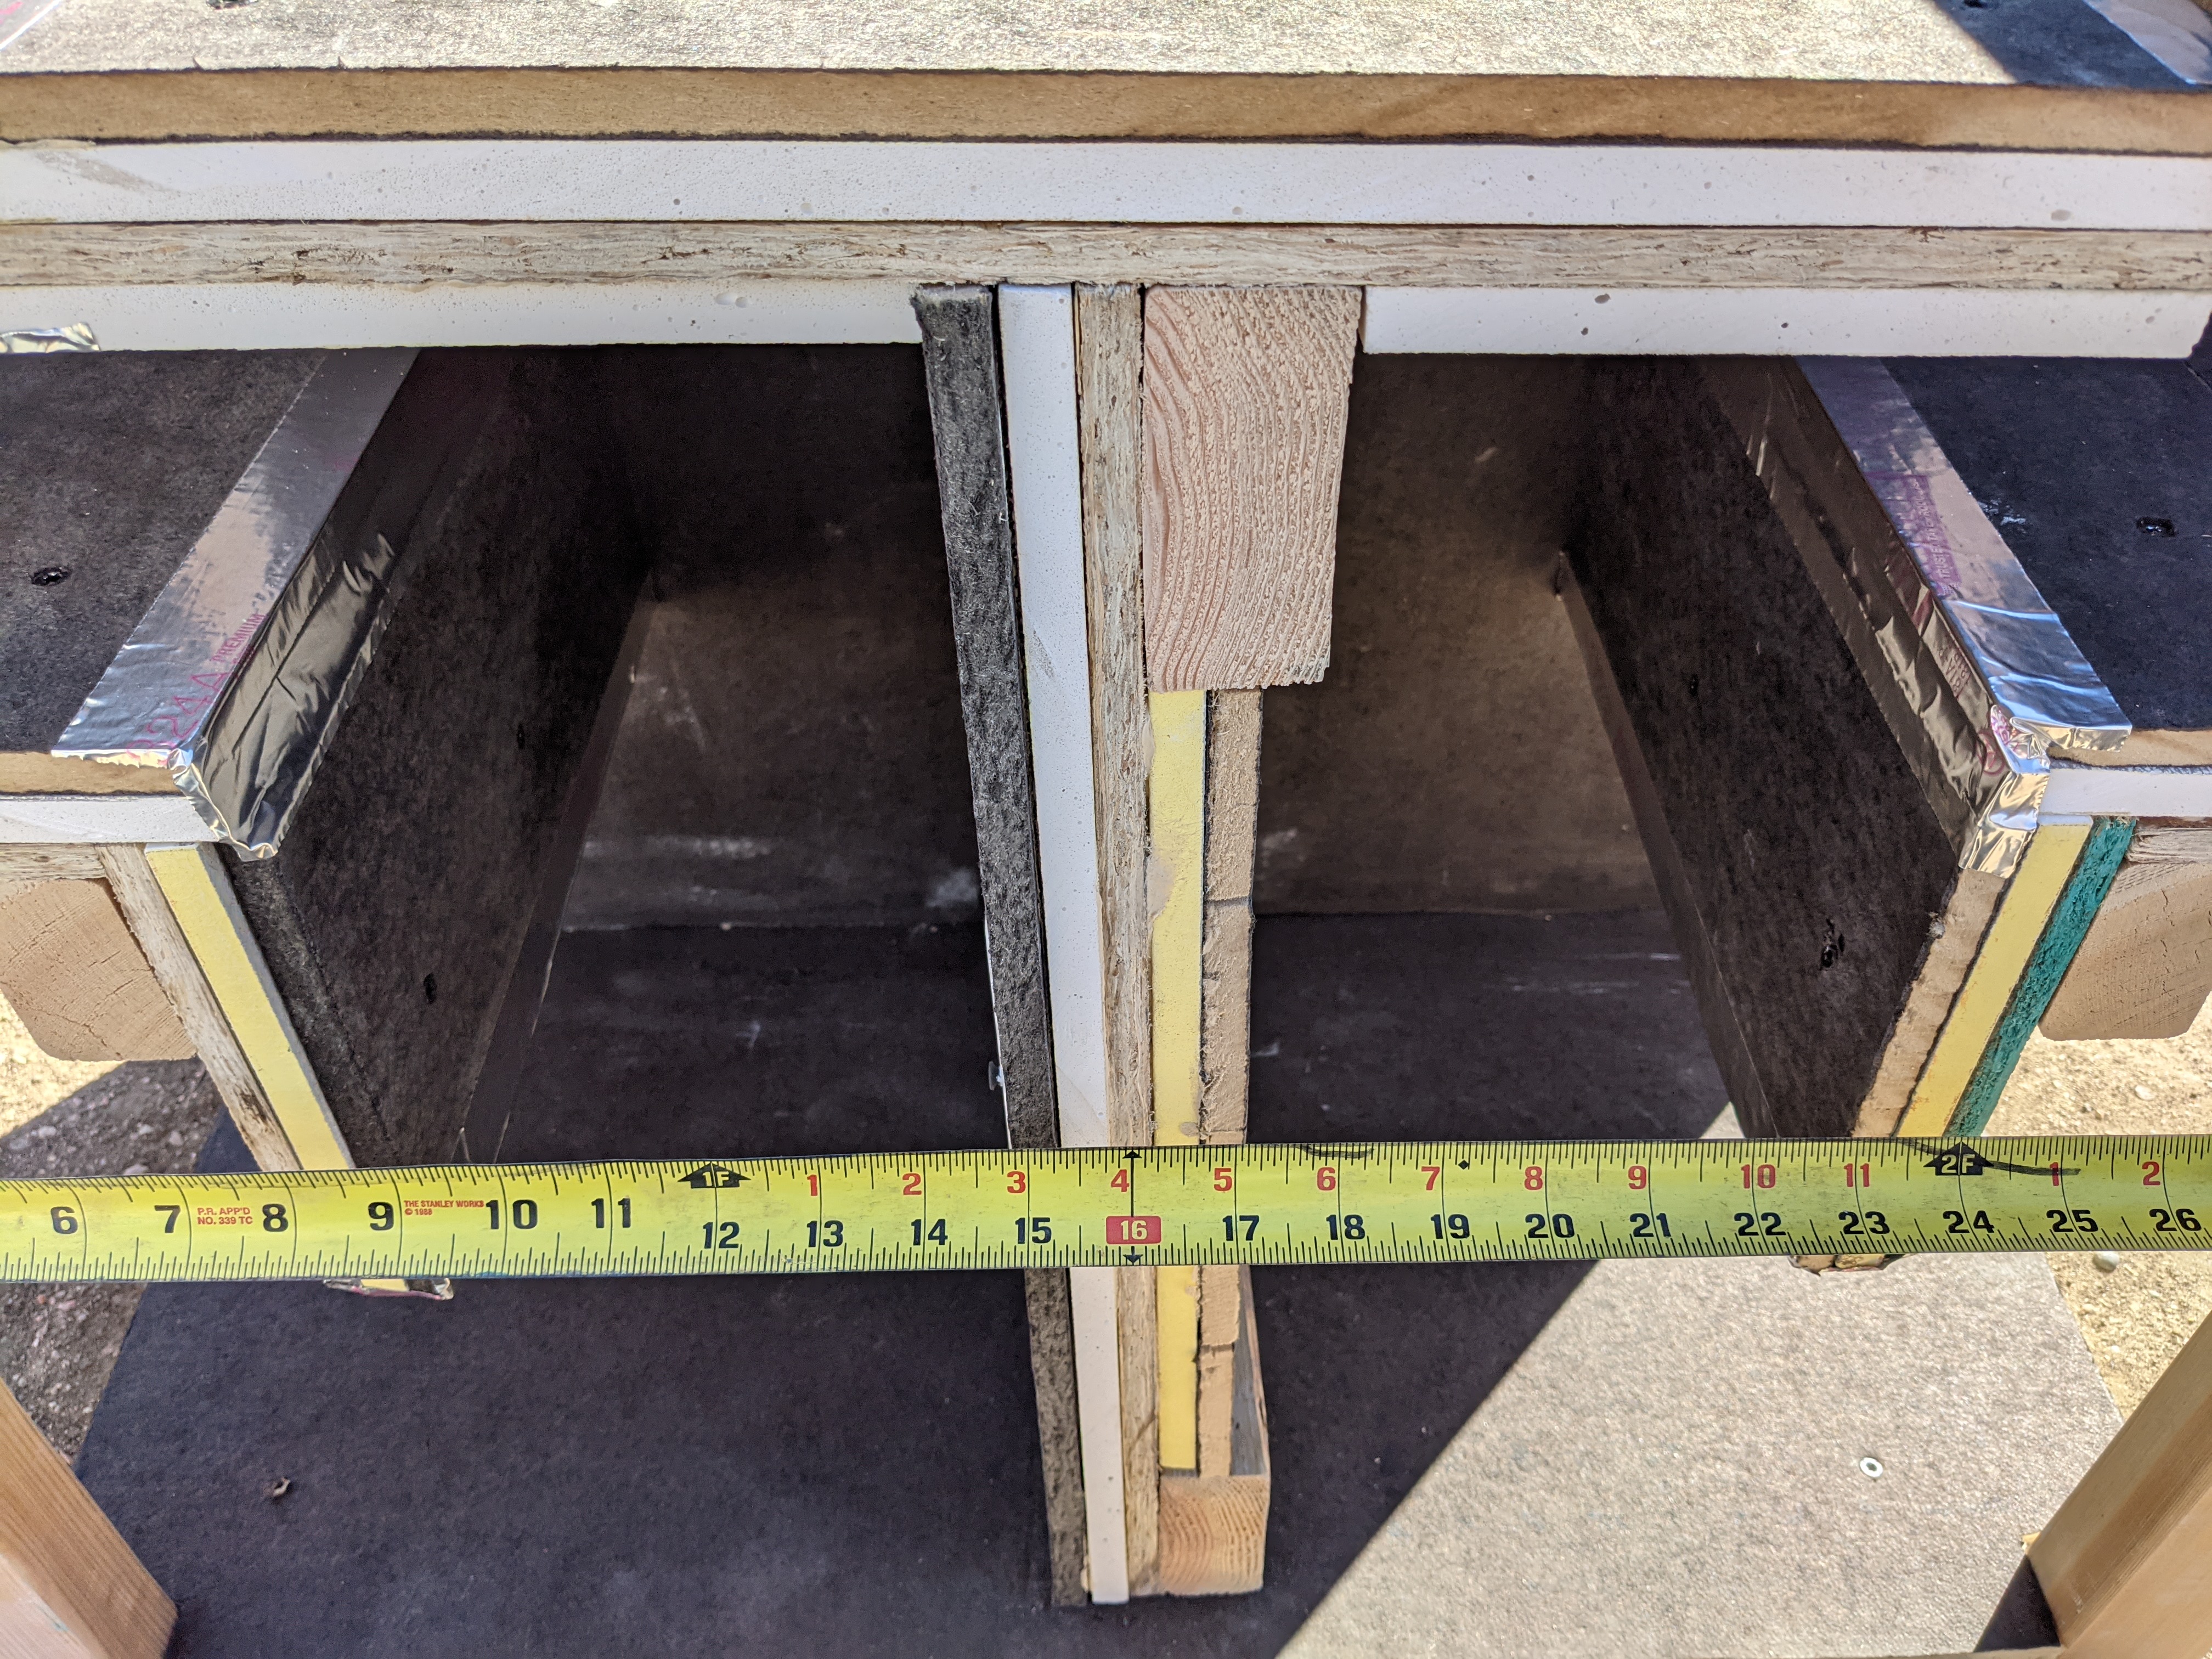
Once the "T" is all assembled, align it with the center of the enclosure, in this example, that was 16" on center from the outer edge of the corner posts.
The "T" then can be fastened to the enclosure from the back (closed) side, driving a long screw through the OSB, Dense Shield, & asphalt board and into the lumber material that was fastened to the top and bottom of the (C) piece. Once the other (A) piece is set into place, long screws will be used to drive through the layers and into the ends of the six pieces of lumber as indicated here with red dots.