Step 7: Finish the side and top
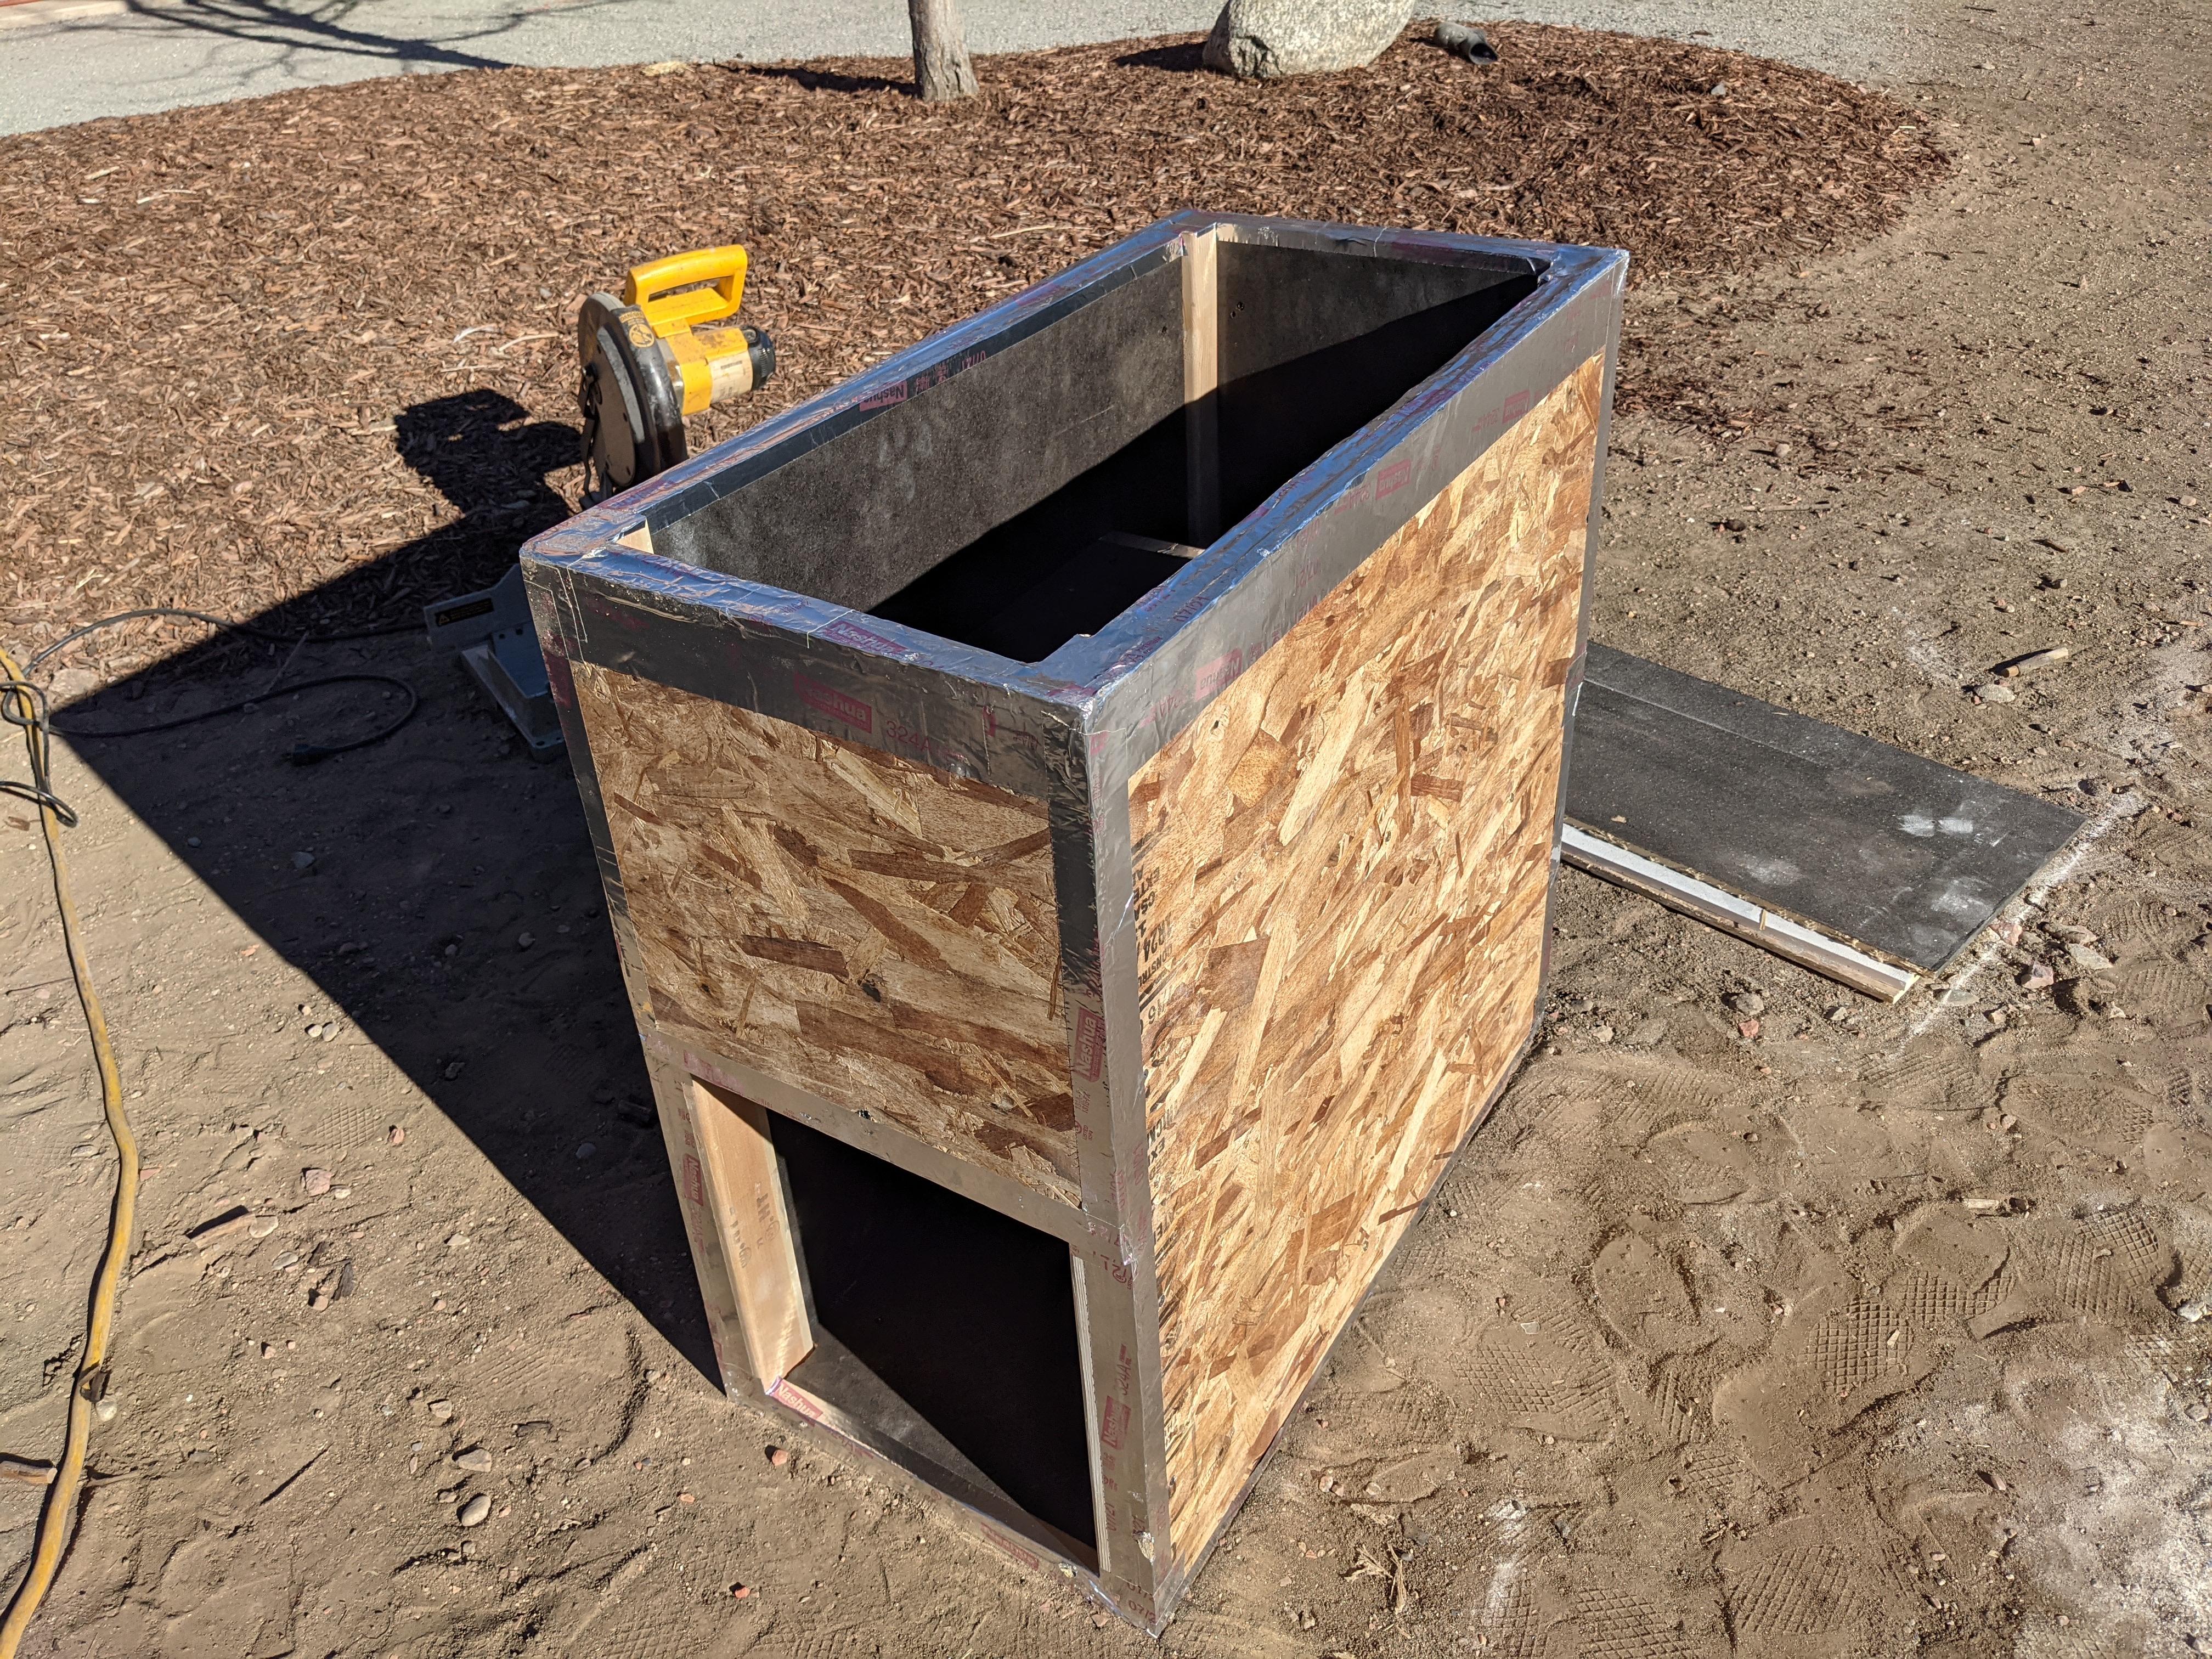
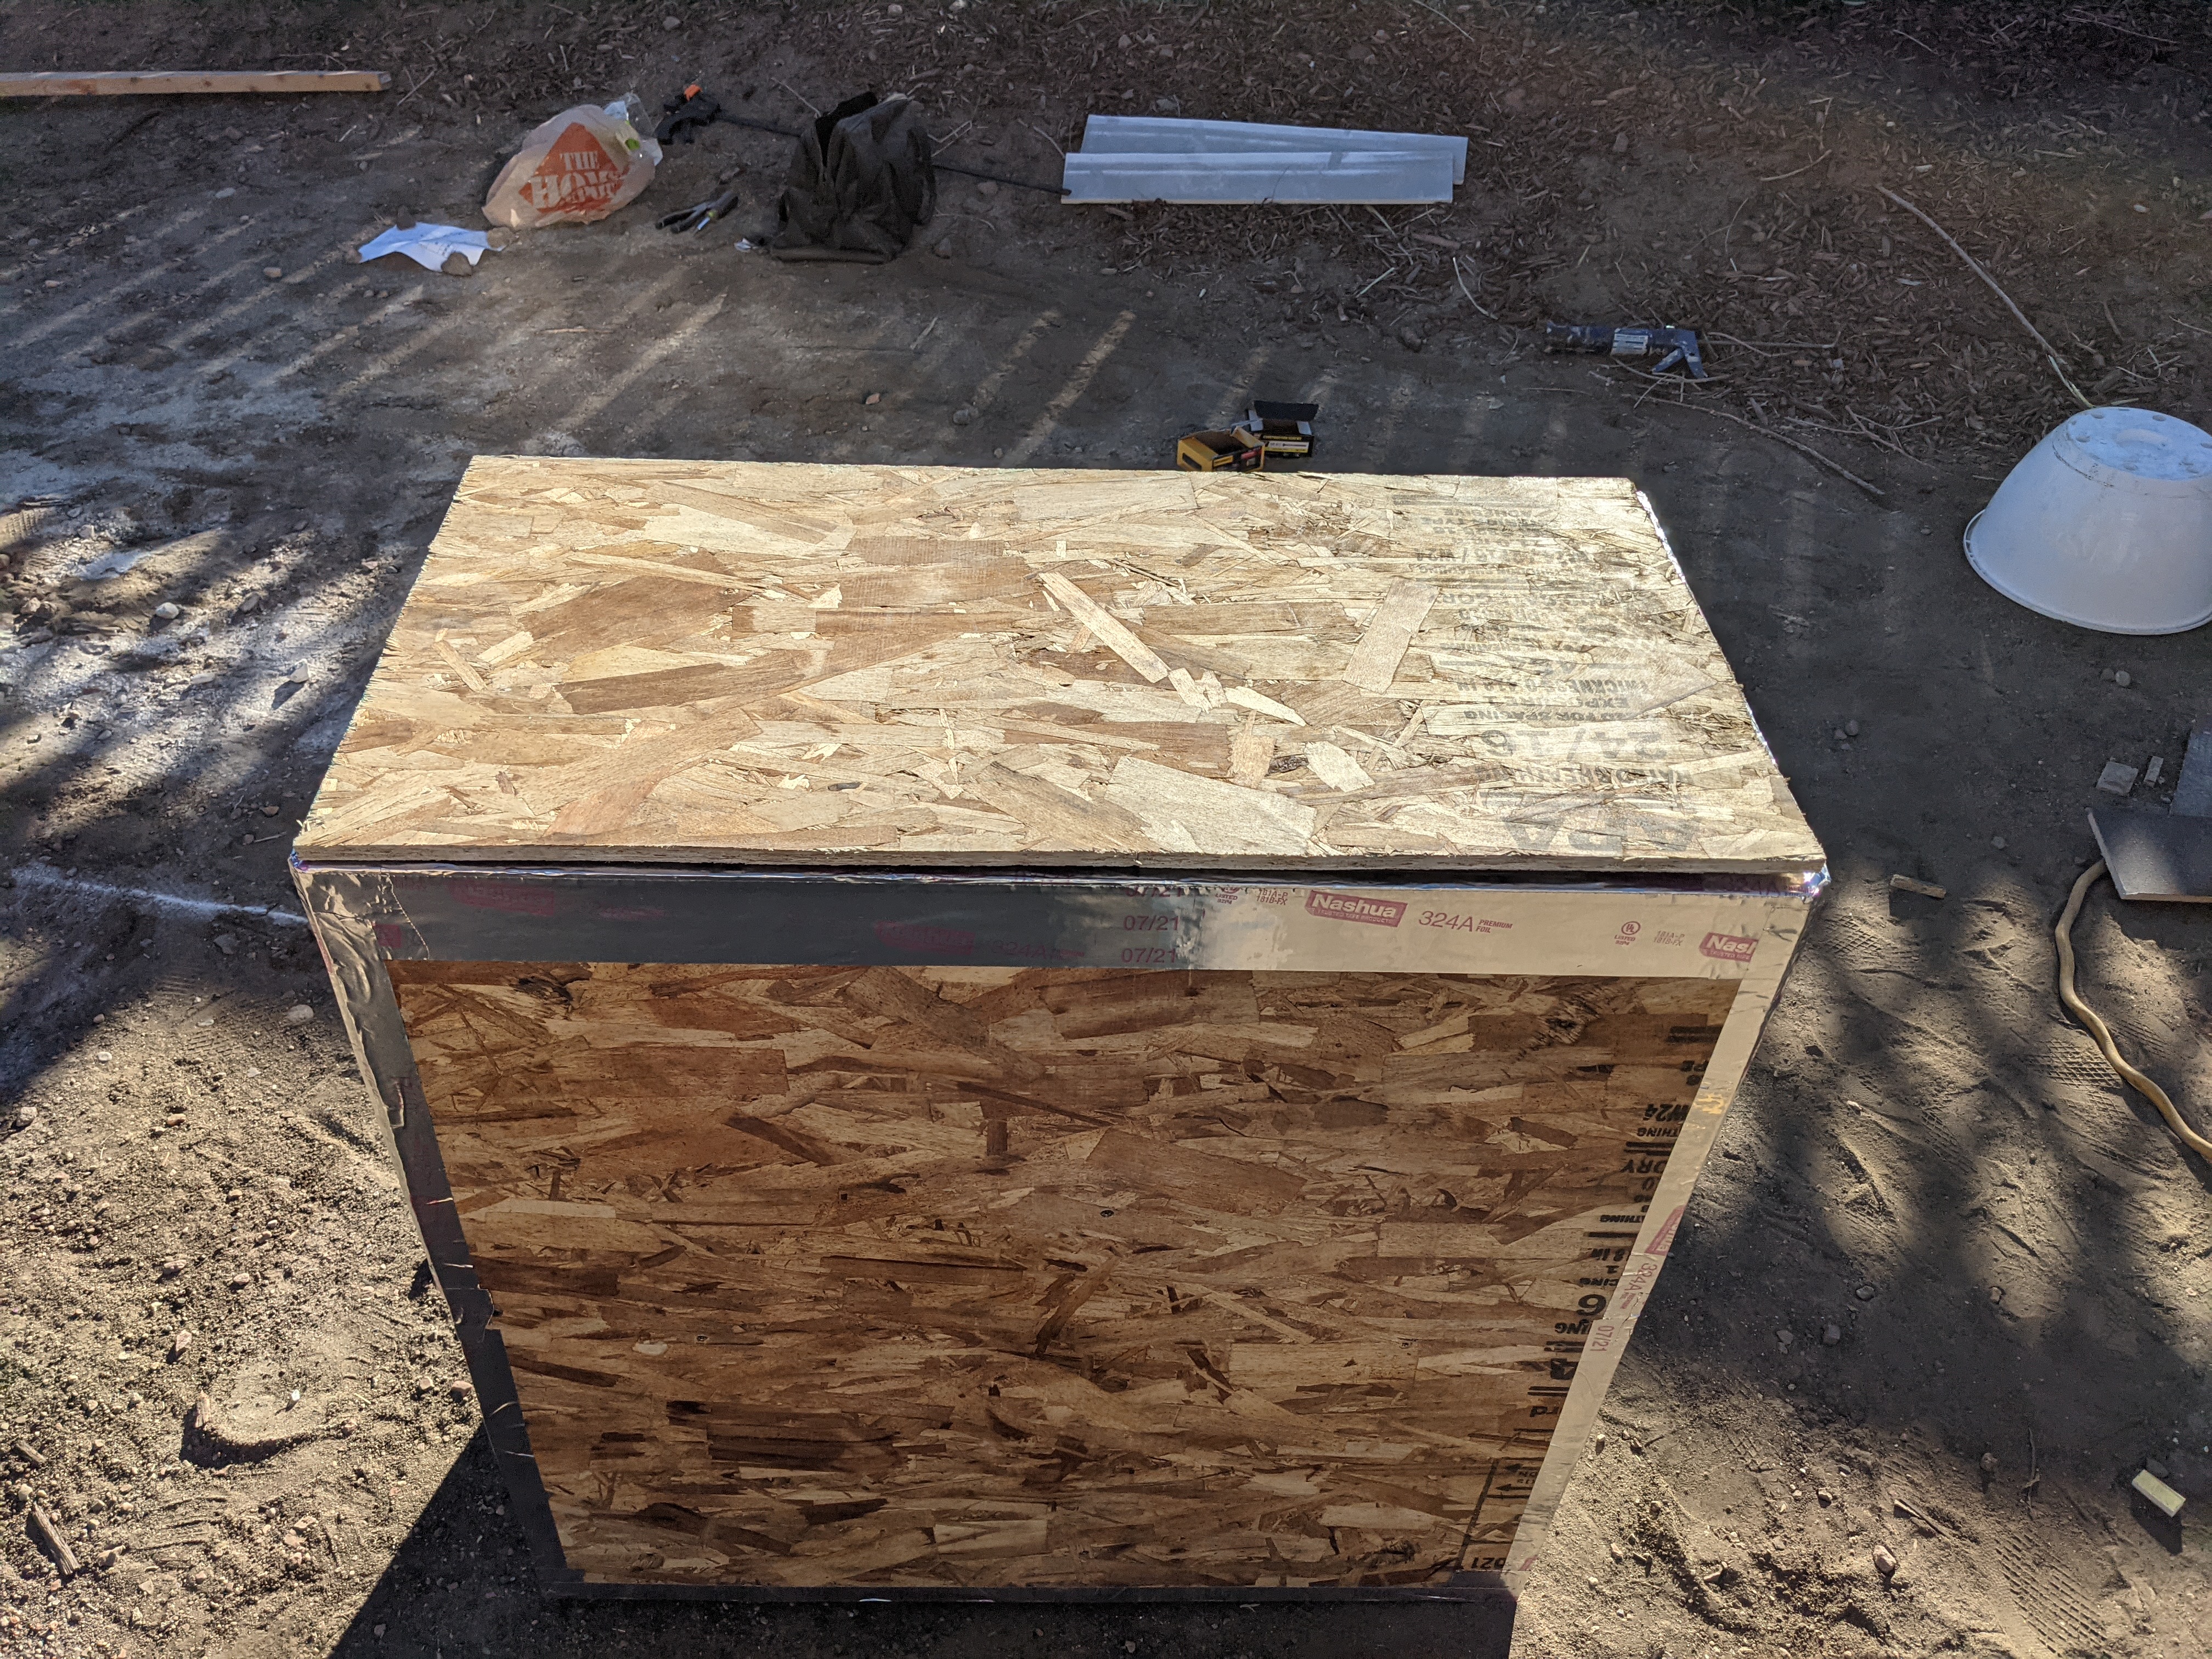
Now the remaining side piece (A) can be fit into place by removing the width of the two corner pieces of lumber. So in this example, the original pieces of asphalt board and Dense Shield were 32" wide, then 5" was cut off one edge to account for the two corner posts. The enclosure was layed on its side and the asphalt board and Dense Shield were put in place, then the 32" x 32" (A) piece of OSB was layered on top of them and fastened into place using the long screws to anchor into the six pieces of lumber as indicated above. Liquid Nails was used in between each layer.

Then foil tape was used just to keep all the edges clean and to prevent splintering/deterioration.
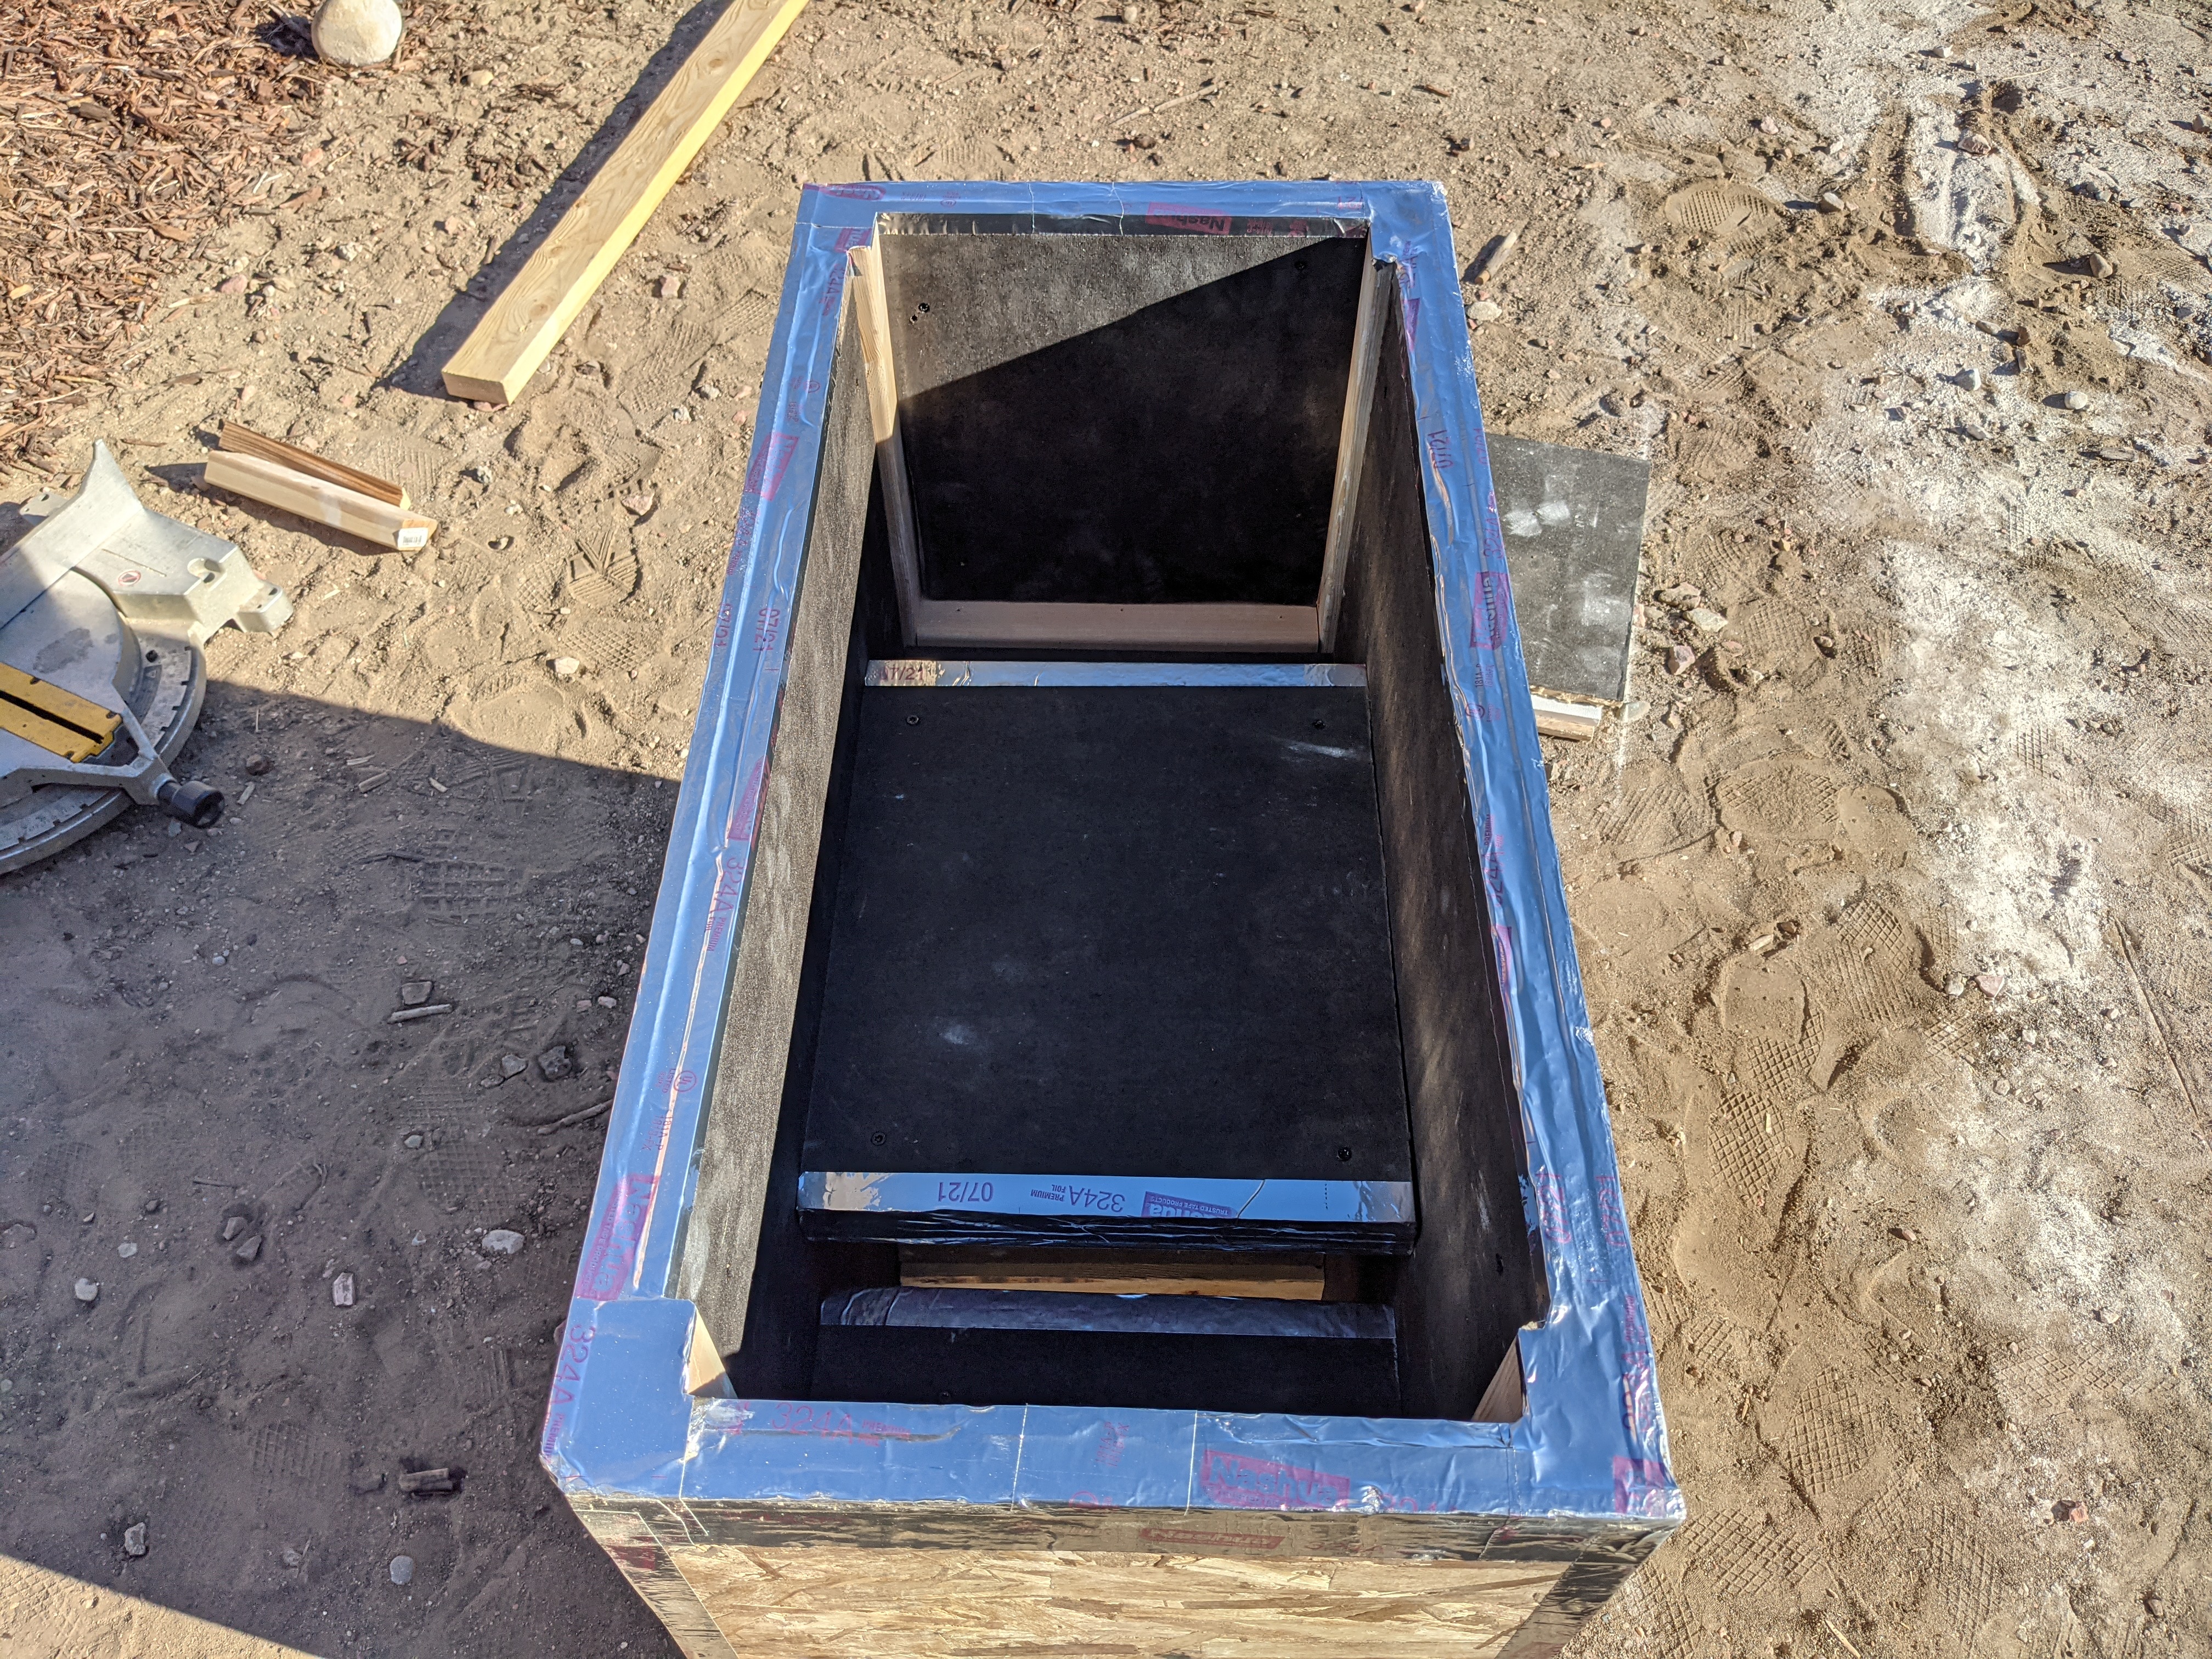
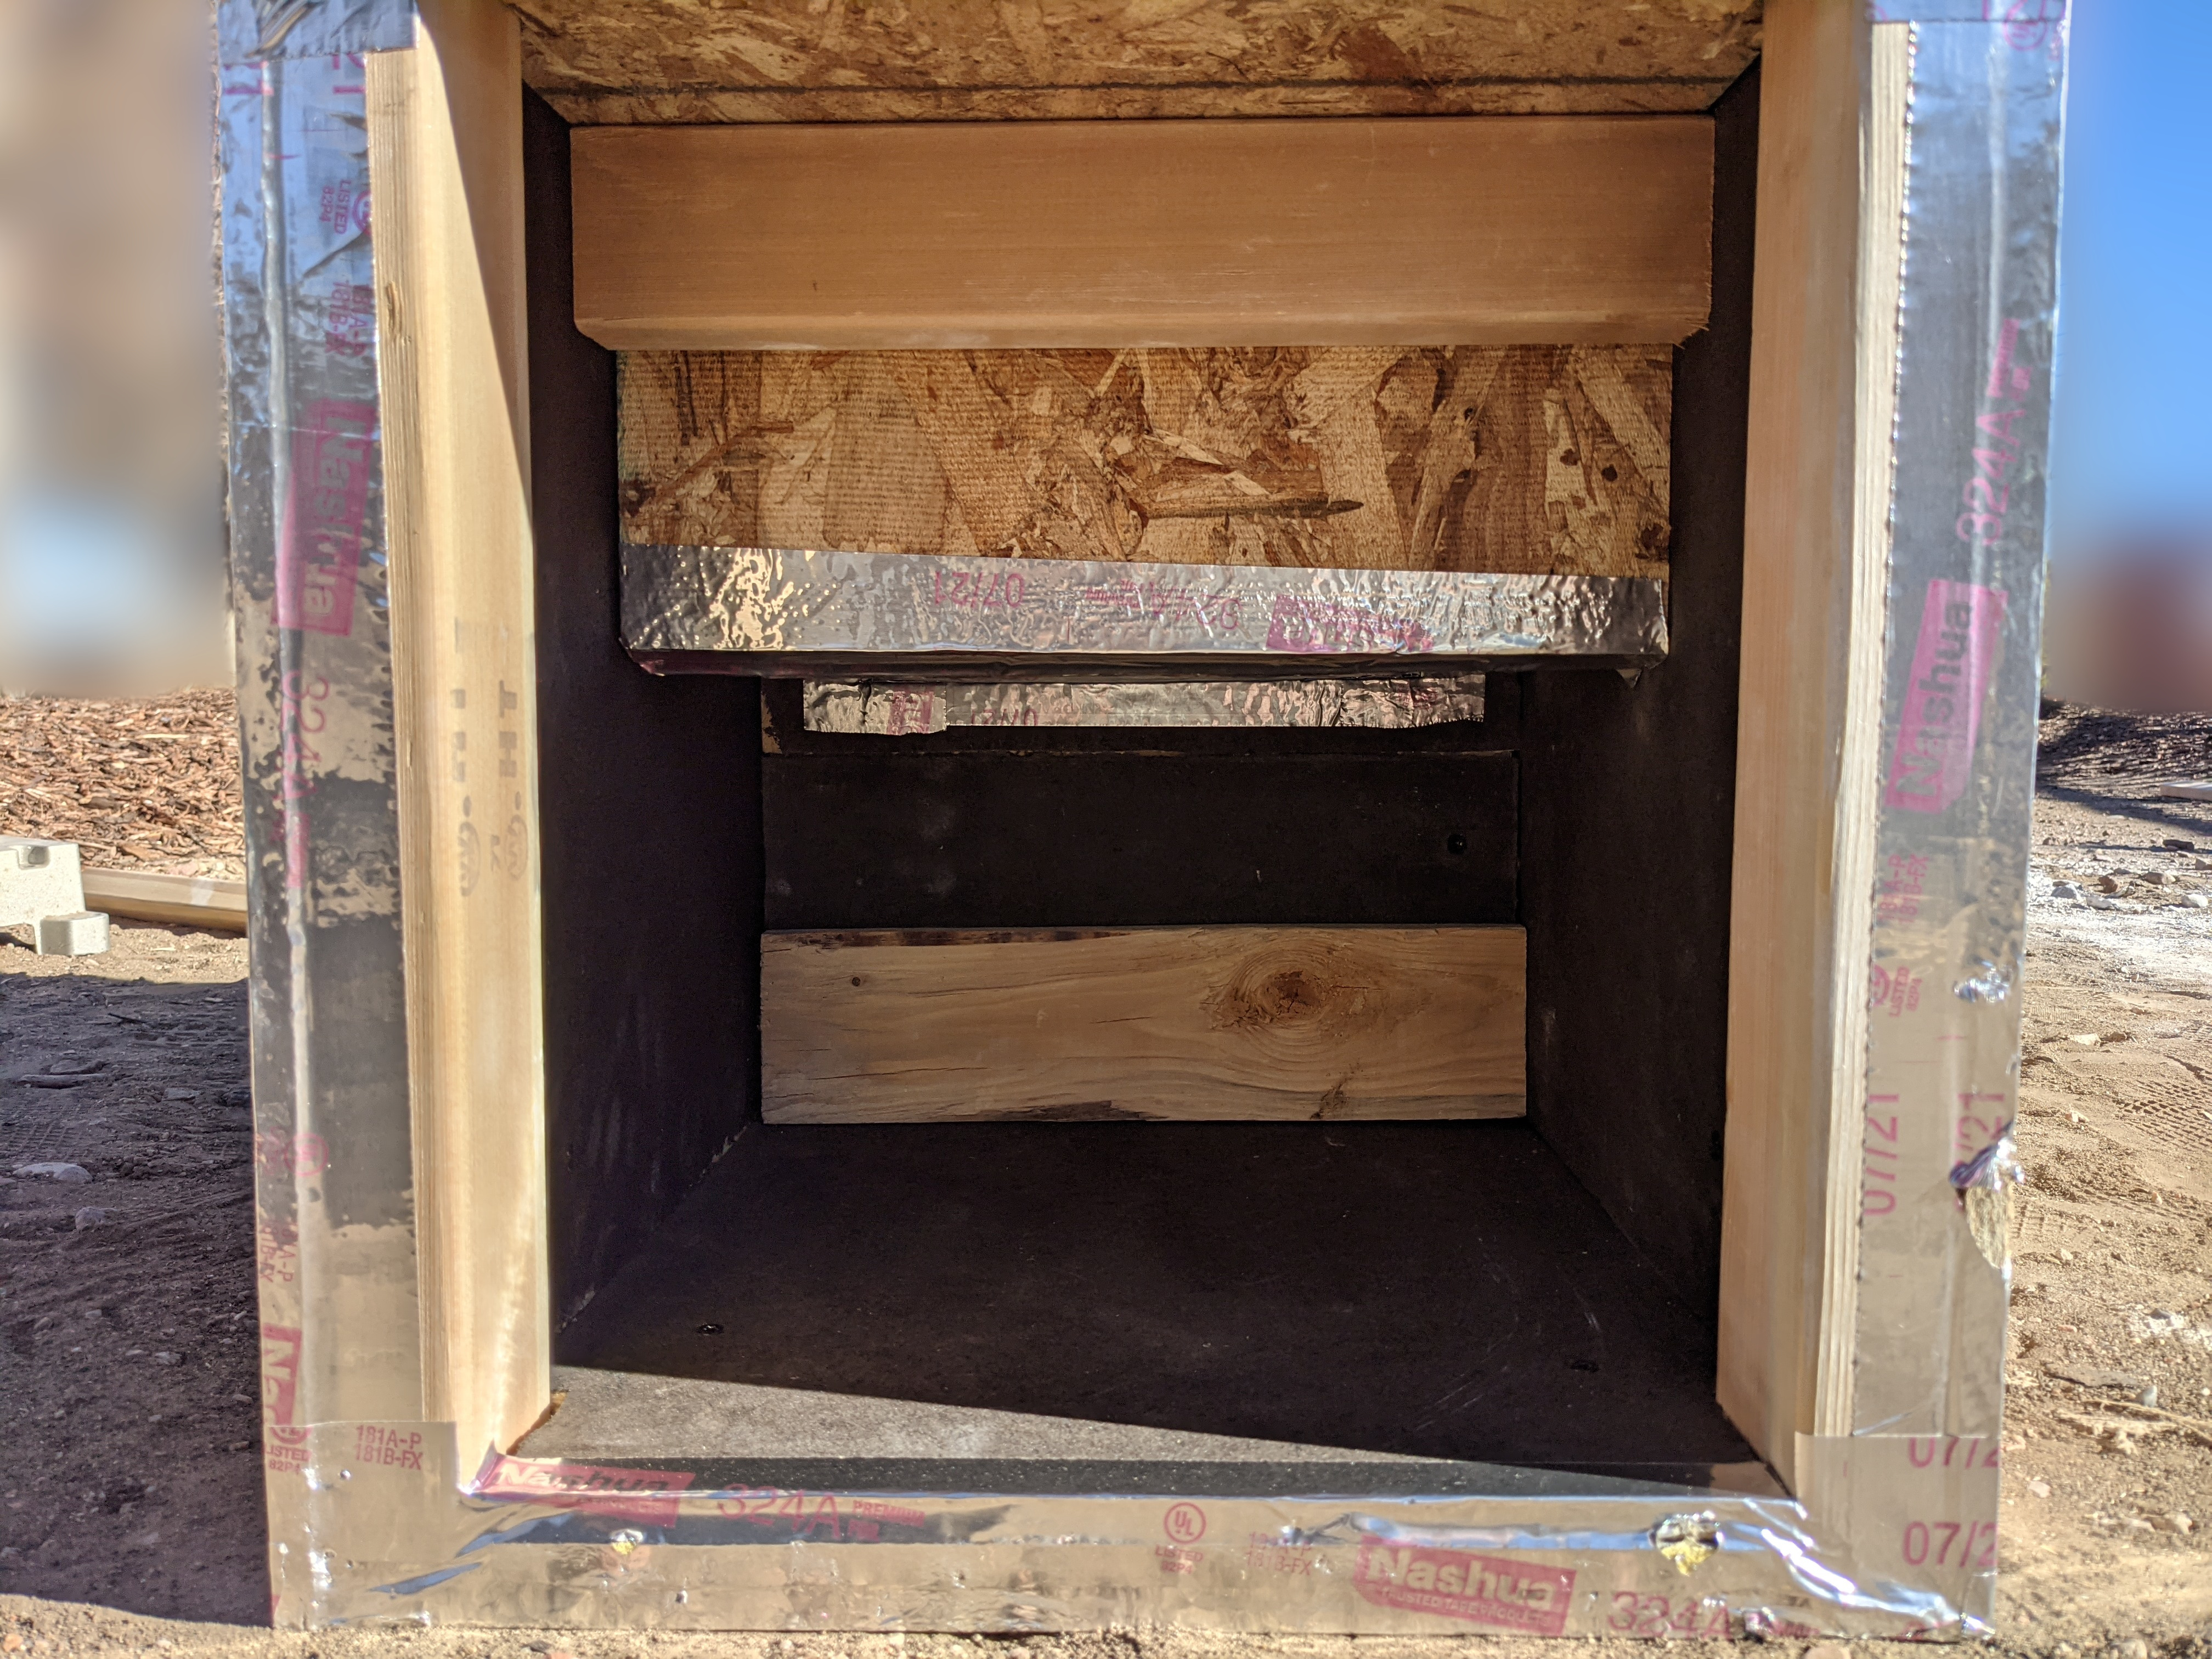
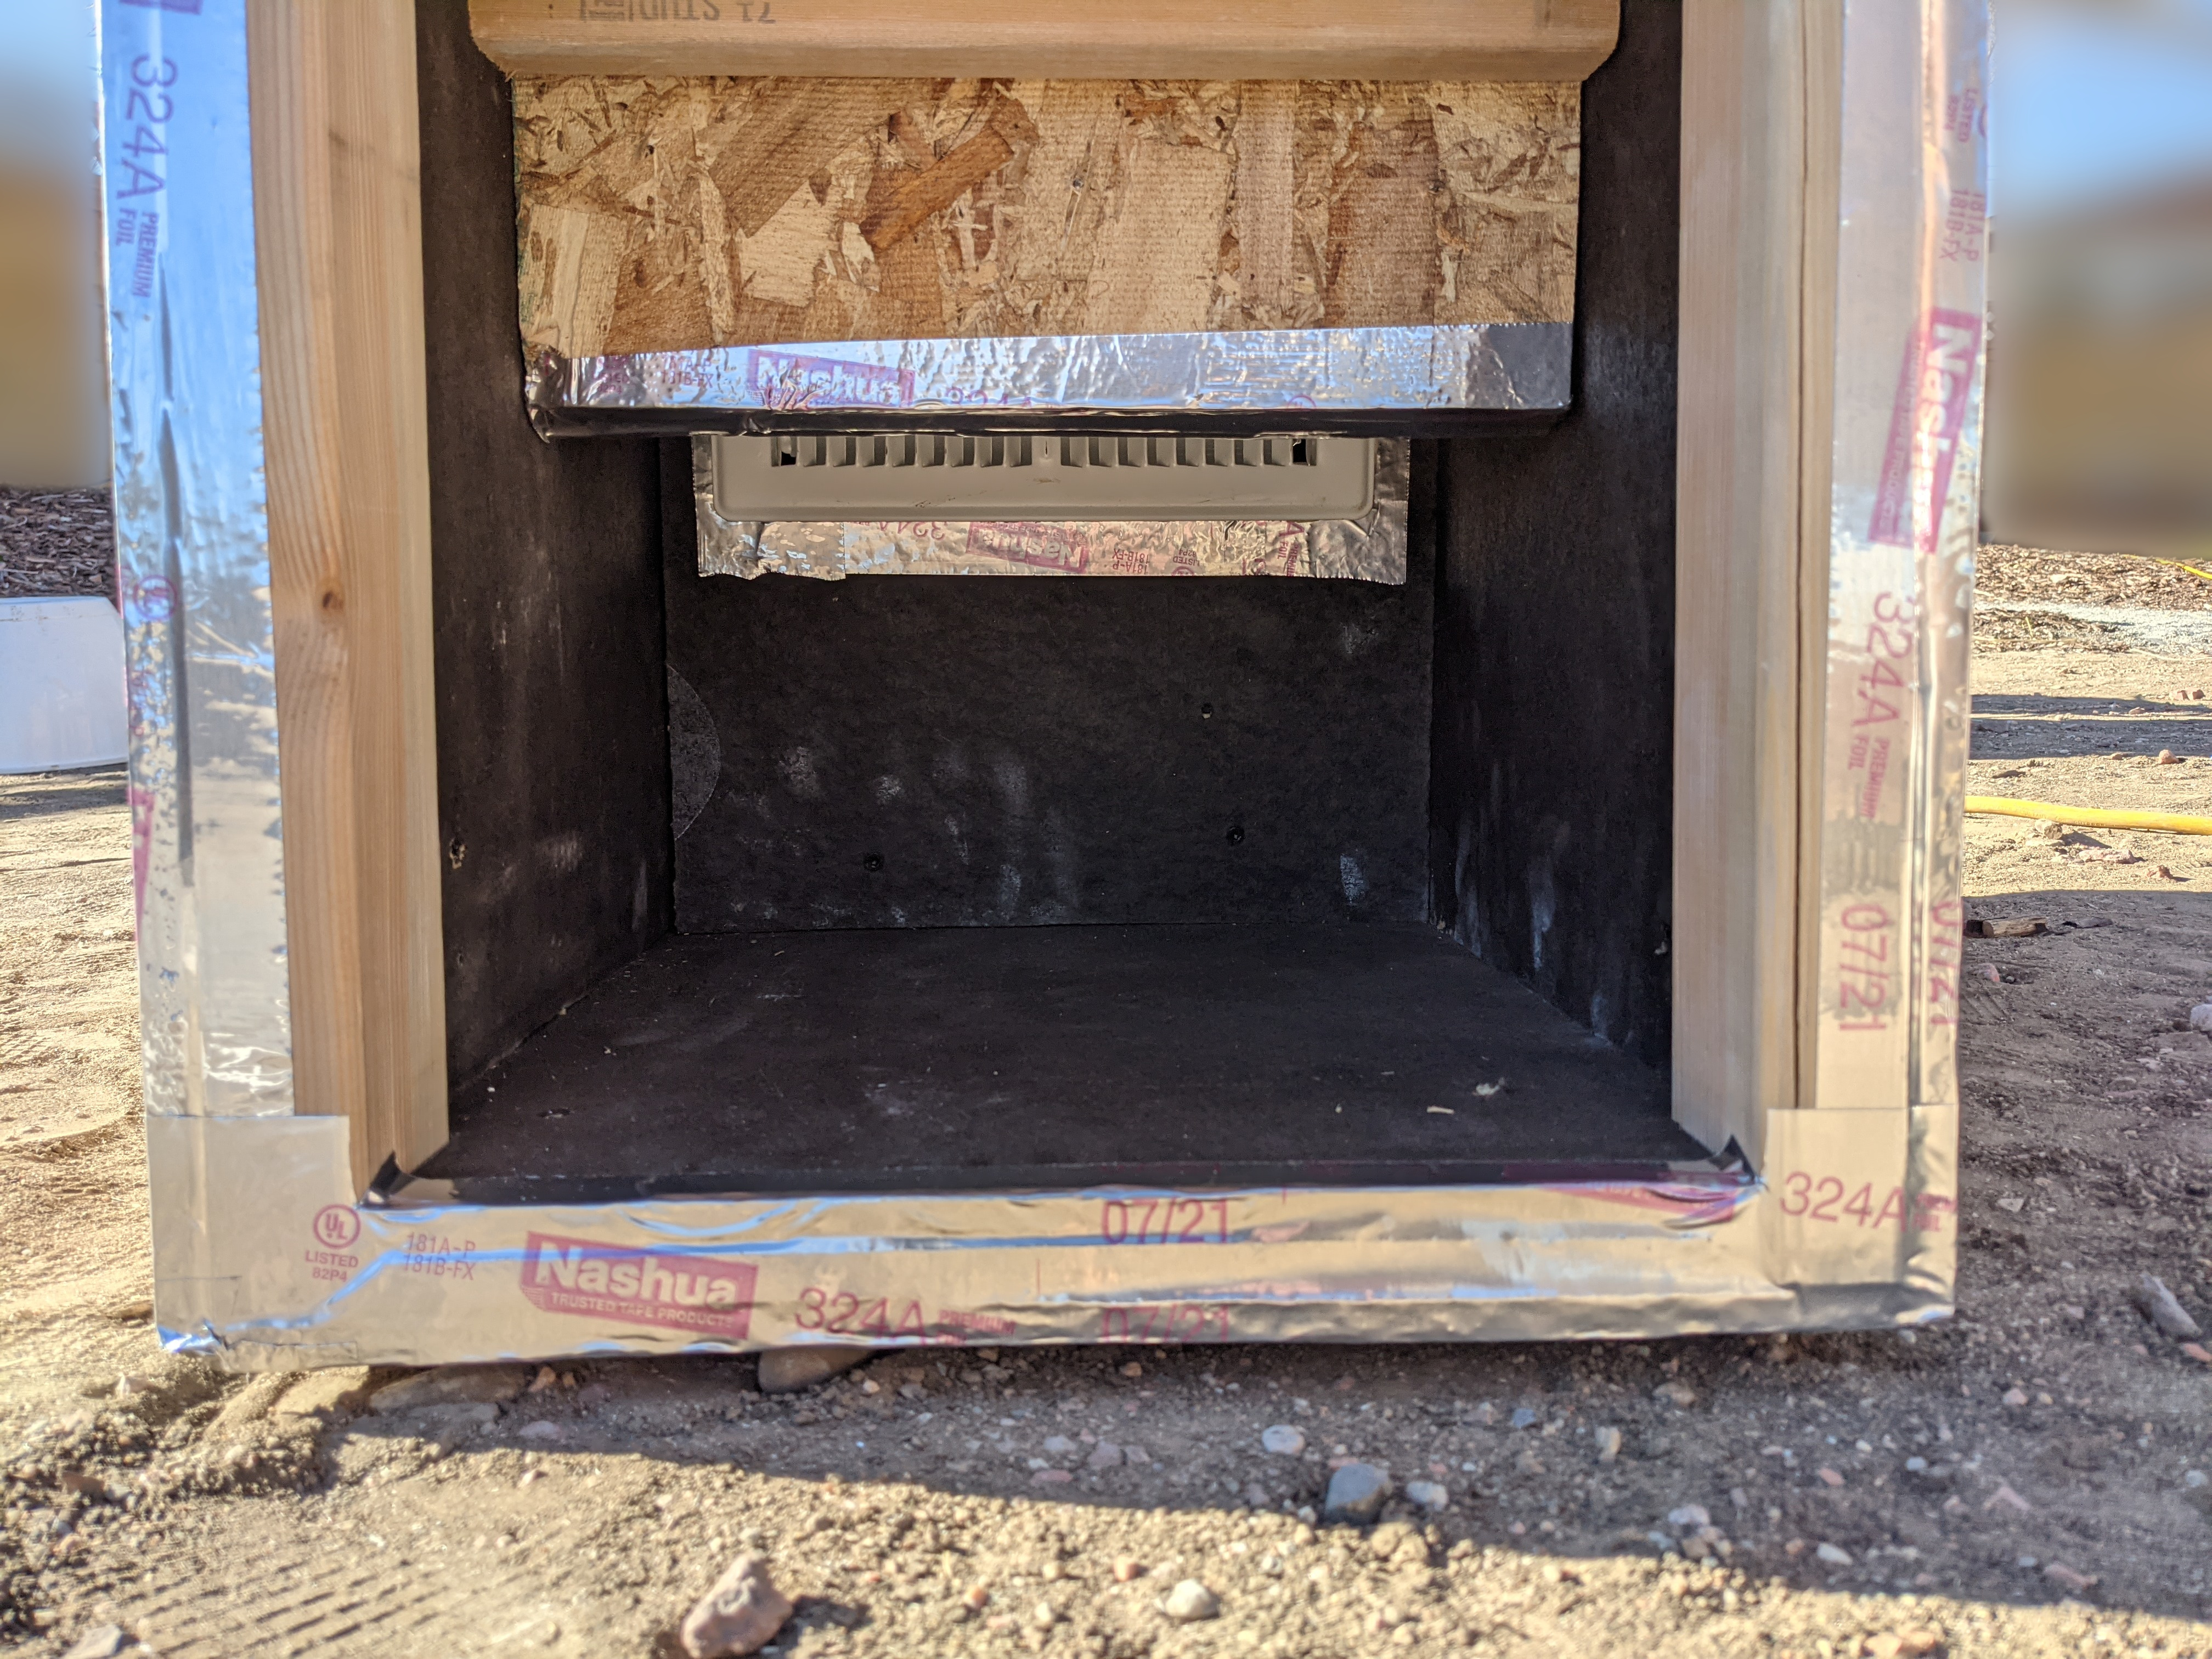
Then for the top, the idea here was that the OSB would lie flush over the top edges of the enclosure and a layer of Dense Shield and asphalt board would be attached to the under-side of the top so that they fit down inside the enclosure. The remaining 32" x 16" (B) pieces had to be cut to fit the final interior length and width and notched out for the corner posts.
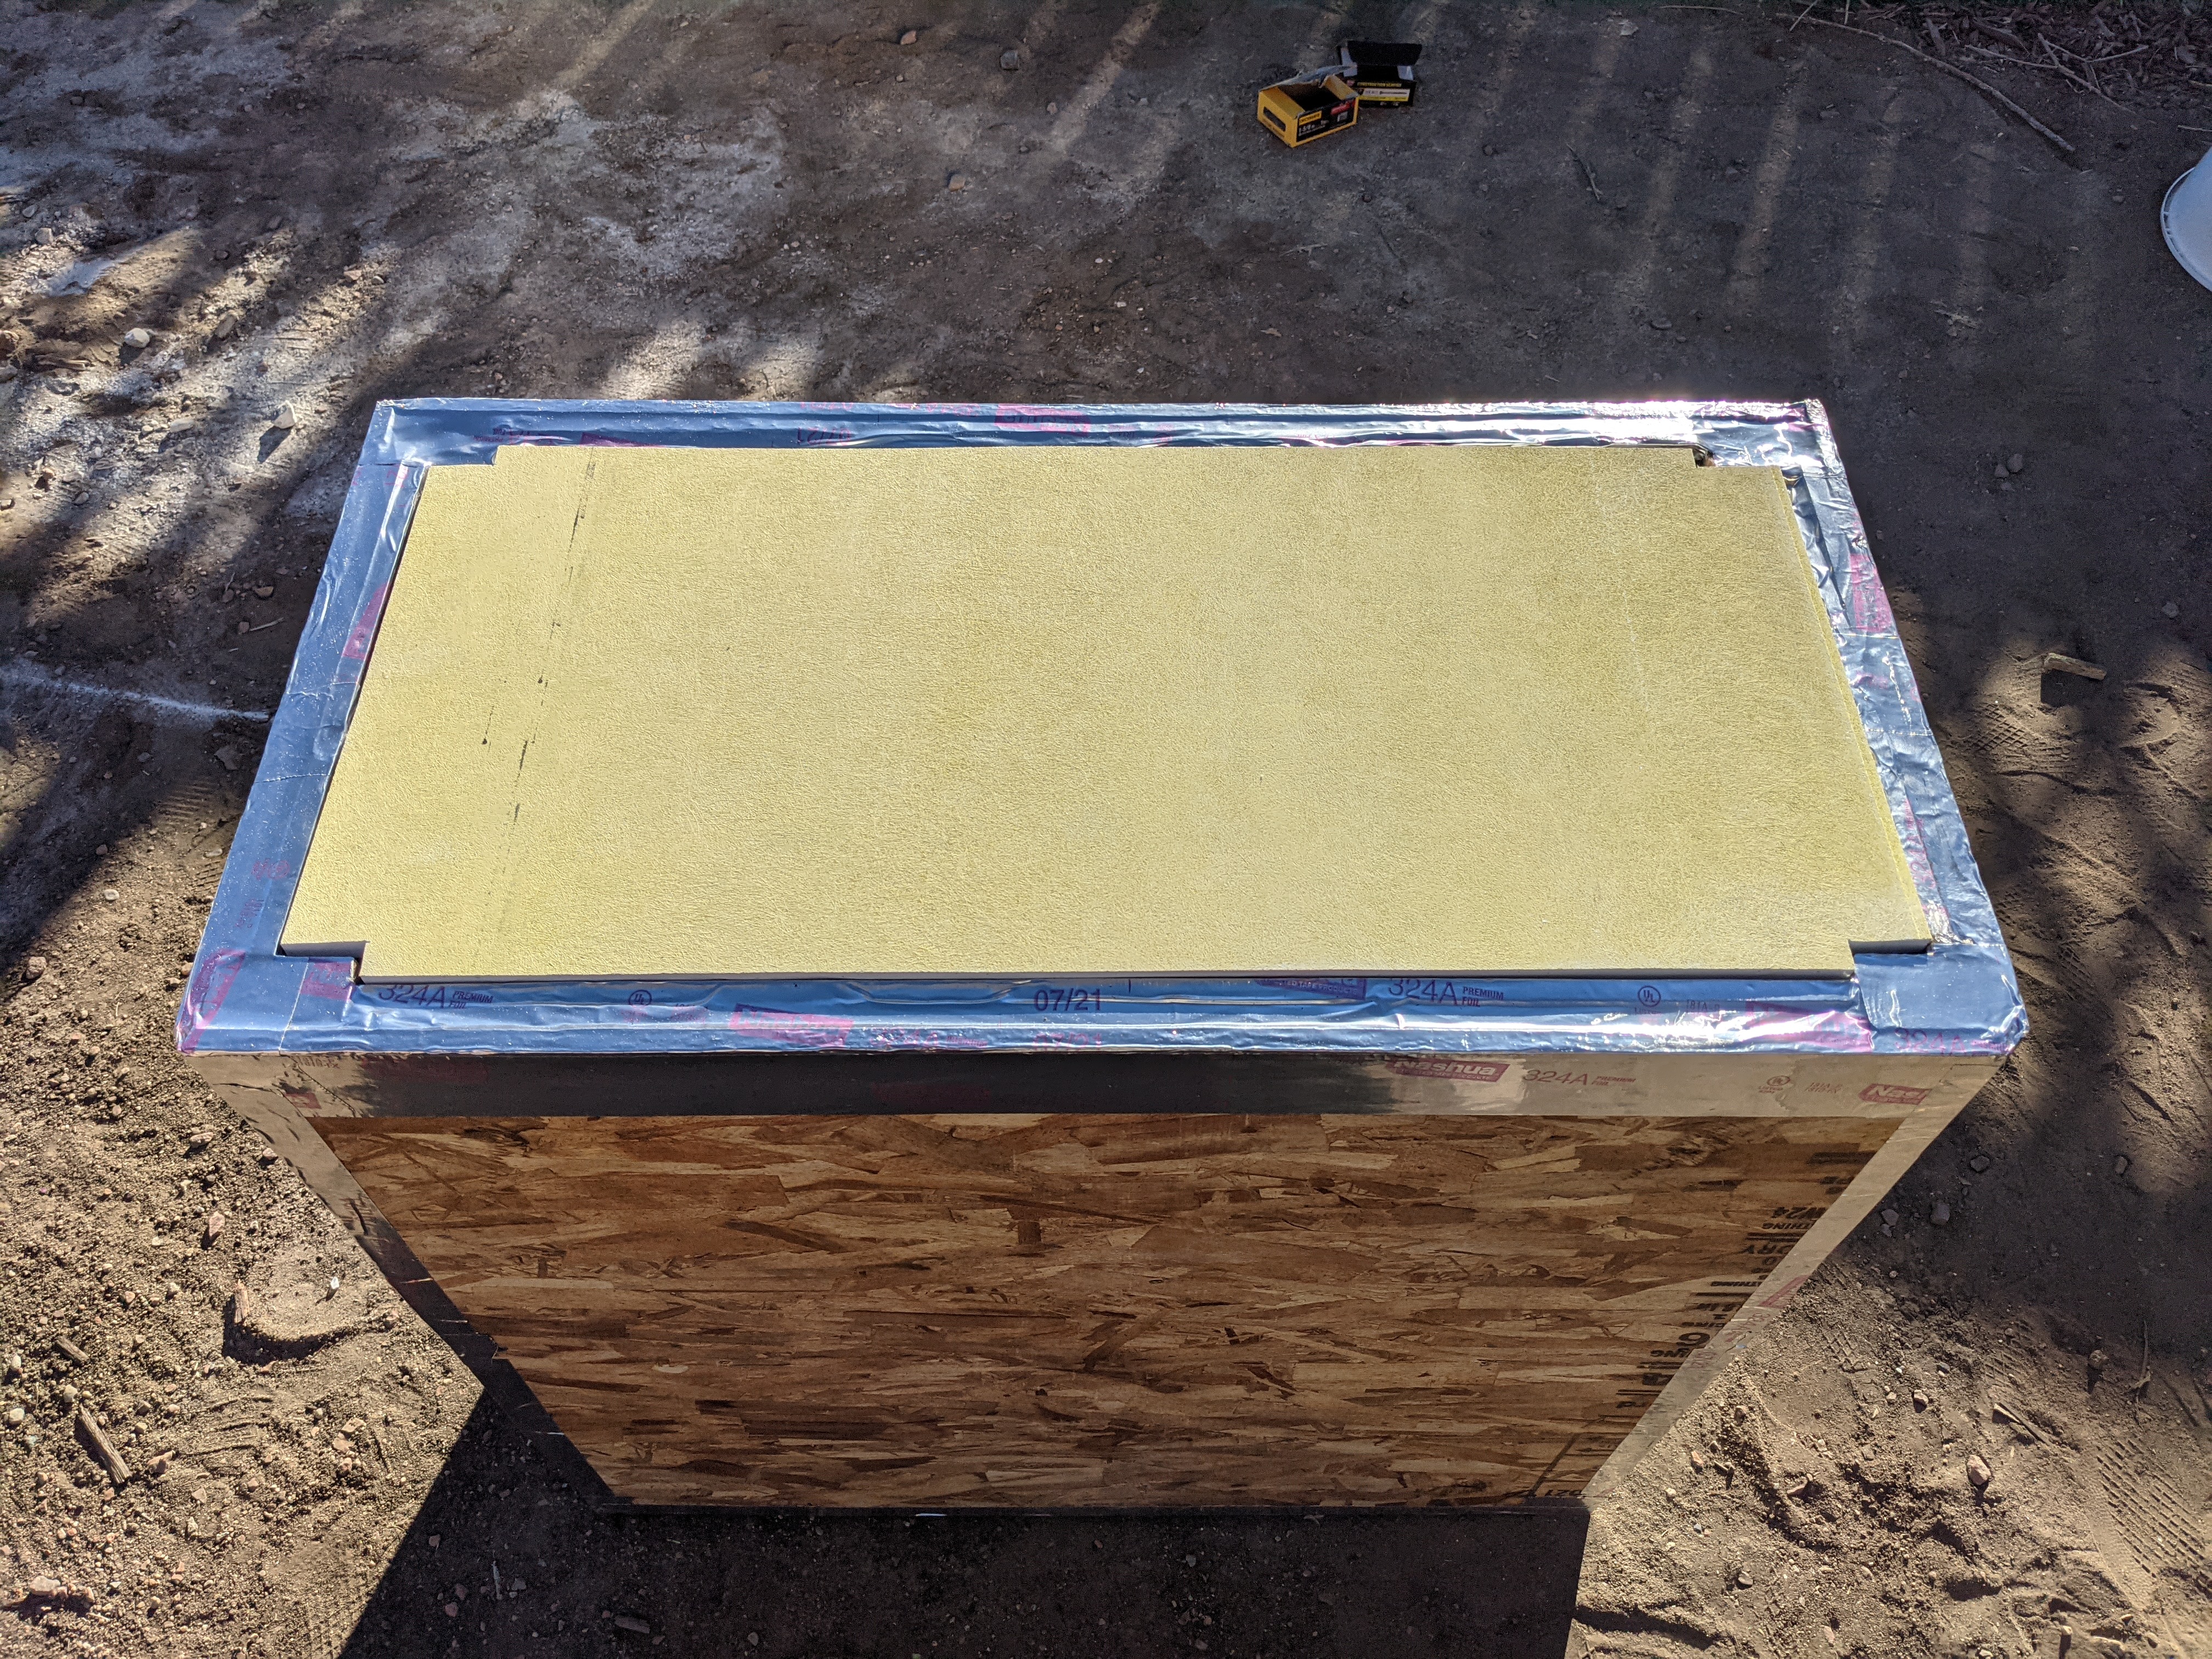
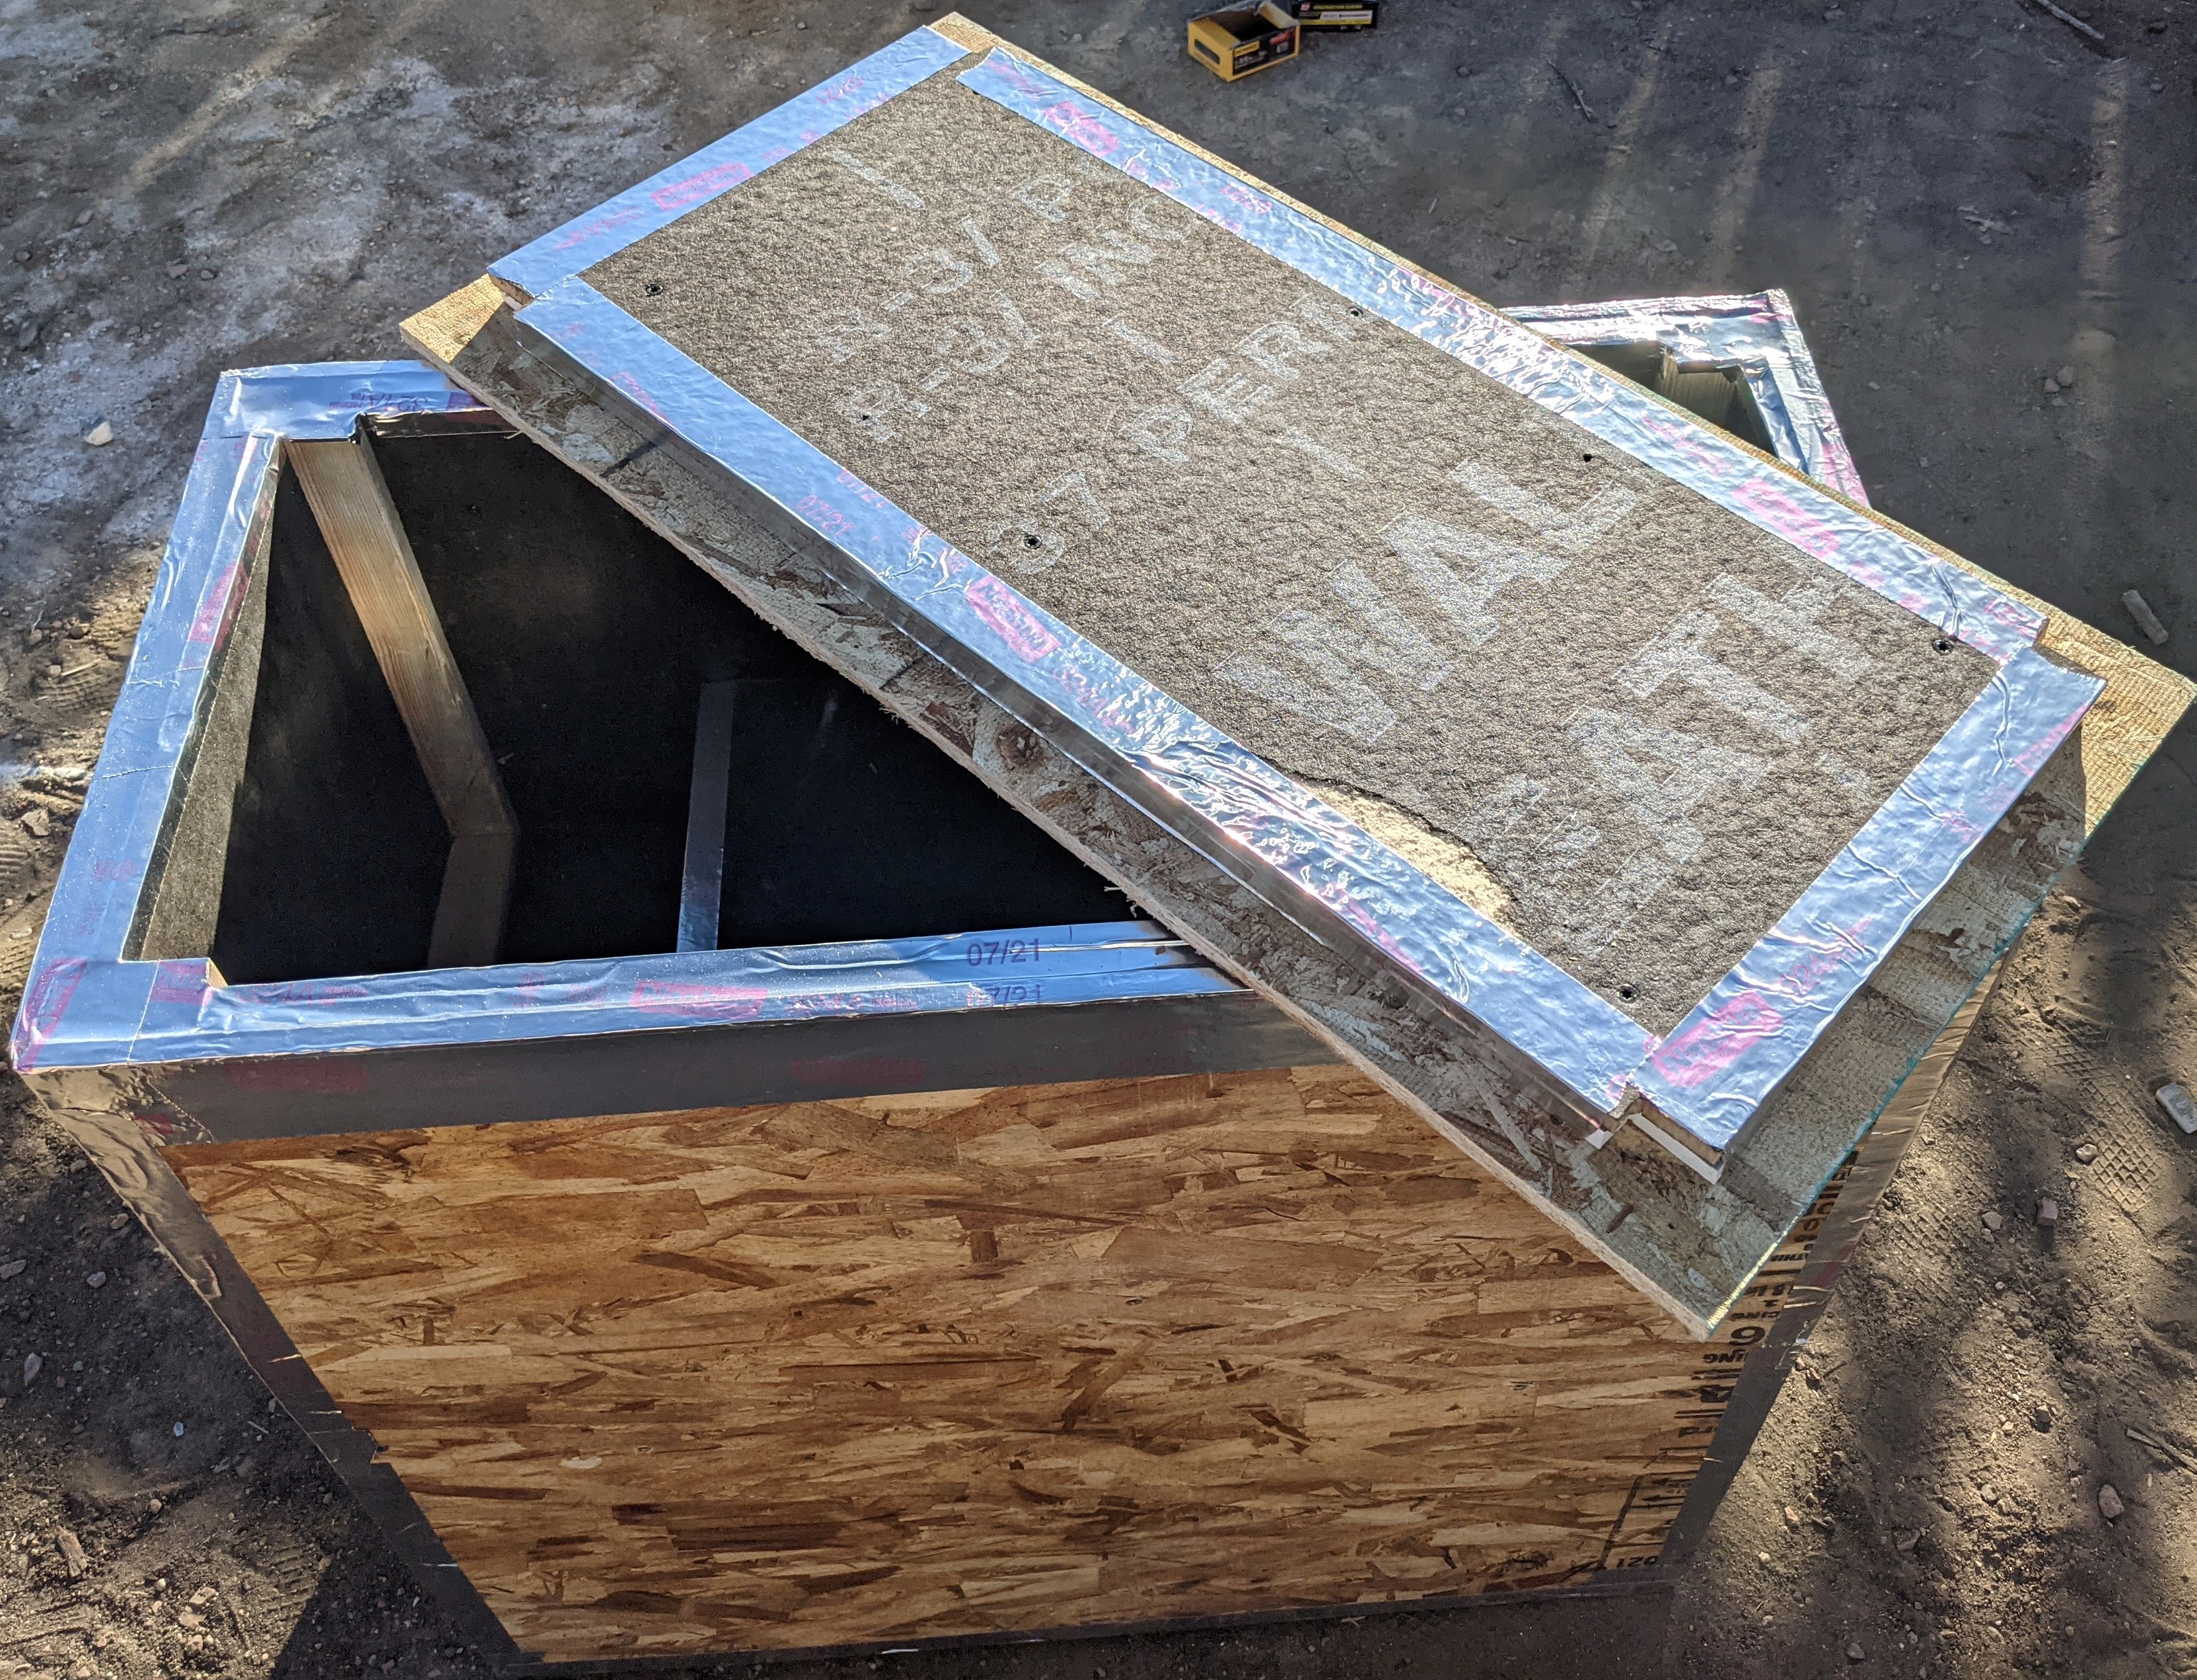
All the layers were glued together with Liquid Nails and screws were also used to help keep the layers attached to the underside of the top OSB piece. Two short pieces of chain were also used as make-shift handles and fastened to the top so that it could be removed with ease. All the edges were covered with foil tape to help keep them from splintering/deteriorating.